• Italian Style White Bean and Sausage Ragout

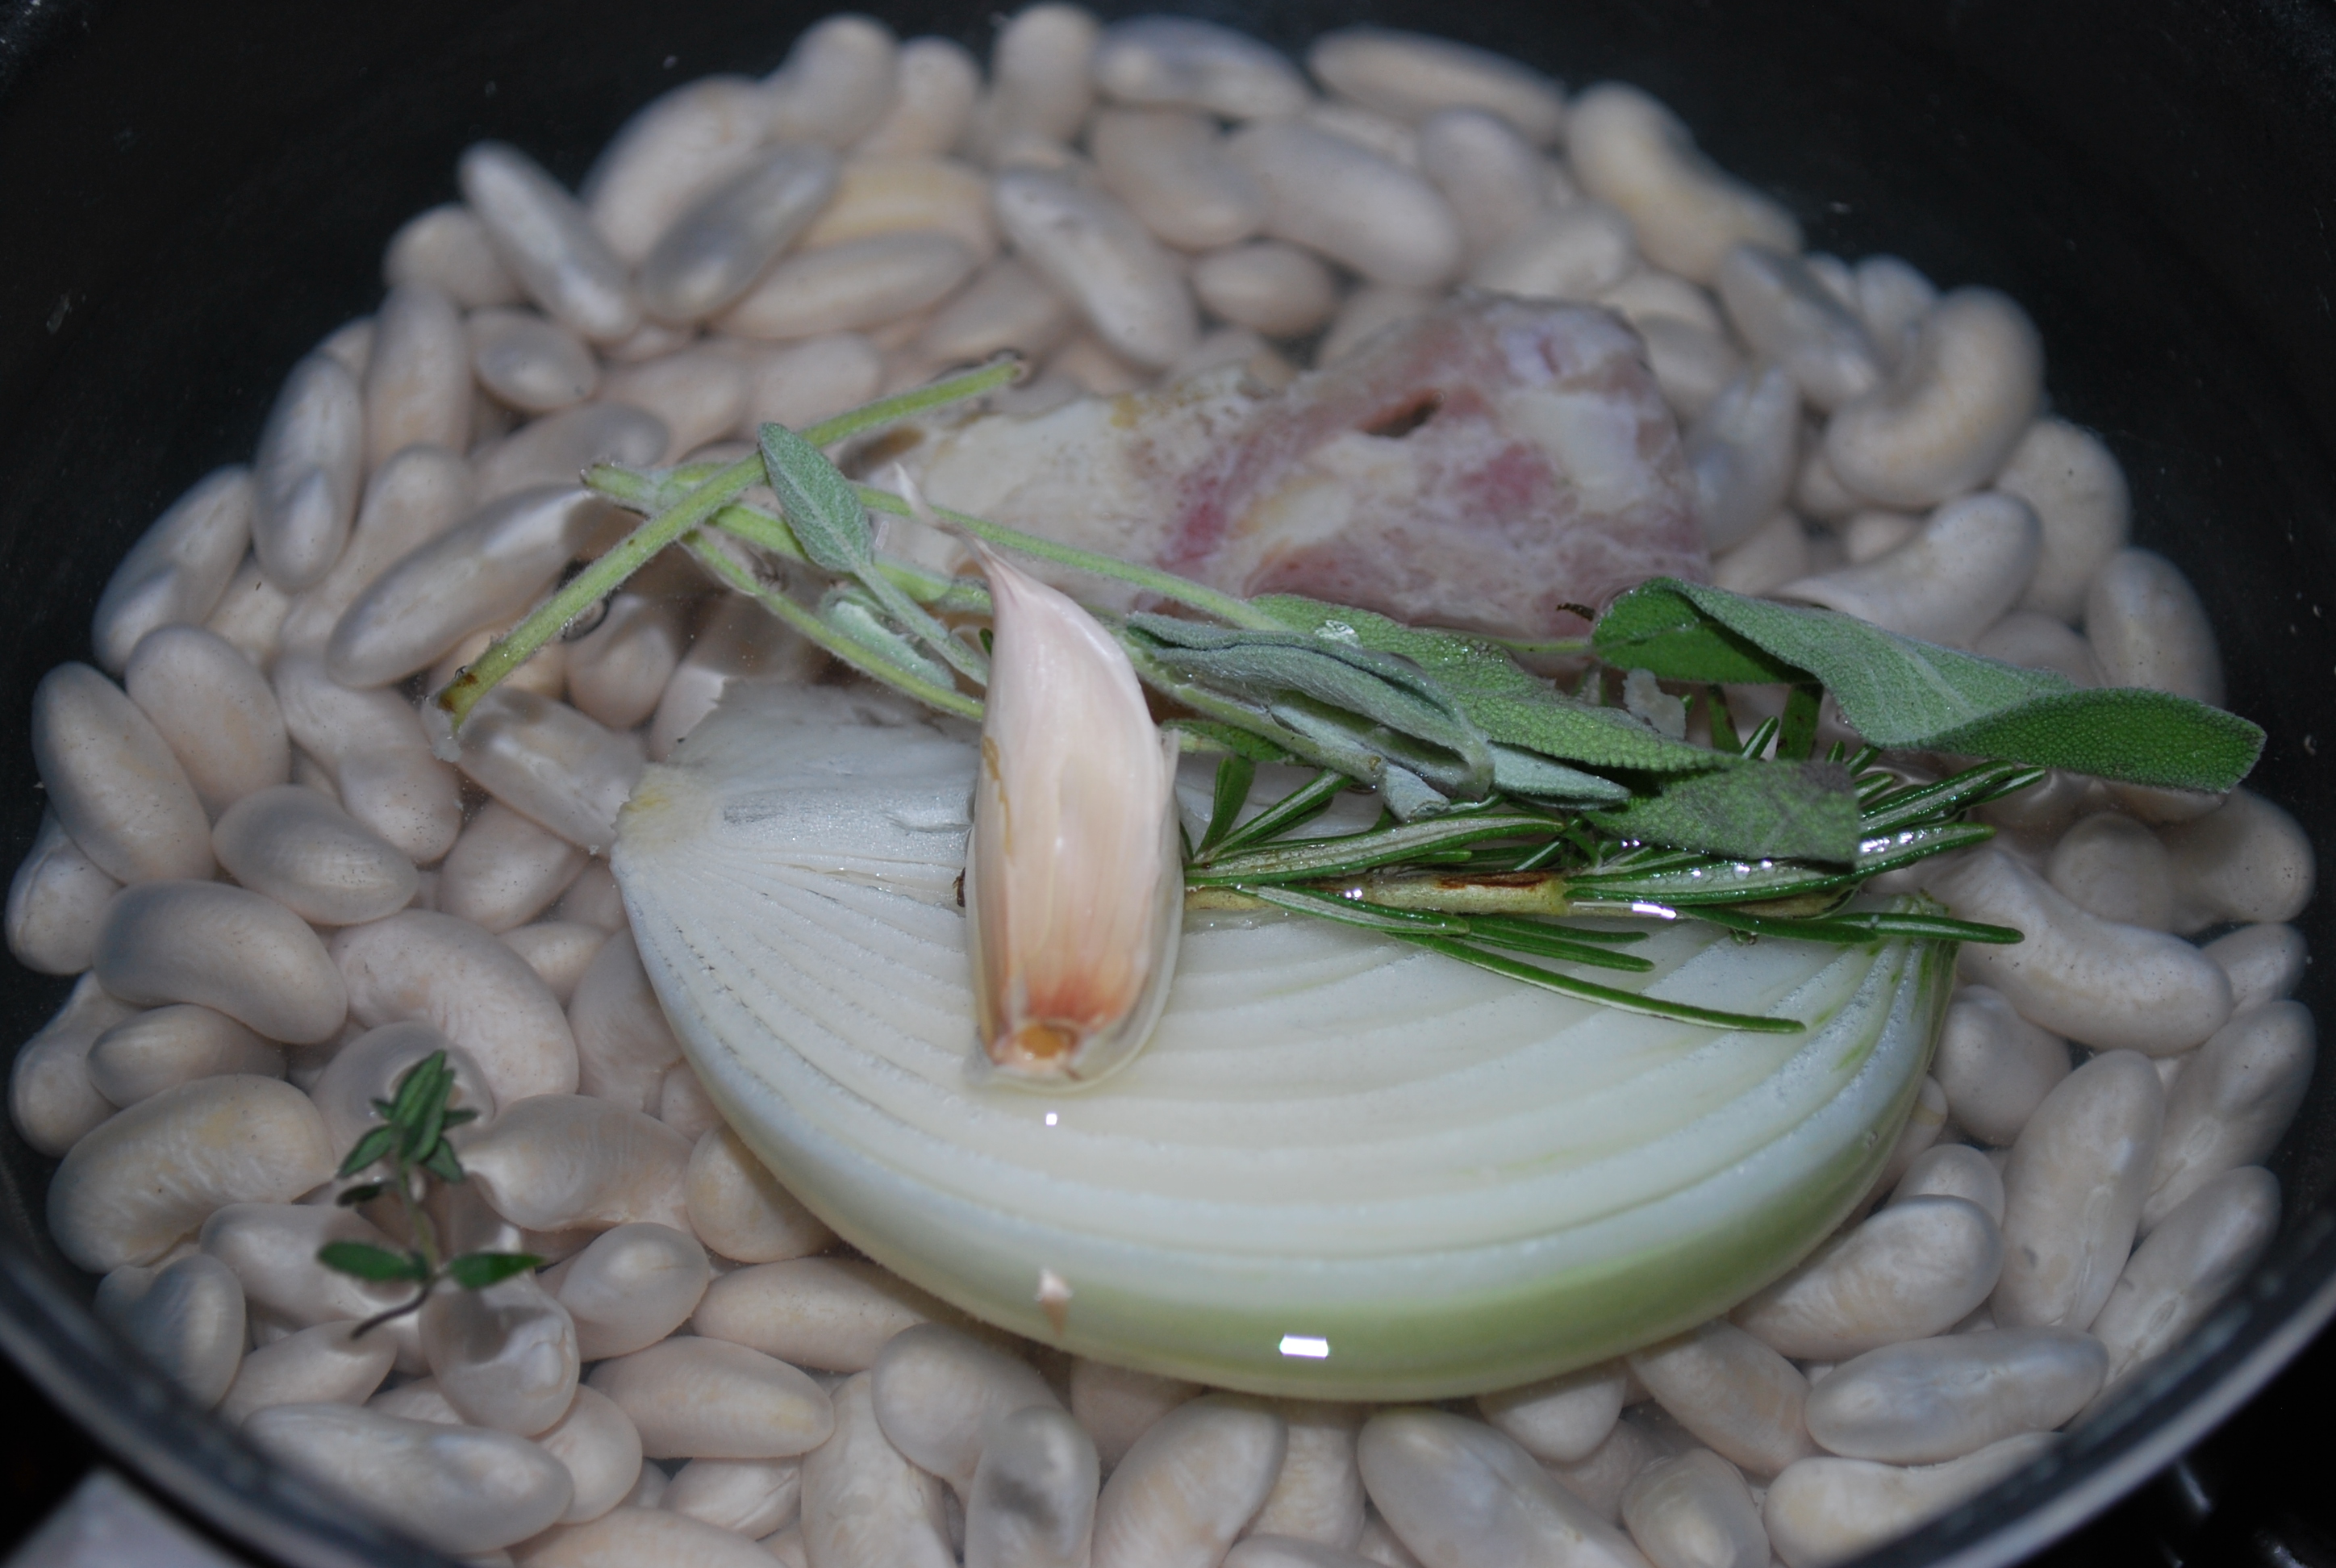
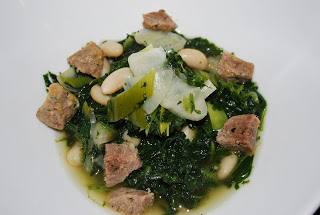
    This recipe came straight from a chef from Italy, so you know it’s gotta be good.  During a stint in Alabama (yeah, don’t go there), the hotel I was at formed a partnership with a local University, who happened to have an incredible agriculture program.  They sold pork to a local business who specialized in making Porchetta (which we’ll do a version of eventually), which is also roasted pork saddle flavored simply with herbs, garlic, and Olive Oil.  Every order of Porchetta you got came with some nice crusty bread, and this on the side.  You can serve 4 people with this recipe.

    DSC_0020
    3 oz. loose Hot Italian Sausage
    1/2 c. fennel, sliced thin or shaved
    1/4 c. small diced onion
    1/4 c. small diced carrot
    1 clove garlic, sliced
    1 tsp. chopped sage
    1 tsp. dry oregano (you can use fresh, this is  just what the old man who ran the place swore by)
    1/4 c. white wine
    1.  Start your sausage off in a saute pan on low heat, rendering out the fat.  Break up the sausage as it cooks, we want to ti get all through the ragout.  Don’t be afraid to add a little olive oil to grease up the pan if you need to.
    2.  When your sausage is nice and brown, add your vegetables, garlic, and herbs.  Sweat these out for about 5 minutes, stirring every minute or so.  We want to let the herbs cook just a bit an release some of their natural oils into the olive oil and rendered sausage fat.
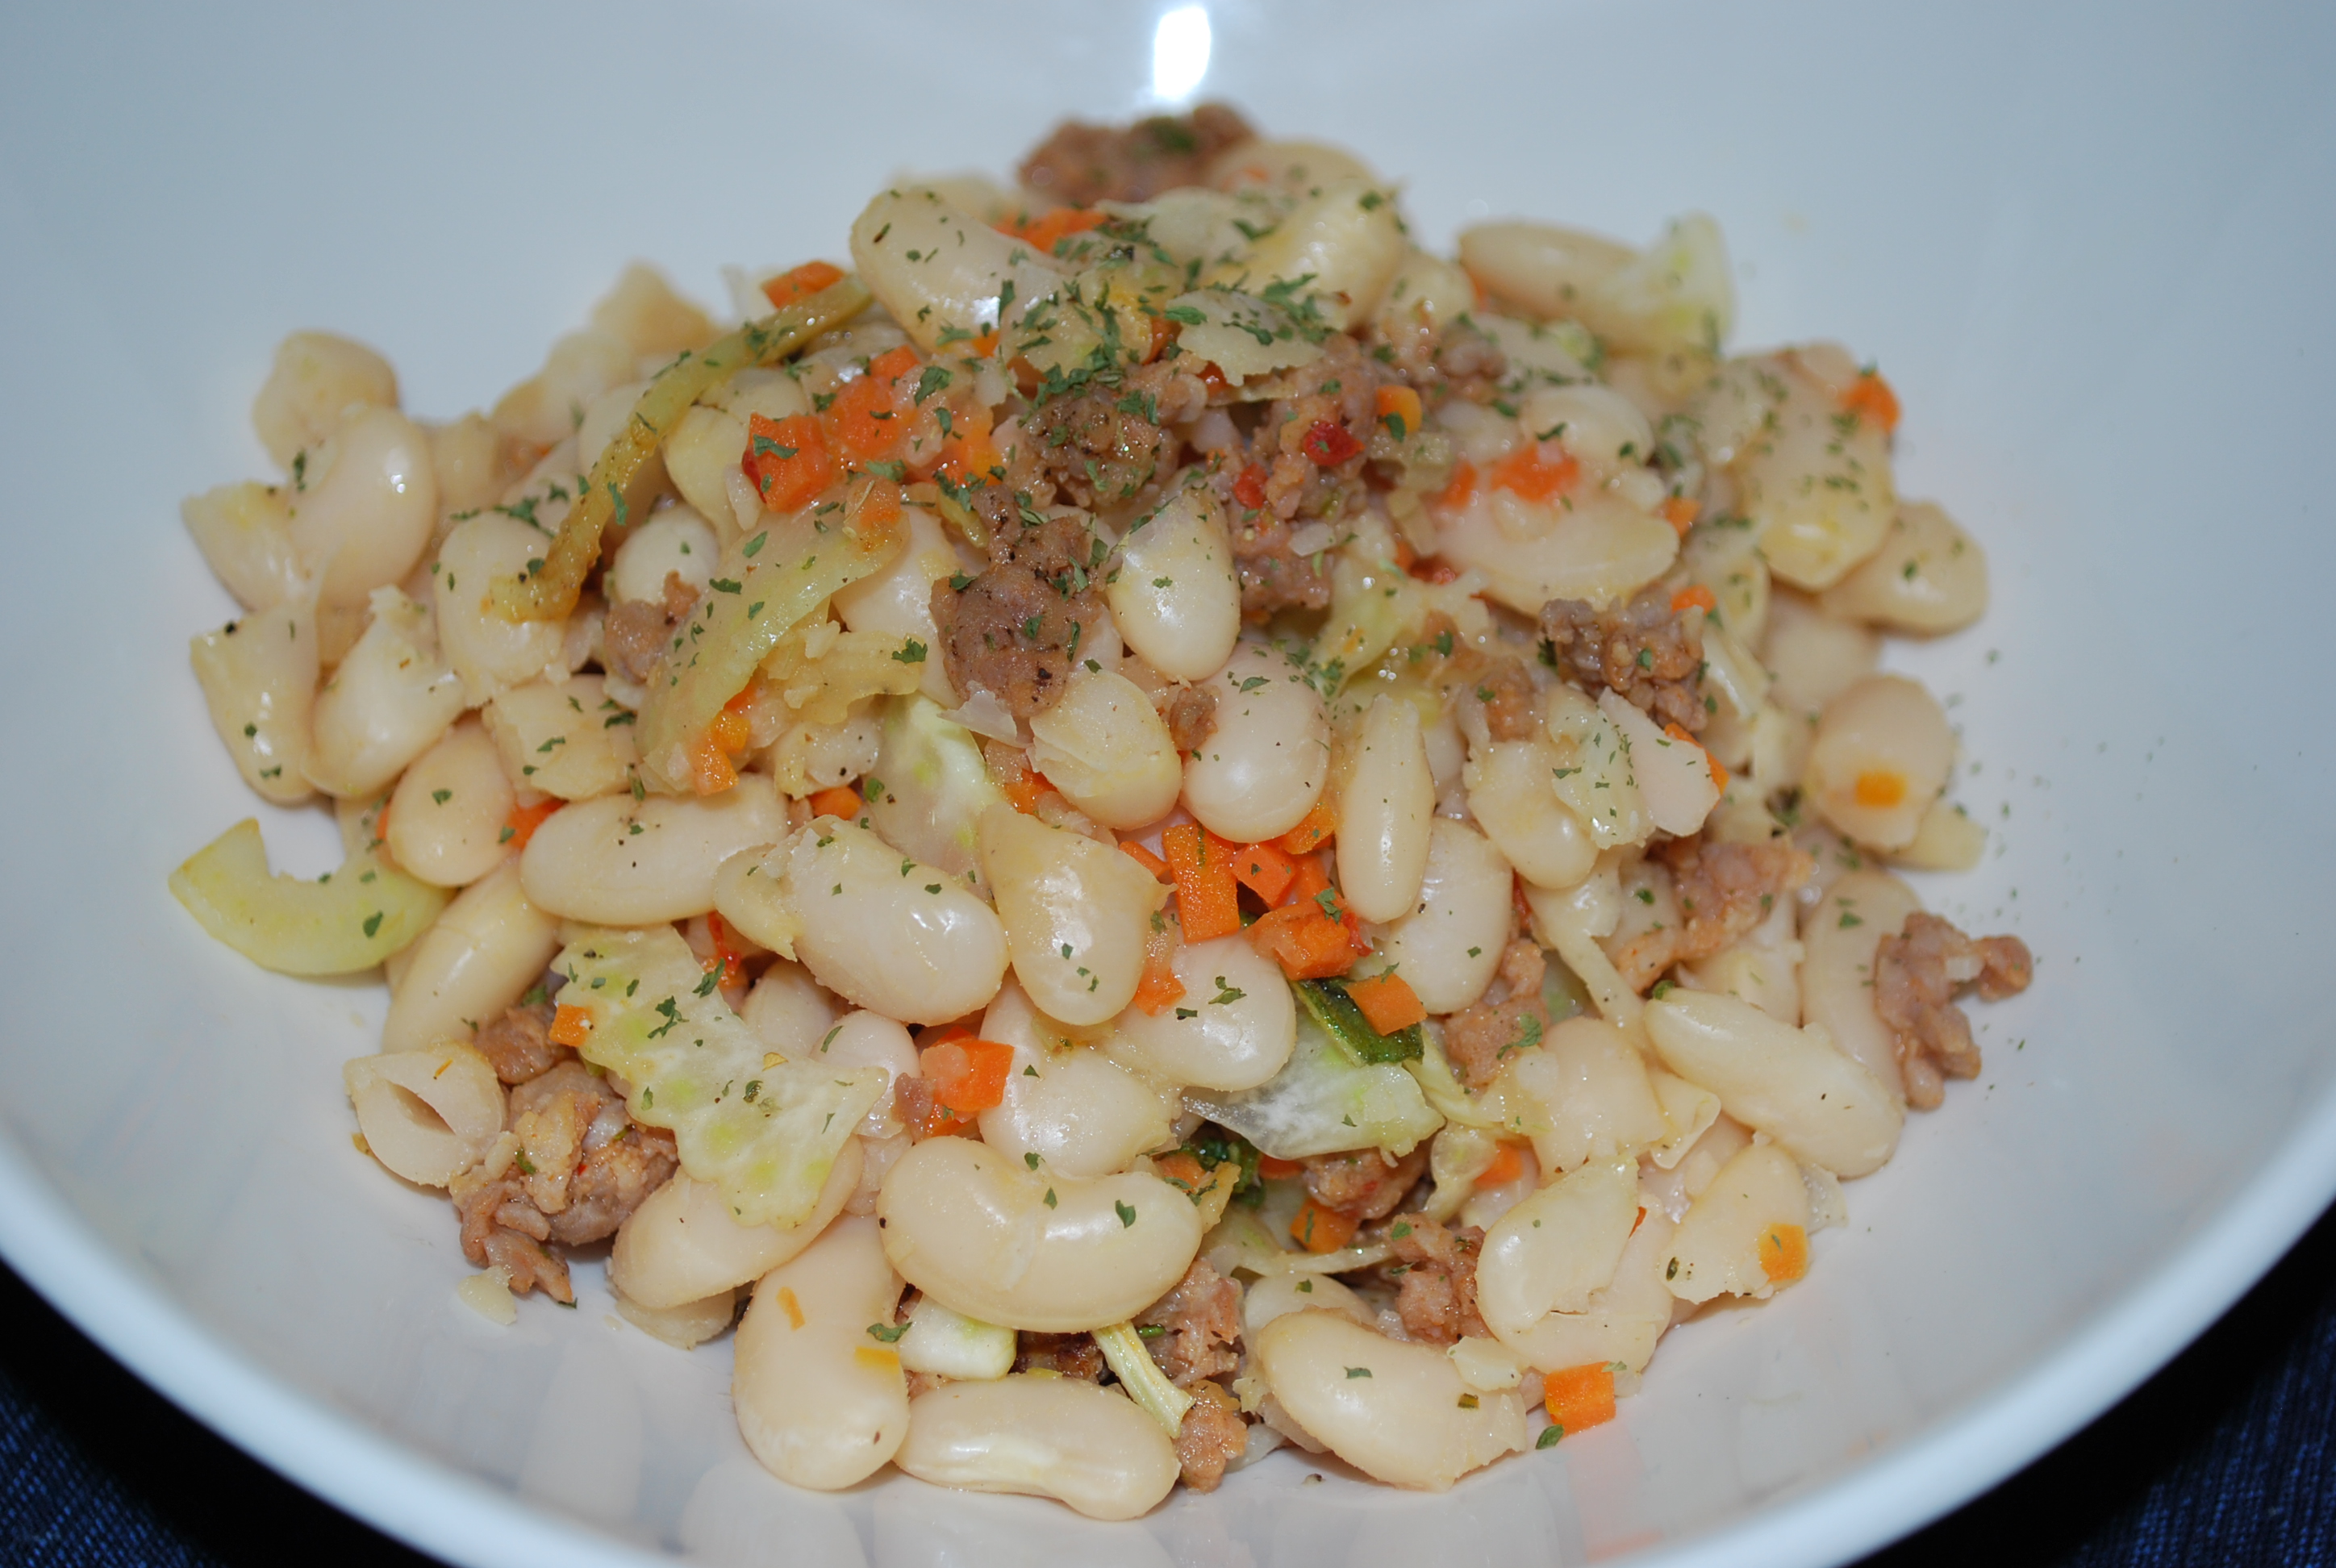
    3.  Add the beans and wine and let the wine reduce to almost dry.  Season it up with some salt and pepper and taste.
    4.  Now you can stop here, and server these, or you can take it one more step.  I like to take 1/8 of the beans out, and either mash them with a masher or give them a rough puree with a touch of water or stock, then add them back to the ragout.  This just gives the ragout some body and a slightly nicer mouth feel.  totally optional if your’e not up to it though.
    The beauty of this recipe is you can do just about anything to it.  You can change the Italian sausage out for Andouille and add some Cajun spices for something Louisiana style for example.  You want seafood?  No problem  add some shrimp.  You don’t like fennel?  No problem, use peppers or something else.  Don’t be afraid to mix it up.  I’d love to here what some of you are doing with this.  Why dont’ you tell me in the comments section
    Happy Eating,
    -The Doctor


  • Back to the basics…How to cook beans

    Believe it or not, I get asked about this a ton.  “Doc, I just can’t make my beans tender”, or “They have no flavor”.  Beans are something that should be in everyone’s secret little cooking arsenal.  Even though I’ll admit I do have a couple of can’s around for a pinch, I do prefer to cook them my self and leave them in the fridge or freeze them cooked in freezer-proof zip-bag.  Beans are a super-food and a nutritional powerhouse.  They’re high in fiber, not very high on the glycemic index, and provide protein and complex carbohydrates  not to mention they’re PACKED with vitamins and minerals.  this is my own basic recipe i use to keep beans on hand.  Every restaurant or banquet kitchen I’ve run has done beans this way because it’s simple, cheap, and convenient.  This makes about 4 cups of cooked beans.

    DSC_0017
    Cooking them beans

    2 cups dry beans (white, kidney, black, whatever)
    1 clove garlic
    1/4 onion, just peeled
    1 sprig rosemary
    1 sprig sage
    1 tbsp. salt
    2 oz. salt pork (you an use prosciutto, county ham, pancetta, bacon, or whatever salty pork you have.  Beans don’t hate, I promise), this is optional, you can omit it if you’re a veg head.

    1.  Cover the beans in water and just let them site over night.  You’ll see they double in size, like this:

    DSC_0016
    Raw on the left, soaked on the right

    2.  The next day, drain your beans and combine all of your ingredients in a pot.  Add some water.  Not too much but make sure the beans are covered by about an inch.  This amount will vary but it’s usually between 2 and 21/2 cups.   Bring everything to a boil then pull it down to a lazy simmer.  this is when the magic happens.  The beans will cook slowly and evenly so they’re not unevenly cooked, and all of those beautiful flavors from the pork, herbs, garlic and onions will permeate the beans.  Now we’ve solved your “Not cooked right” and “No flavor” problems.

    3.  When the beans are done, just drain them and let them cool.  They’ll stay good for about 5 days.  You can eat them just like this or add them to soups, or make some really cool side dishes and dips with them.  We’ll do a couple things with white beans next week, but remember beans are pretty much interchangeable.

    Easy right?  They can be time consuming, but they really don’t need you’re attention when they’re cooking,.  Just let them go.  As if I haven’t sung their praises enough, beans are also very versatile, so now you have another reason to do them form scratch.  Got questions?  Leave below, I’ll get to you.

    -Happy Eating

    The Doctor


  • Bahn Mi Style Pork

    Yeah, yeah , yeah, I know  Bahn Mi is a sandwich.  Actually, Bahn Mi is the Vietnamese term for bread.  The Bahn Mi sandwich as we’ve come to know it is actually filled with all kinds of pork products from meatballs, to belly (my favorite), to pate.  The whole thing started during the French colonization of Indo-china. (Damn Doc, you done dropped some knowledge).  The French brought baguettes, which the natives called Bahn Mi.  The word just eventually expanded to mean all bread.  Anyway, this recipe was originally an appetizer in a little Vietnamese restaurant in the town I live in.  The chef was a good friend of mine whom I met during my time as a menu consultant with a certain hippy grocery chain, who shall remain nameless.  (Hey look man, those hippies will sue!!!!).  The salad itself is very simple, and can be used with anything, so it’s another good one to keep in your back pocket.  Here’s what you’ll need to do one whole pork tenderloin, or enough for 3-4 people (1 if you’re in my house).
    DSC_0034
    1/2c. cilantro stems and leaves for the marinade:
    1/4c.  mint leaves
    1/4 c. basil leaves
    2 cloves garlic, peeled
    1 inch knob of ginger, peeled.
    2 tbsp. sesame oil
    1 tbsp. unsweetend rice vinegar
    2 tbsp. coconut milk
    1 tbsp Sambal (Garlic chili paste)
    1 tbsp fish sauce.


    1.  This is pretty easy.  All you have to do is find a good blender or a small food processor and puree everything at once until it’s smooth.

    2.  Take half of this mixture and rub it on the pork tenderloin.  I like to do this in a zip lock bag.  (It’s a lot less messy)  Just put your pork in, pour the marinade over it, and get rubbing.
    3.  Let the pork marinate at least 24 hours, and no longer than 36.  The acid starts to break down the meat after this.
    4.  When you’re ready to cook the tenderloin, just fire up your grill and cook it until it’s 145 degrees inside.  Let it carry off heat to 150 degrees.  Slice when you’re ready to serve.


    Now for the salad.

    1 large carrot, julienne or shredded1 cucumber sliced thin
    1 small daikon radish (optional, the can be hard to find), julienne or shredded
    1/2. cup cilantro leaves


    1.  Combine all of your ingredients in a large bowl and add the rest of the marinade that you didn’t use from the pork.  Add a few more sprinkles of fish sauce to taste.  Let this sit for about 5 minutes before serving.


    As if the flavor on this wasn’t out of this world enough, you want more?  YOU GOT IT.  I like to serve this with my spicy mayo, which is 1 tbsp of Sriracha to 1/2 c. mayo.  (of course this is optional).  You can replace the pork loin with ground pork or chicken if you want to do the same thing with meat patties.  As always, if you got questions, let me know below.


    Happy Eating,
    -The Doctor


  • Herb Roasted Baby Potatoes

    So, remember Saint Paddy’s day a few weeks ago where I promised you those roasted potatoes?  Apparently some of you are a shake impatient, and can’t wait so here you go.  Although I don’t eat them much, I do love potatoes.  You can do any most anything with them.  They’re kind of like a blank food canvas you can flavor however you want.  Of course the best things are the simplest.  This is actually a recipe I used to use for banquets I learned form a Frenchman (BLASPHEMY?!?!?!, No)  who cooked very simply and very cleanly.   This recipe will serve 6:

    DSC_0023
    About as simple and delicious as you can get

    3/4 lb, small red potatoes

    3/4 lb small yukon gold or white potatoes (either or)

    1 tsp. chopped sage
    1 tsp. chopped thyme
    2 tbsp. chopped parsley
    3 unpeeled garlic cloves
    1 tbsp soft whole butter
    Salt and pepper for seasoning
    Olive oil for tossing

    1.  Preheat your oven to 400, then quarter up those potatoes.  Leave them them in a bowl of water so they don’t oxidize.

    2.  when you’re ready to cook the potatoes, strain them, then drop them over a towel and pat them dry.  Try to get as much water off of them as you can.

    3.  In another bowl, combine the herbs, garlic cloves, potatoes, and some olive oil, and season with Salt and pepper.  Toss these well.  You want just enough oil to coat the potatoes.

    4.  Lay your potatoes out on a cookie tray or sheet pan, lined with parchment paper or foil.  (You’ll thank me later).  Set you oven timer for 10 minutes, and pop them ‘tater’s in the oven.

    5.  After 10 minutes, toss the potatoes.  I use a heat proof rubber spatula and just rune them gently.  Now these go back in for 15 minutes.

    6.  Turn them again and put back in for another 15 minutes.  After this 15 mintues, they shoudl be done.  If they’re not?  No problem, but them back in. when they are ready, season with a little but more salt and pepper, and toss them whole butter into them.

    Simple right?  This is one of my favorite recipes.  If you don’t have the 45-60 minuets it takes to roast these, you can always cook them half way and the finish them the next day.  My favorite thing to do with this recipe is take those garlic cloves and squeeze them out over the potatoes.  It adds another flavor dimension to the garlickyhint that’s already permeated through the potatoes.

    Happy Eating,

    The Doctor


  • Greek Style Lamb Shoulder Chops

    Lamb and Easter go perfect together  but who wants that plain old leg all the time? There’s plenty of other lamb cuts that are way underutilized AND that you can find for a great price at your local butcher.  My favorite of these cuts is the shoulder chop.  On most animals, the should is very tough, but not lamb.  It’s tender flavorful meat that is great for grilling and broiling.  This is a variation on a recipe I used to use during one of my stints at a high class hotel in Philadelphia.  This roast lamb shoulder this recipe is based on was on every Easter buffet menu, and it was always the first item to go.  This recipe serves 4.

    DSC_0015
    Who needs a rack when you have this flavorful cut?!?!?!

    4 lamb shoulder chops

    2 sprigs rosemary, leaves only

    Juice and zest  of 1 lemon
    1/2 c. plain greek yogurt
    2 tbsp honey
    Water as needed

    WHAT!!!!!?????!?!?!?  Nothing else??  Nope.  Simple as can be.  I like to do the marinating a day before so the lamb gets even more tender than it already is3 cloves garlic, peeled

    1.  Simply enough, take your lamb, honey, lemon juice, rosemary, and yogurt and stick it all in the blender.  Pulse until everything is smooth.  Some Greek yogurts can be pretty thick, so if you need to add a couple tablespoons of water to thin it out, go ahead.

    2.  Drop you marinade into a ziplock bag and then add the meat.  Let this marinate for 8-24 hours.

    3.  When your ready to cook, just turn on your broiler or grill and cook to medium rare (135 internal)

    Even though this marinade is being used for lamb, it’s great for anything.  I used it on chicken, fish, pork, and in burgers well.  I like to serve these chops with some nice fresh arugula dressed with just touch of Olive Oil and black pepper.  If you want some starch, a nice soft polenta is a perfect match.  (Oh wait, I guess you guys will want that recipe too)  Don’t forget to subscribe, and leave comments below.  Yes, a basic polenta recipe is coming soon

    Happy Eating,

    The Doctor


  • Easter Fritatta

    If there was any breakfast the defined my childhood is was this one.  I used to wake up before everyone in the house and sit for hours with my mouth watering, just waiting for the first egg to crack.  We only got this once a year on Easter, and it was the richest, most delicious egg dish you will ever sink a fork into.  This isn’t a traditional Fritatta like most Americans think.  this is how a Fritata is done back in the home land in Avellino, Italy, right outside of Naples.  Avellino is right up near the Almafi Coast, so if you know your Italian foods, dairy is HUGE in this area.  So of course it’s going to get featured three times in one dish.  This recipe serves 6:  Oh, and make sure you have a non-stick pan that can go in an oven.  (That means no plastic handle)
    DSC_0032
    1 dozen eggs
    1/2 lb. Italian Sausage (loose if you can get it)
    1 c. Ricotta cheese
    1/4 lb. Fresh mozzarella, slices 1/4-1/3 inch thick
    1 tsp. fresh chopped oregano or marjoram
    2 tbsp. fresh Basil
    2 tbsp. Parmesan cheese
    1 tbsp. whole butter
    1.  Start off your sausage in a non-stick skillet over medium heat.  I use a 13″ skillet for this, but anything between 12” & 16” will work.  Brown your sausage, breaking it up as it cooks.
    2.  While your sausage is browning, take you herbs, ricotta cheese, eggs, and Parmesan cheese and whisk them together in a bowl.  Hold these until your sausage s cooked.  You also might want to turn your oven up to 400 right now…just sayin’…you’ll need it.
    3.  At this point, your sausage should be nice and brown.  Leave it in the pan, add the butter and let it melt.  It’s ok if it’ brown’s a bit.
    4.  Give your eggs one more stir for good measure to make sure everything is nice and even, and pour into the pan.  Let everything site on the heat for about 5 minutes.  Then lift the edges and get all of the liquid under the solids, like this:
      Don’t be afraid to let these brown a little bit, we’re not making an omelet here. This is something much more rustic.  A little bit of color on the eggs give the Fritatta its character.
    5. Now is a good time to add half of your mozzarella so it gets all through.  it should look like this:
    Partially cooked Fritatta, just adding the cheese
    6.  After another couple of turns, add the rest over the top. The Fritatta should be almost done, with just a little liquid on the top.  Now it’s time to pop it in the oven for 5-10 minutes, until it’s done.
    7.  When you Fritatta is ready It’s time to slide it out onto a plate.  I like to let it rest for just a minute so it deflates.  Then you just get your spatula under it and push it out slowly, like so:
    Now just because this is an Easter tradition, does not mean you can’t play with it.  You can use different types of sausages, cured meats,  and cheeses to develop your own flavors.  Do you have an herb garden and you’re proud of what’s in there?  GO FOR IT!!!!  Change out the herbs.  Roasted vegetables are also a good alternative to replace the meat if it’s not your thing. I’ll put together some more Fritatta recipes for you  when the summer comes and I get in some nice, local farm fresh produce.  If you have any requests for another Fritatta, leave it in the comments.
    Happy Eating,
    The Doctor.


  • Rosemary Mashed Sweet Potatoes and Caramelized Shallots

    I love sweet potatoes,  but I hate it when people over sweeten them with sugar and coconut and put marshmallows over them.  For the love of all that is culinary, there is so much more you can do with these versatile tubers than just cover them up with sugar.  They’re naturally sweet themselves, and are a nutritional powerhouse.  They have tons of vitamins and minerals, and much less carbohydrates than a regular potato.  If you happen to belong to a co-op, you’re also about to start getting a ton of these because the winter is ending.  This recipe is a nice alternative to what people are used to and still manages to hold some familiar flavors.  This recipe servers 4.

    How ’bout that for a side of sweets, eh?

    2 large sweet potatoes (about 2 lbs)
    2 large shallots, sliced thin
    2 tbsp honey
    2 tbsp butter, room temperature
    Salt and Pepper to taste
    2 tbsp sour cream or heavy cream
    1 tbsp. rosemary, chopped
    Olive oil for cooking
    1 tbsp. sherry vinegar
    1/4 sherry wine.

    1.  First step, Heat that oven up to 350, and throw your sweet potatoes in until they’re done.  How long???? Well, I can’t answer that, because I don’t know how big your sweet potatoes are.  Some take 40 minutes, some take a couple hours.  You want them to be soft is the key.  You can also do these a day ahead and just let them cool over night.  You can just give them a quick nuke when you want to heat th em up, make the puree (I’m getting’ to it) then heat it up in a saute pan.

    2.  When the sweet potatoes are done and cooled enough to handle, just peel the skin off.  This should be pretty easy.  At this point you can either choose to use a masher or a food processor.  If you want this super smooth (and you’re showing off) use the food processor.

    3.  Once you have everything smooth, or fully mashed add your butter, herbs, 1 tbsp. of the honey,  sour cream and salt and pepper.

    NOW…we can leave this as is and serve it, or, we can take this to the next flavor level,  Guess what I’m doing?  Yes, we are doing caramelized shallots to level this up…so…

    1.  Start a pan on medium low heat, add some oil, and add your shallots when you see the is hot.

    2.  Season with some salt to pullout some moisture and stir or toss these every other minute or so until they look like this”

    Caramelized shallots, before the honey, wine, and vinegar

    You can add more oil if the pan gets too dry and they start to burn, they should have a slight sheen on them.

    3.  At this point, add your honey and stir it through thoroughly.  Cook this for about a minute.

    4.  Add your wine and vinegar and let them reduce all the way.  Your shallots are ready when they look like this.

    So this might look a bit complicated to do all at once, but trust me it’s not.  If you’re  a little shy, you can do these at different times and just heat as needed.  You can also prepare these separately.  These go great with (of course) pork, roasted chicken, steaks, or a nice hearty, oily fish like Salmon or Tuna.  If you want any more serving recommendations, just ask.  Don’t forgot to subscribe

    Happy Eating,

    -The Doctor


  • White Bean and Turnip Green Stew

    Sorry Grandma, but I’m ripping another one out of your recipe book.  We’re twisting up the old school Escarole and Beans (or Schadole if your Grandparents were as Italian as mine) into something a bit newer and more flavorful.  Spring is coming and we need to get using some of those awesome vegetables that will be showing up at your local Farmer’s Market.  Around here we have a great variety of greens as well as ramps, scallions, and leeks, so I’m taking HUGE advantage of this, but you can take advantage of what grows around you.  I’ll throw some more ideas your way at the end.  This recipe makes about a gallon.
    DSC_0016

    1 bunch leeks, Trimmed and sliced thin (this means cut he dark green off, and use the light green, make sure you wash these very well)

    1 medium bulb, fennel
    4 cloves garlic, sliced thin
    1 tbsp.  chopped fresh rosemary
    1 tbsp. chopped fresh thyme
    1 tsbp.  chopped fresh oregano or marjoram
    1 bunch turnip greens, chopped
    2 quarts chicken stock or broth
    1c. white wine
    2 cans white cannellini beans drained (I cook my own, but just for simplicity’s sake)
    1/2 lbs. country (or Virginia) ham, small diced.  (Salt Pork and Prosciutto work well too)
    11.        So, first a quick fennel tutorial.  Split the fennel down the middle and cut the core out like so:
    Then slice it about ¼ inch.  Like this:


          Now, get a nice heavy pot, and add about 2-3 tbsp. of olive oil.  Turn up the heat to about medium and add the garlic and ham.  Sweat this out until you can smell the garlic.
    32. Add your leeks and fennel.  Let these sweat for about 10-15minutes, stirring every few minutes.  Now add you greens.   Let these go for about 5 minutes, stir every minute or so.
    43.  Now add your wine and reduce by half.
    54.  Add the herbs and chicken stock and let this simmer for about 30-45 minutes.
    65. Since your beans are already cooked, we don’t’ want to make them mushy, so when your greens are nice and tender. Cut the heat and add the beans.  Now it’s time to pack this up into small Tupperware containers or eat (of course I prefer eating it)
    For some people out there, the little bit of ham in there is enough meat, BUT NOT ME!!!!!   I like to serve this with pulled chicken, grilled turkey, or miniature meatballs. (like in the picture)  You can also feel free to substitute the leeks for ramps, if you’re in area where they grow.  I’ve also used kale, mustard greens, and other greens in place of the turnip greens.  This whole recipe started because I can’t get get escarole where I live, but I have plenty of other wonderful local vegetable   As always, you’ve got questions, I’ve got answers, just leave them below.
    Happy Eating,
    -The Doctor


  • Corned Beef and Cabbage Salad with Mustard-Horseradish Dressing

    I love St. Paddy’s day (not Patty, that’s an insult, Paddy is short for Padraig, the Saint’s true name) the beer is green, the parties are good, but the corned beef and cabbage is just blah.  Not that it’s not good, it’s just the same thing over and over again every year.  This recipe is a bit lighter and less boiled than the heavy one pot meal traditionally served for St. Patrick, and it’s a great alternative to the norm.  This makes enough for 4.  I have the tools and knives sharp enough to cut the cabbage real thin, but if you don’t, no worries,  just buy the pre-packaged coleslaw kits, especially if your local grocer cuts them themselves like mine does. Another good alternative is to process all of the vegetables through a slicing attachment on you food processor if you have one.

    2 bags Coleslaw mix or 1 medium head cabbage

    Fancy conred beef and cabbage
    1 small red onion, sliced thin

    1 tsp chives, sliced thin

    1 green bell pepper (Well, I’m not doing red for the Irish right?), thin julienne

    1 lb corned beef (get your deli to slice it 1/4 inch thick)

    2 tbsp. mayo

    2 tbsp. cider vinegar

    1 tbsp. sour cream

    2 tbsp. Old Fashioned Whole Grain mustard or Creole Mustard (please don’t use the yellow crap)

    1 tbsp. prepared horseradish

    1 tbsp. sugar

    Salt and Pepper to taste

    1.  Get a nice big mixing bowl and a whisk.  Whisk together your mustard, mayo, sugar, vinegar, and horseradish in the bowl.

    2.  Add your onions and peppers next.  Stir them around and let them sit for about 5 minutes.  The sugar in the dressing is going to make the vegetables leech water, which is what we want.

    3.  Add the cabbage, mix thoroughly with the dressing and season with salt and pepper.  Let this sit again for a few minutes.

    4.  Take 1/4 of the sliced corned beef and julienne it.  Mix it through your salad.  Garnish with the chives.

    5.  Now your ready to serve this.Take the salad out and put in on a platter, make sure to keep it nice and high.  I like to squeeze the salad a little bit to get the excess liquid off.  (Reserve it though, we’ll use it in a minute).  Arrange your corned beef around the salad and drizzle just a little of that excess dressing you squeezed out on the salad. Garnish with the chives and you’re set. 

    Yeah, I know, the picture doesn’t look like what I describe, but you guys know by now My foods gotta look good too, not just my leisure suit. So where are the potatoes you’re asking?  Well, you don’t need them , but if you must, some roasted red potatoes are a nice change of pace.  I’ll have a recipe up for that too, but in a nutshell, toss some small red potatoes with some oil, salt and pepper and roast them at 375 for about 45 minutes.   You got a question?  Just ask, and don’t’ forget to subscribe.

    Happy Eating,

    The Doctor.


  • Roast Pork Sandwich

    When I say “Philly Sandwich” what do you think?  Probably Cheesesteak.  Well, you’re right it’s what that city is known for, but what you don’t know, unless you’re a native like me, is there’s another sandwich native to that city, that put the Philly Cheesesteak in the dirt. It’s the famous roast pork sandwich you can get at any place that serves up cheesesteaks, even Pat’s and Gino’s, although I should note that DiNic’s is the current title holder for best sandwich in the city.  There are  a few different ways to do this sandwich.  Some places use broccolirabe and some use long hots (long spicy green chiles).  I’m using onions and long hots for this recipe.  This will make about 6 sandwiches, plus some for later. 

    Sandwich Porn….
    6 Italian style rolls, toasted

    3 lb. pork butt

    2 medium onion, cut in 1/2 inch slices

    6-7 long hots, cut in 1/2 inch slices

    Olive Oil for tossing

    2 tbsp. chopped fresh thyme

    1 tbsp. chopped fresh rosemary

    1/4 c. chopped fresh parsley

    1 tbsp. garlic powder (GHASP!!!!!)  Trust me.

    1/2 pound sliced aged provolone or parmesan cheese (the real stuff, not the crap in the can).

    1.  Let me show you how to cut the onions and peppers.  You want them thick because you’re going to roast them for a long time with that pork.  It might be smart to preheat your oven to 300 now too.  For the onions, cut the ends off, then peel it.  Go about 1/2 inch thick all the way down.  For the peppers, just lay down a half inch slice.  Take out the seeds if you want, but I’m leaving them in because i like it spicy.  

    Cutting the peppers
    Cutting the onions
    2.  Toss your onions and pepper in a bowl with some salt and pepper, olive oil, garlic powder, and the herbs.  Lay them out in a deep roasting pan.  

    3.  Lay your pork over your vegetables.  If it’s a really thick butt, I like to cut it down into 1inch thick slices to cut down the cooking time.  Cover this well and let it roast for 2.5-3 hours.  You’ll know the pork is ready because it will be falling apart.

    4.  Before you do anything, DO NOT DRAIN THE JUICE!!!!!!!  Pull the pork in the roasting pan, so it stays with the juice and vegetables. 

    PORK PORN!!!!!
    5. When you’re ready to eat, give the meat, onions, and peppers a good stir, grab a bun, lay some cheese on the bottom and spoon that beautiful meat mixture into the bun.  

    6.  Devour

    This is one of those recipes I actually won’t mess with much, because it’s such a classic.  Every place has their own spin, but I usually keep with onions, pepper, and broccoli rape for my vegetables, and paremsan or provolone for my cheese.  The best thing about this recipe is you can make it a day ahead, let the meat sit in the juice overnight, and it’s even better the next day.  As always, you got questions?  Leave ’em in the comments.

    Happy Eating,

    -The Doctor