• Category Archives The Basics
  • Old School Holiday Roast

    Holy Happy Holiday is this an oldie and a goodie!!  This is a time tested and proven recipe that is both easy and ridiculously delicious.  So many people now are trying to do new things for the holdays, and that’s great, but don’t forget the roots.  In my book, nothing meats an awesoem old school roast.  This is a dressed version from my childhood holidays.  Who cares how many this serves, just make it.   There won’t be leftovers.DSC_0492

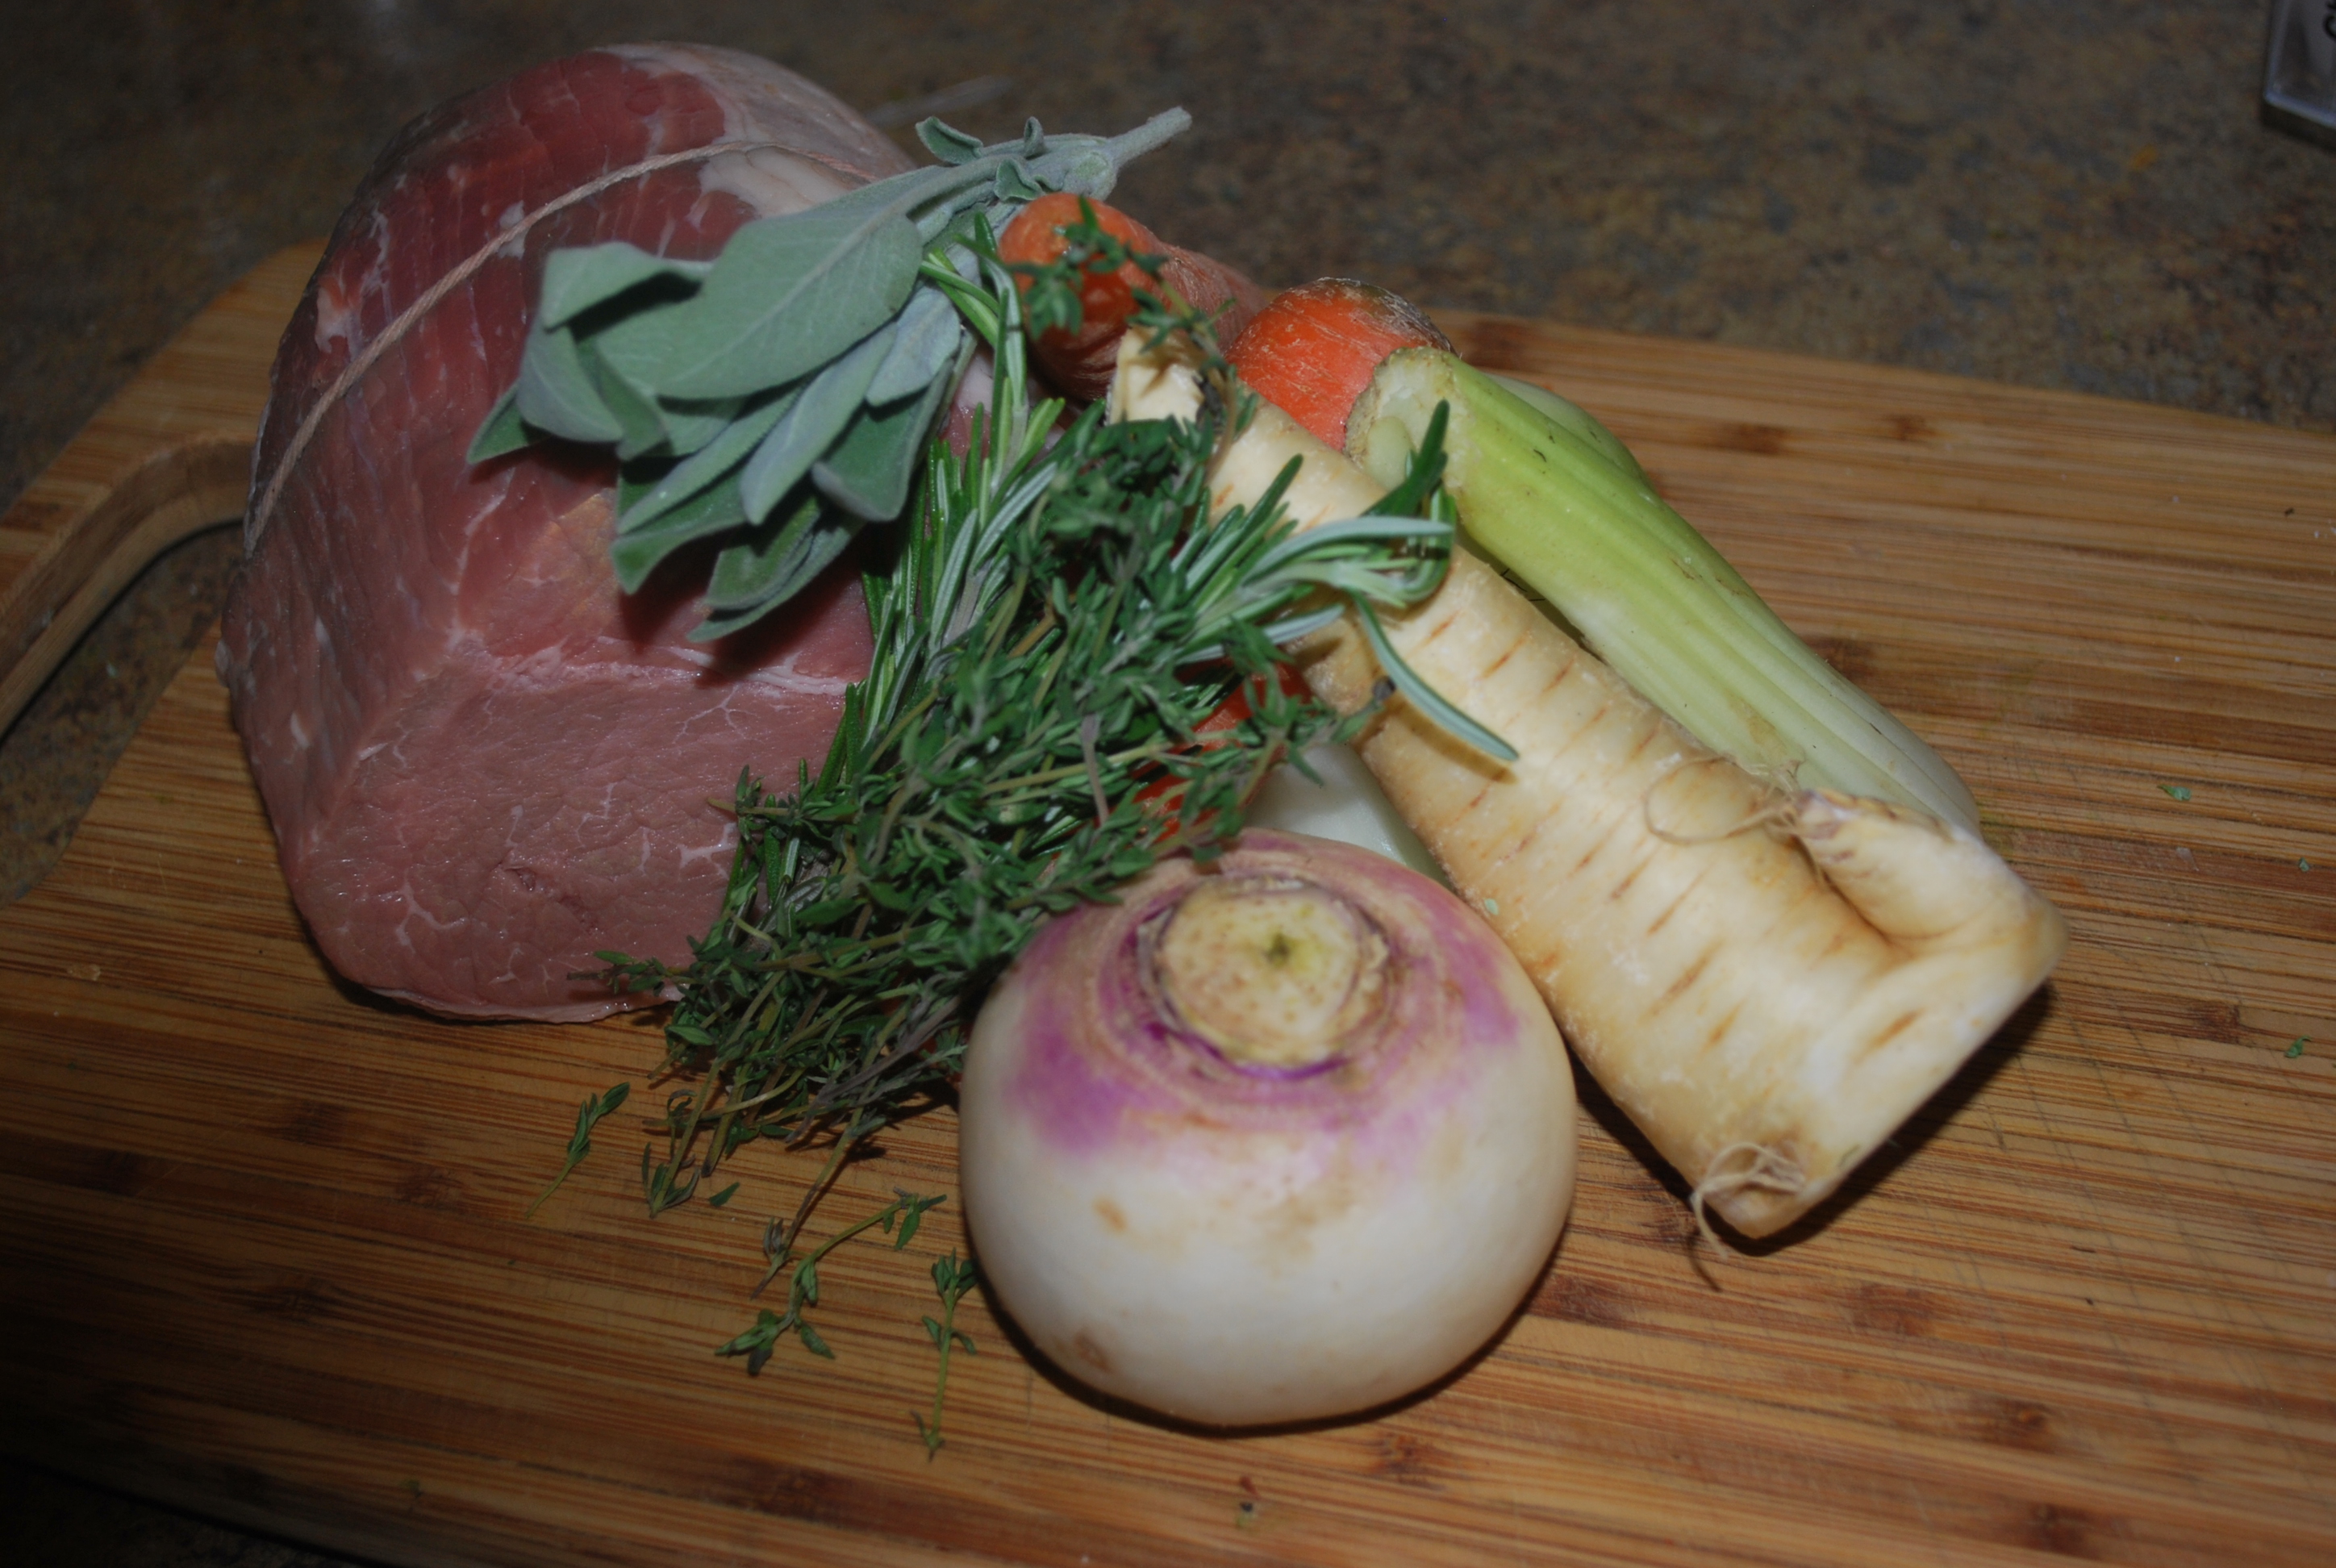
    • 1 1/2 lb beef eye round
    • 1/4 c. Extra Virgin Olive iol
    • 1 small white parsnip, cut into eights
    • 2 large carrots, roll cut
    • 2 parsnips, roll cut
    • 5 medium red or white potatoes, large dice
    • 1 small onion, cut into 5 wedges (red or white your prefernce)
    • 4 cloves garlic peeled
    • 1/4 c. pasely leaves
    • 1 tbsp. roasemary leaves
    • 1 tbsp. thyme leaves
    • 1 tbsp sea salt or kosher saltDSC_0482
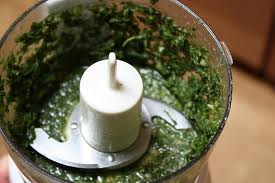
    1. The night before you cook the roast, you’re going to want to marinate it.  To make the marinade, combine your herbs, oil, and salt in a blender.  (Oh, save your herb stems, we’re going to use them)  Crank the blender all the way up and let it go for about 3o seconds.  This should all be smooth, but not liquidy (if that’s a word)
    2. Rub the eye round with the marinade.  I like to pour most of it in a ziplock bag, then drop the eye round into it.  Massage the marindae around a bit, then let it sit over night.  In the morning, rub it again and turn it over.
    3. Add just a touch of oil to what’s left of your marinade to thin it out if it needs it.  We’re going to toss all of the vegetable in this rigth before we roast them. (yes including the garlic cloves)
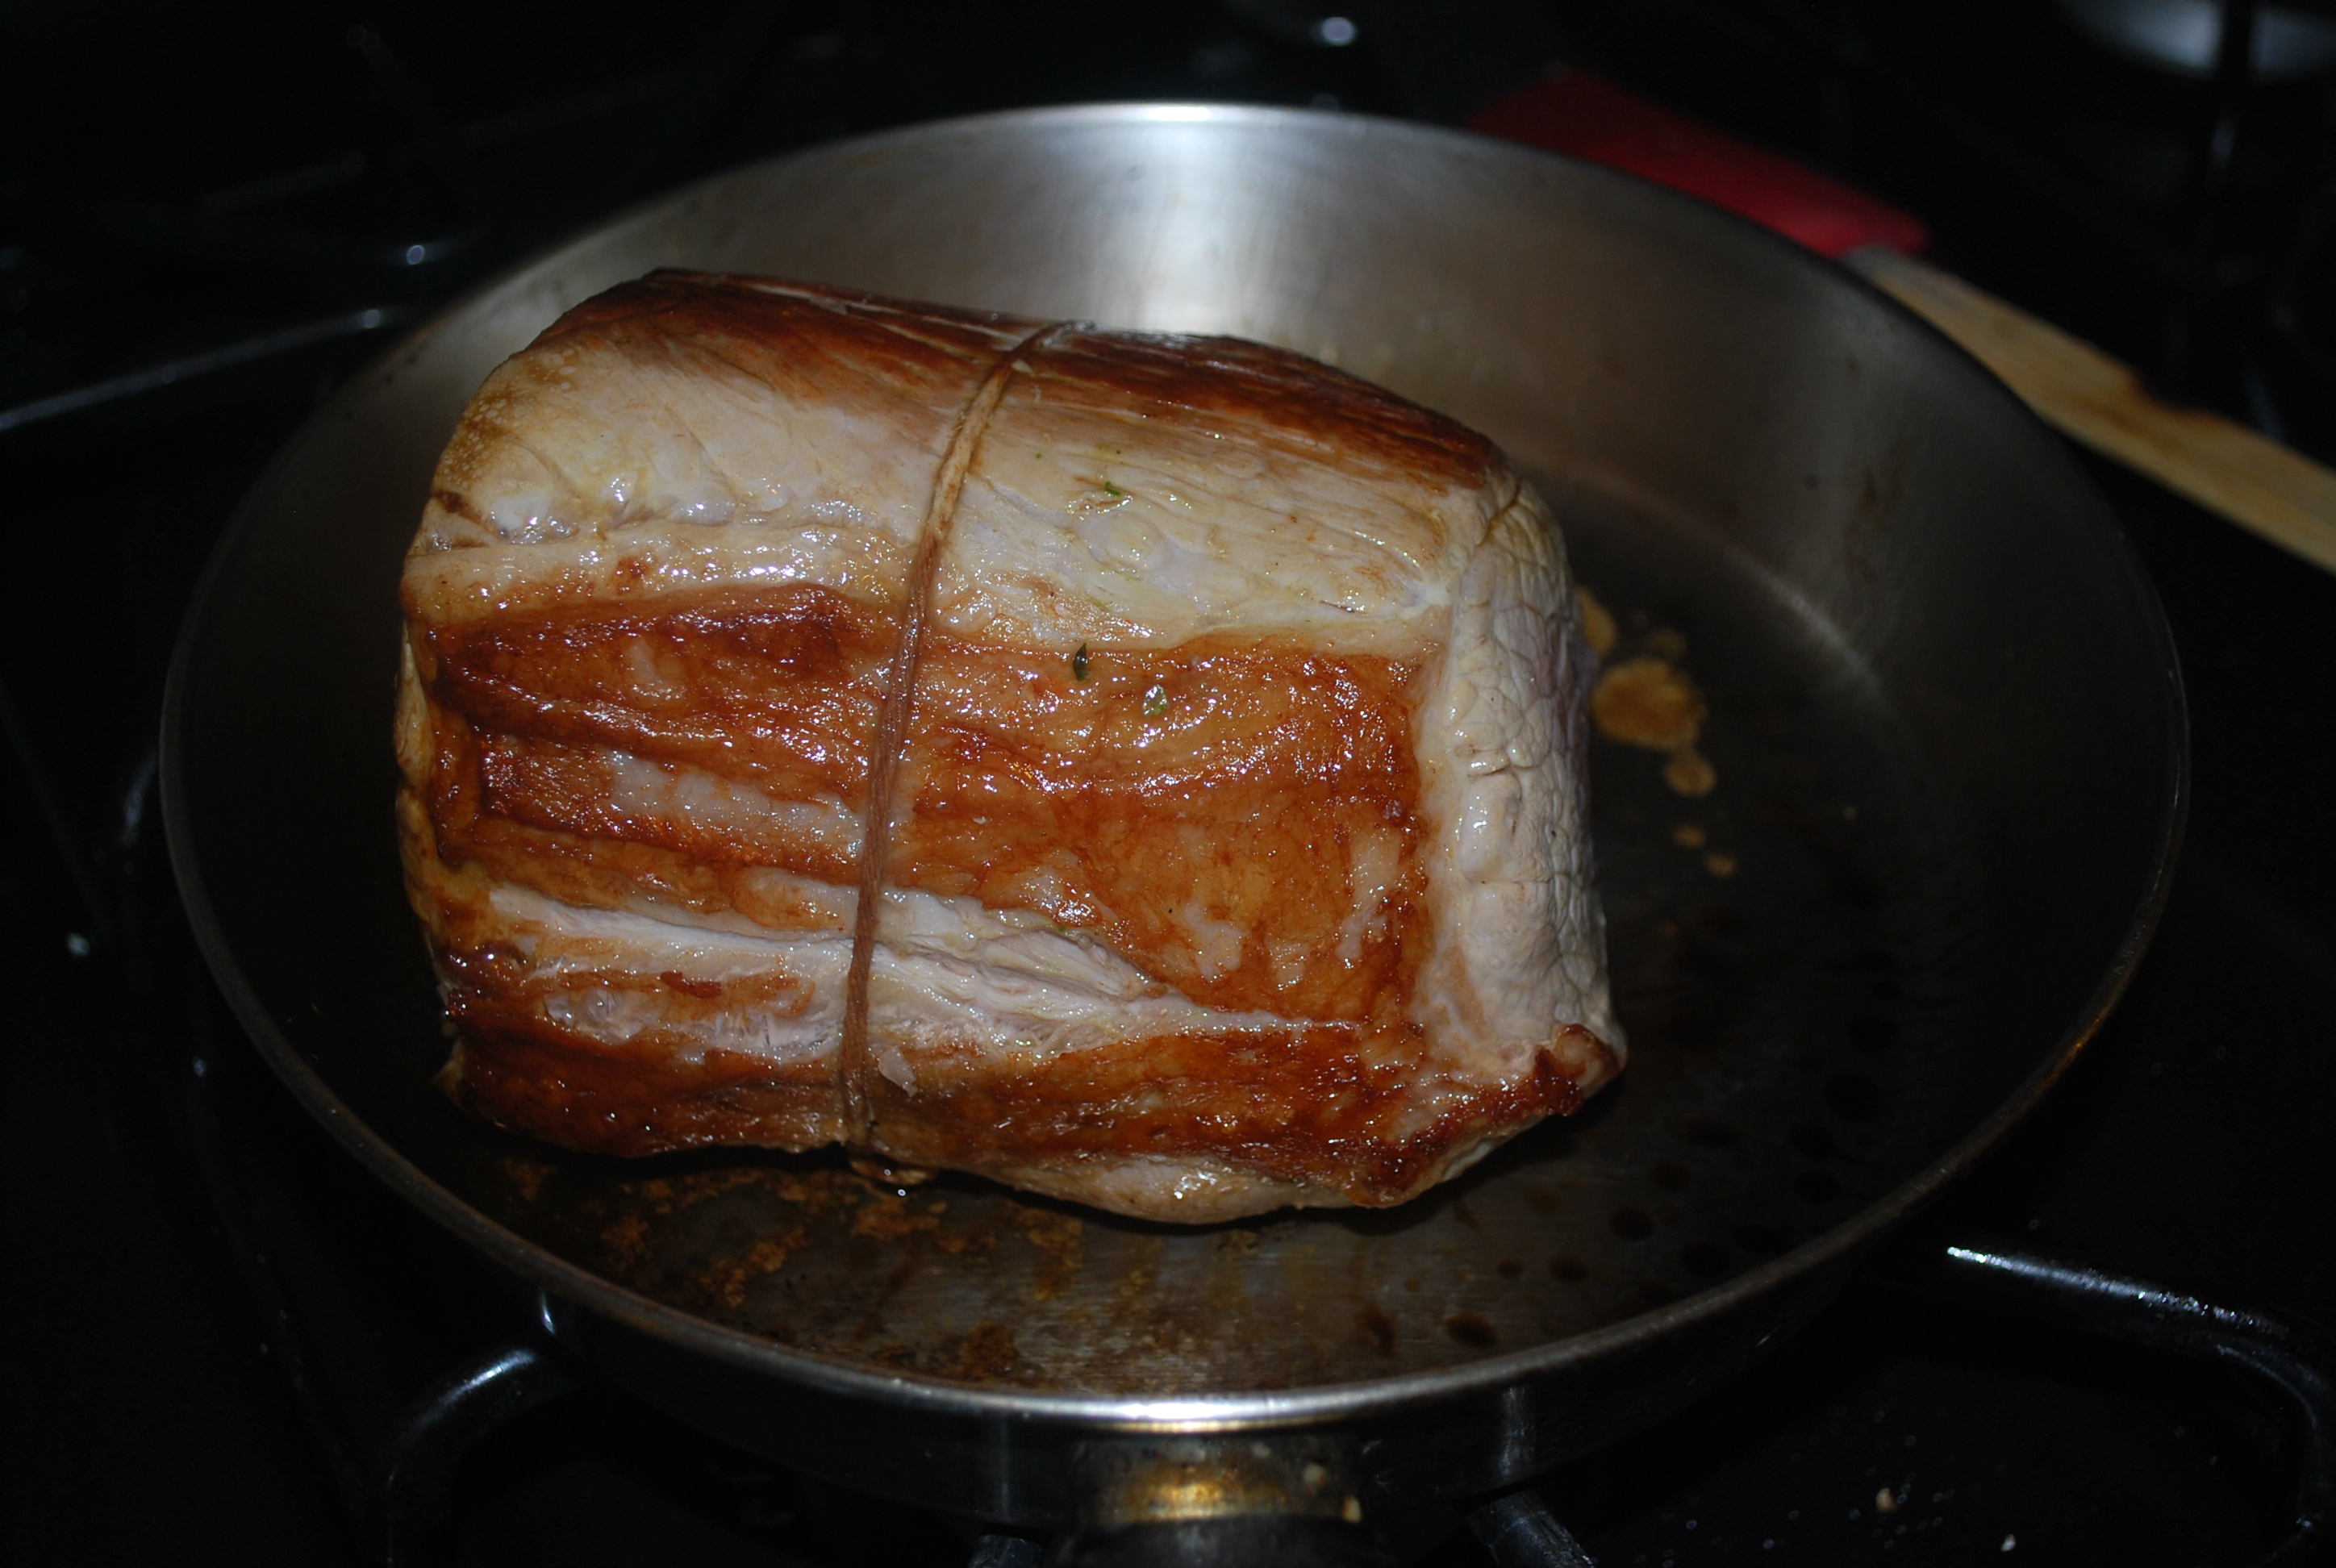
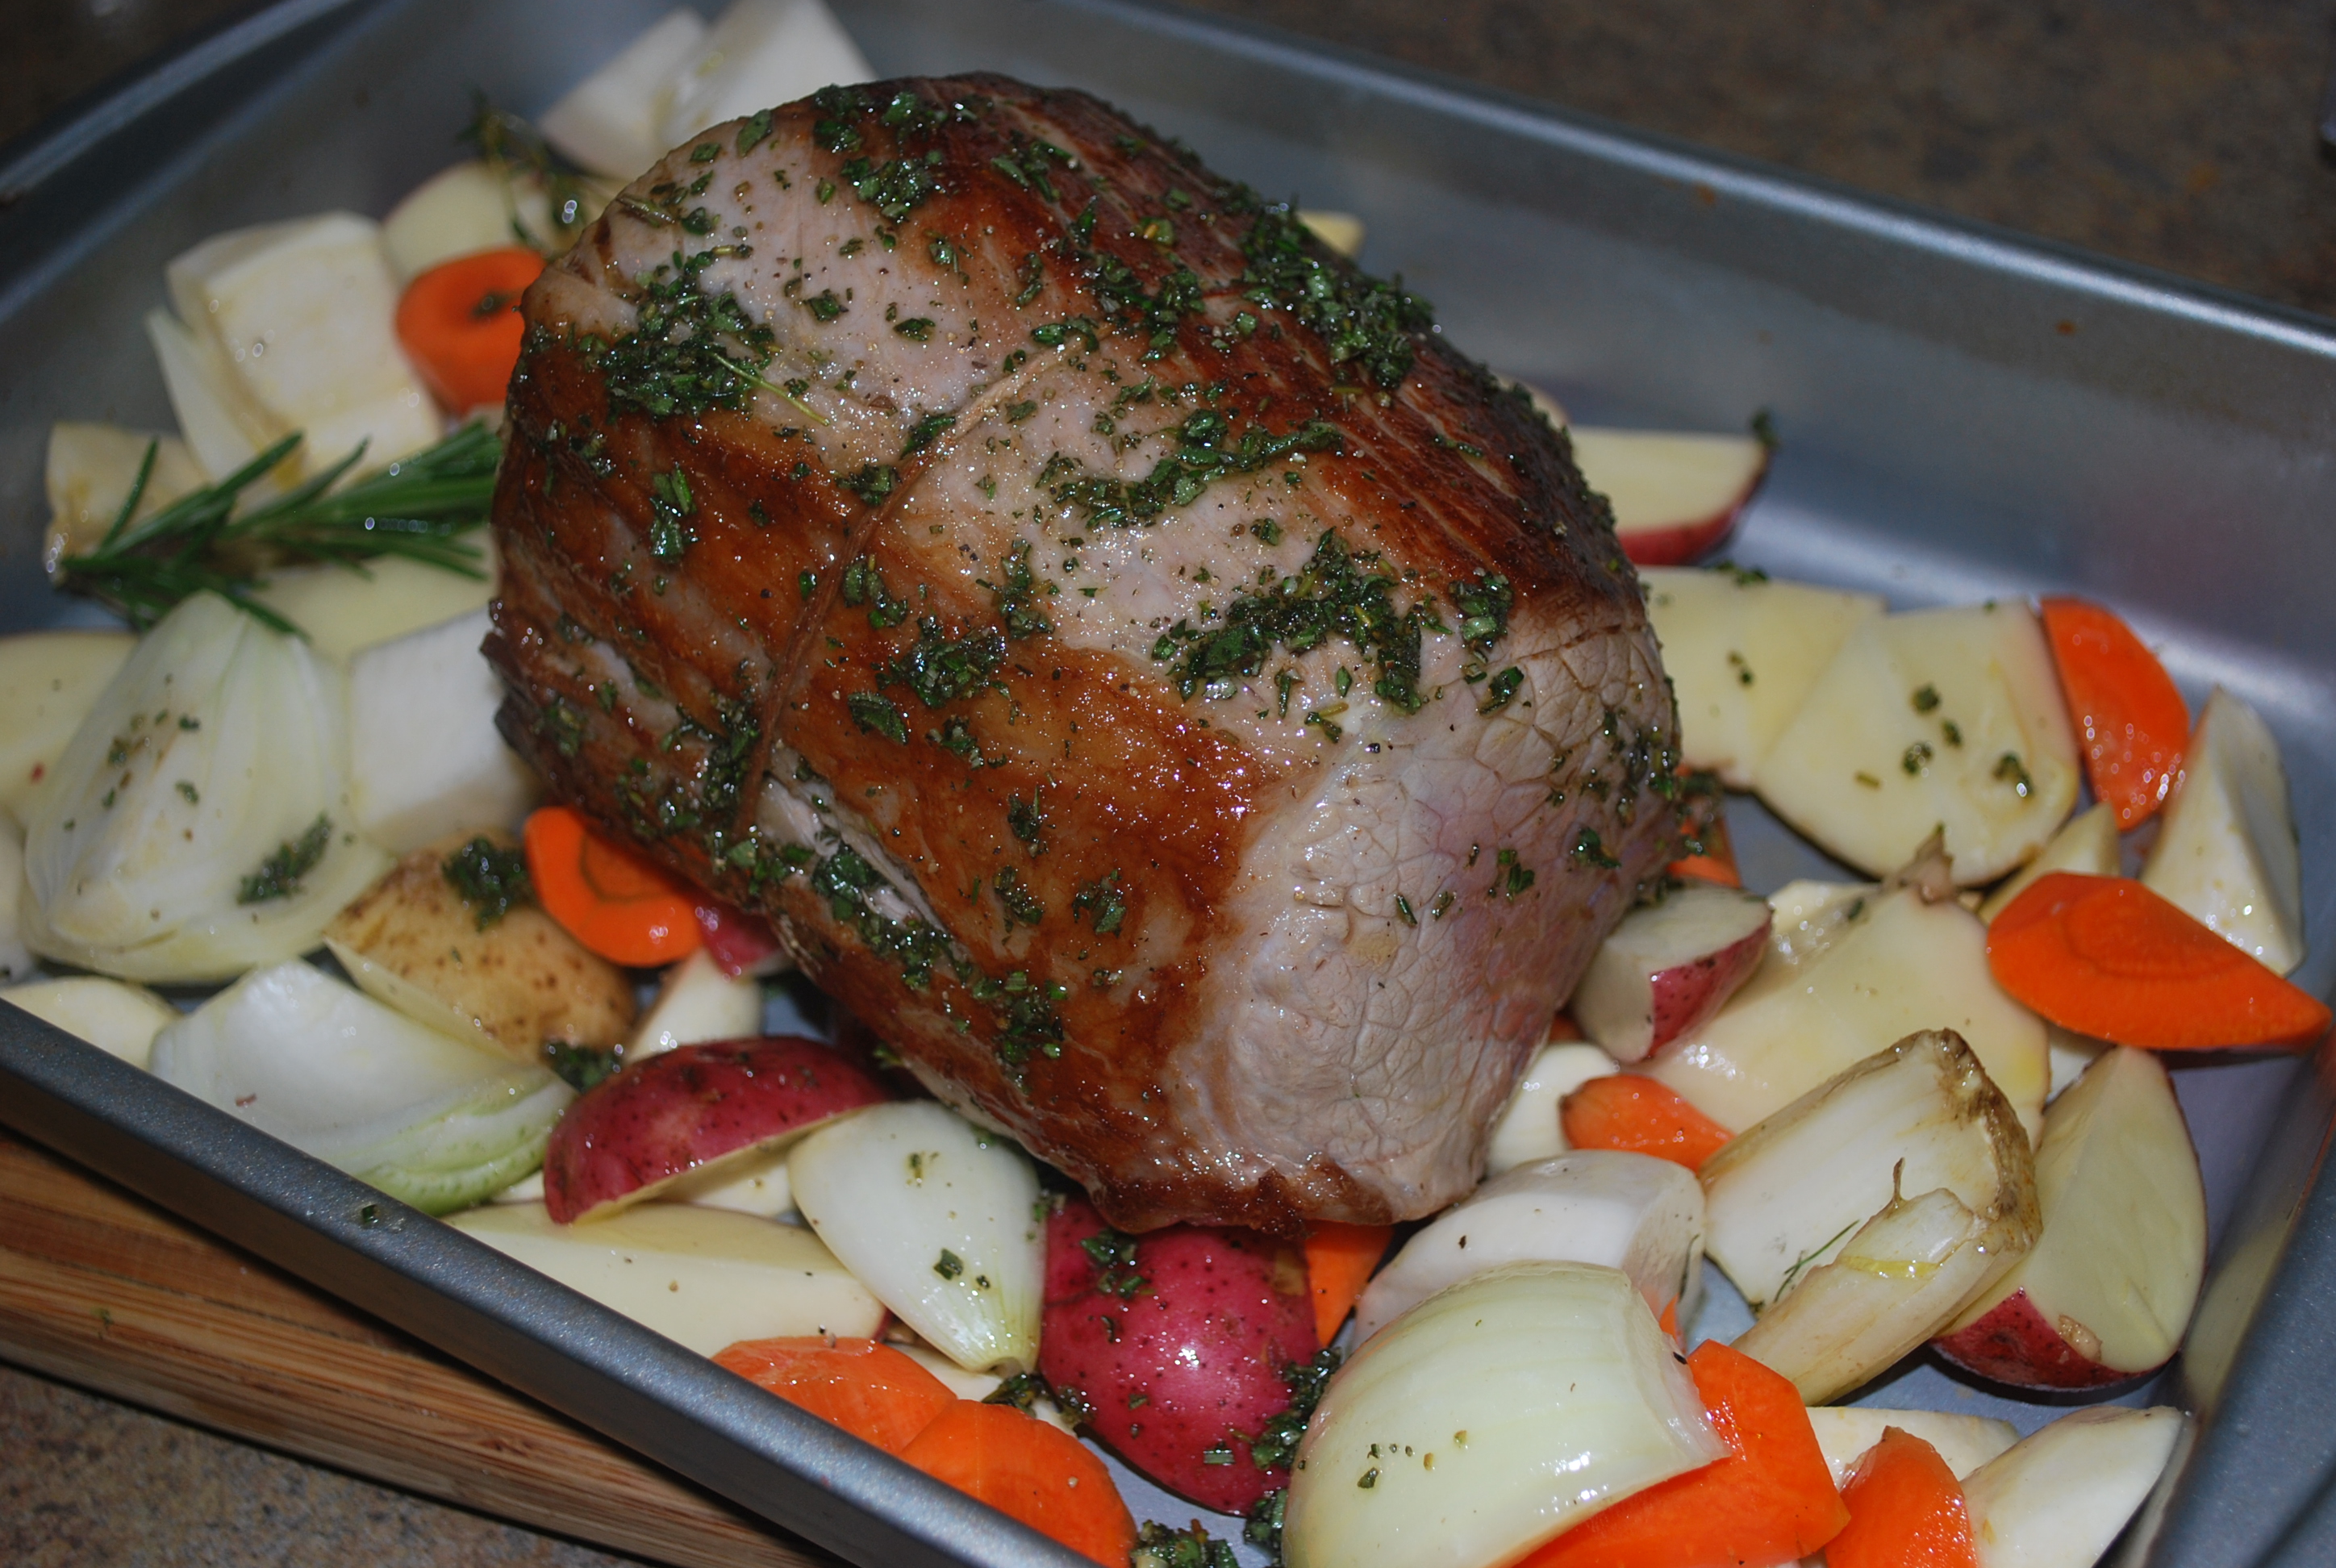
    4. When you’re ready to cook the roast, toss the vegetablein the marinade, and add some black pepper.  Drop them into a heavy roasting pan with high sides.  At the same time, get a good hard sear in a hot pan on your meat.DSC_0484
    5. Place the herb stems you saved right in the middle of the roasting pan.  Place the roast on top of that and pop it into a 400 dgree oven.  Roast this until the internalhits 125 degrees (it will carry to medium rare).   Ususally this is abotu 30-40 minutes, but the thickness of your roast may vary.
    6. When themeat is ready, the vegetable will still need a bit more time.  Add your wole butter, tosse the vegtable in it and let them go another 10 minutes while the meat rests outside fo the oven.DSC_0487


  • Back to the basics…Easy Roasted Chicken

    Believe it or not, chef’s and restaurants are judged on very few things (well if you’re not the French Laundry or El Bulli).  You’re judged on your burgers, your steaks, and your chicken.  Why?  They’re the three most basic things to cook, and if those are good and made with care, chances are your restaurant is good and your customers will be back and more adventurous for the next meal.  Let’s face it, there’s many ways to roast a bird, but his is the fastest most basic way.  I already have a few recipes here on the blog that call for leftover chicken, or pulled chicken, that I like to use this simple recipe for.


    This is what happens to Angry Birds...
    This is what happens to Angry Birds…
    • 1 roaster or fryer chicken
    • 5 springs thyme
    • 1/2 lemon, cut into wedges
    • 3 sprigs rosemary
    • 3 sprigs sage
    • Olive oil or melted butter for brushing (and a brush , duh)
    • Salt and pepper
    • 1 onion, cut into chunks (optional)
    • 2 carrots cut into chunks (optional)
    • 4 cloves garlic, unpeeled (optional)
    1. You should know this one by now with me.  Crank that oven on, this time to 450.  Trust me.
    2. Tuck the wings of the bird underneath themselves like this:

      Wing foldins'
      Wing foldins’
    3. Season the inside and the outside of the bird and place it in a roasting pan.  If your using the optional vegetables, toss those in some oil or butter first, then lay them on the bottom of the pan, then place the chicken over those.  I like to use the vegetables if I’m making a gravy from the drippings.
    4. Stuff the bird with the herbs and lemon.  If you like you can pop an extra garlic clove in there. Brush the bird with oil or butter and pop it in the oven.
    5. Easy so far right?  Here’s where people forget… about the awesomeness of basting.   After 20 minutes, take the bird out of the oven, and spoon the drippings over it.  Why?   Couple of reasons.  The first is your reintroducing fat to this skin which is going to help it render further and stay crispy.  The second is you’re imparting more flavor to the bird.  Unlike the myth states, it does not keep the bird moist.  Not overcooking the bird is what keeps in moist.

      Bird Bastin'
      Bird Bastin’
    6. Baste the bird every 10 minutes for the next 30-40 minutes (or until the juices run clear).  If you have a meat thermometer, check the temp by the thigh.  If it’s 155-160 you’re good.  Let it carry to 165.  If not, you have a pretty big bird.  No big deal.  Turn down the heat to 350 then continue the basting every 10 minutes until the chicken is ready.

    So now you can eat it as it is, shred for another recipe, or do whatever you want.  Some of you may be asking “Que fai?  Why didn’t you brine it?”  Easy I didn’t want to.  You absolutely can brine this chicken and roast it using the same method.  Some chefs will also say to truss, or tie, the bird.  Nothing wrong with trussing,  if you’re presenting the whole roasted bird, but if I’m not, I find it cooks more evenly if you just let the legs hang.  Feel free to add any of your favorite spice rubs to this too.  It’s really super versatile.

    Happy Eating,

    -The Doctor


  • More Basics…Pizza Dough

    There is nothing like a good homemade pizza dough.  You will never, ever catch me buying the frozen albino poop they call dough in the grocery stores.  Why?  IT’S SO EASY!!!!!!  This recipe is about as basic as you get.  And, you all better appreciate this, because I’m actually risking my life giving it to you guys too.  Why?  Because it’s the very same recipe I learned at the first pizzeria I ever worked at.  If Vin Falzo (rest his soul) ever found out about this he’d make sure I get a great discount on some cement shoes.  This makes enough for two 12 inch pizza pies.  (Of course depending on how thick or thin you like them)

    DSC_0476


    1 cup warm water (110F)
    1 (1/4 ounce) envelope active dry yeast
    1 tablespoon honey
    3 cups all-purpose flour, divided
    1 tablespoon extra virgin olive oil
    1 teaspoon salt

    1. In the same measuring cup you have your water, mix your yeast and honey.  Let this sit until you have a nice foam on top of the mixture.  This means your yeast is active.  Why not the mixing bowl first?  Simple.  It may cool down the water and prevent the yeast form activating.  (KNOWLEDGE DROP!!!!)
    2. Add the rest of your ingredients into the bowl of a mixer and let it go for about 3-4 minutes.  You want some glutens to form here.
    3. Brush the top with some Olive oil  and let the dough rise for an hour.  Are we done yet??? Nope.  we have to let this proof, twice.
    4. After an hour pull the dough out of the mixer bowl and onto a floured surface.  Cut the ball in hale  roll each half into a ball and place them into a zip lock bag.
    Fully risen dough
    Fully risen dough

    At this point if you’re not going to use it right away, freeze it.  If you are, let it site over night and proof again.  But really, how hard was that?  I don’t want to hear anyone whining about bad frozen dough again.  If you want to spice this up, feel free to add some garlic powder and some fresh herbs to the dough.  You can use this recipe for Zeppoli’s too, just fry it up like a donut and throw some powered sugar on it.  CAN’T GO WRONG!!!!  My personal favorite thing to do is cook up some bacon, grab some nice Italian meats and make a stromboli, which is like  stuffed bread.  FABULOUS!!!

    Tucking the dough
    Tucking the dough
    Rolling the dough
    Rolling the dough


    Got questions?  let me know in the comments

    Happy Eating

    -The Doctor


  • Back to the Basics…Pico de Gallo

    Let’s face it, with summer coming around, everyone needs a quick and easy pico de gallo recipe on hand.  Don’t get me wrong,  love my funky salsas, and we’ll be doing some her soon, but there’s nothing like the classic.  This recipe itself is straight from Mexico, and from none other than my favorite little old lunch lady, Maritza.  What made this so special is the beautiful mountain produce that was available in Valle de Bravo.  We used gorgeous heirloom tomatoes, onions so strong they made you cry as soon as you picked them, and limes so tart they’d keep the stray cats away.  There’s really no way to replicate it, but we can always try.  This should make about a pint:

    DSC_0464

    4 large, ripe tomatoes of any color, very small diced  (We used whatever looked good)
    1 cup vidalia onion, minced
    1-2 jalapenos diced (depends on how hot you want it)
    1 clove garlic crush
    juice of 1 lime
    1 tbsp Olive Oil
    2 tbsp chopped cilantro
    1 tbsp chopped oregano

    1.  Easiest thing in the world…Mix everything together, and let it set for 2 hours at room temp, then chill.

    Now this is so simple and basic why even post it?  This isn’t the creative “dude food” you’re used to.  This is something so basic, it truly relies on the freshness and quality of the ingredients, which some chefs just forget about.  Besides,  you can add anything you want to.  You want bacon salsa?  Why the hell not? Add bacon.  You want to use pablano peppers?  SURE!!!!  Use whatever the heck you want. just make sure it’s fresh.

    Happy Eating

    -The Doctor


  • The Basics…Carne Asada Marinade (yeah, It’s grillin’ time!!!!!!!)

    Who doesn’t like grilled anything?  (Well I know a few people, but they suck at life)  Carne Asada, literally “grilled meat” is generally very thin slices of beef cooked over an open wood flame.  Its eaten on its own, put into tacos and burritos, and is the start of the show in any Tampiquena.  Some of the best I’ve ever had was on the Streets of Valle De Bravo Mexico in the middle of the markets. You’ve probably seen it in Taco Bell commercials, but let me tell you, that crap doesn’t even come close to the real thing.  Every one has a different recipe for it, so there’s really no true definition of it other than the technique, kinda like barbecue.  This recipe comes from a Peruvian cart vendor, who lived in Valle de Bravo.  This was some of the best I ever tasted, and he was the only vendor there that did more than beef.  He used this marinade on lamb, pork, chicken, duck, turkey and fish.  This recipe will do about 3 cups.

    carne
    Carne Asada

    4 cloves garlic, peeled

    1 oz. peeled chopped ginger

    1 bunch cilantro leaves, washed (no big deal if you have some stems, it’s getting pureed anyway)

    2 tbsp. grain mustard

    Juice and zest of 4 limes

    1 tbsp. sugar

    1 c. cider vinegar

    2 c. vegetable or Canola oil (You can use olive oil, but these two are much cleaner flavors)

    1-2 jalapenos (Optional)


    herb
    Finished marnade in the processor


    1. Real easy right?  Yu can use a food processor, blender or immersion blender.  I prefer a blender, because it just gets everything cut so fine. Get all of your solid ingredients into the blender and add just the lime juice.  Pulse everything until the ingredients stop moving. This is going to get everything started and chopped up smaller than if you had added all of that vinegar at first.


    1. Now add half of your vinegar and finish pureeing.  Keep pulsing until everything is smooth.  Add more vinegar if you need to, just to loosen things up.


    1. Add the rest of your vinegar and turn that blender (or whatever you’re using) up high.  Now slowly drizzle in your oil.  Just a light pour.  I like to have this emulsified, just because it makes brushing easier on the grill, but if it break, no big deal.  Just keep mixing it back up.


    1. Marinate whatever you want in it.  The beauty of this is you can brush whatever you’re cooking with it, AND use it as a sauce if you like too.


    When you marinate with this make sure you give it at least 4 hours to work its magic, but no longer than 36.  Just like I said before this marinade is and can be used on absolutely anything, and it’s great to have in your back pocket.


    Happy Eating


    -The doctor


  • Back to the basics…How to cook beans

    Believe it or not, I get asked about this a ton.  “Doc, I just can’t make my beans tender”, or “They have no flavor”.  Beans are something that should be in everyone’s secret little cooking arsenal.  Even though I’ll admit I do have a couple of can’s around for a pinch, I do prefer to cook them my self and leave them in the fridge or freeze them cooked in freezer-proof zip-bag.  Beans are a super-food and a nutritional powerhouse.  They’re high in fiber, not very high on the glycemic index, and provide protein and complex carbohydrates  not to mention they’re PACKED with vitamins and minerals.  this is my own basic recipe i use to keep beans on hand.  Every restaurant or banquet kitchen I’ve run has done beans this way because it’s simple, cheap, and convenient.  This makes about 4 cups of cooked beans.

    DSC_0017
    Cooking them beans

    2 cups dry beans (white, kidney, black, whatever)
    1 clove garlic
    1/4 onion, just peeled
    1 sprig rosemary
    1 sprig sage
    1 tbsp. salt
    2 oz. salt pork (you an use prosciutto, county ham, pancetta, bacon, or whatever salty pork you have.  Beans don’t hate, I promise), this is optional, you can omit it if you’re a veg head.

    1.  Cover the beans in water and just let them site over night.  You’ll see they double in size, like this:

    DSC_0016
    Raw on the left, soaked on the right

    2.  The next day, drain your beans and combine all of your ingredients in a pot.  Add some water.  Not too much but make sure the beans are covered by about an inch.  This amount will vary but it’s usually between 2 and 21/2 cups.   Bring everything to a boil then pull it down to a lazy simmer.  this is when the magic happens.  The beans will cook slowly and evenly so they’re not unevenly cooked, and all of those beautiful flavors from the pork, herbs, garlic and onions will permeate the beans.  Now we’ve solved your “Not cooked right” and “No flavor” problems.

    3.  When the beans are done, just drain them and let them cool.  They’ll stay good for about 5 days.  You can eat them just like this or add them to soups, or make some really cool side dishes and dips with them.  We’ll do a couple things with white beans next week, but remember beans are pretty much interchangeable.

    Easy right?  They can be time consuming, but they really don’t need you’re attention when they’re cooking,.  Just let them go.  As if I haven’t sung their praises enough, beans are also very versatile, so now you have another reason to do them form scratch.  Got questions?  Leave below, I’ll get to you.

    -Happy Eating

    The Doctor


  • Back to the basics…Pasta Dough

    “Here we go Doc, more simple stuff…”  YUP!!!!!  I’m giving you this recipe because I’m going to refer to it a lot.  We’ll be doing some interesting lasagna’s ravioli, agnolotti and other fun things with pasta that are just plain  better with fresh pasta. Besides, how much cooler would you look to your friends making this from scratch !?  The correct answer here is AWESOME!!!!  This is a generic pasta dough recipe I developed for AP flour.  I do prefer to use Semolina, but sometimes and in some parts of the country, it’s just too hard to find (and this blog is all about making it easy).  I’m also going to give you two sets of instructions one for using a mixer, and the other by hand, so you can do whatever you like.  Here’s what you need to make about a pound –


    Finished dough, photo by randomcuisine.com

    2 cups all-purpose flour, plus more for dusting 
    1 teaspoon salt
    3 large eggs, plus 1 for egg wash
    2 tablespoons extra-virgin olive oil
    Cornmeal, semolina, or more flour for dusting

    To make the pasta dough In an electric mixer: 

    1. For the love of all that is culinary, please make sure you have a dough hook.

    2. Combine the flour and salt. Turn on the mixer.

    3. Add the eggs,1 at a time, and continue to mix.

    4.  Drizzle in 1 tablespoons of the olive oil and continue to incorporate all the flour until it forms a ball.

    5. When you have a nice ball, stop the mixer, and take the ball out.  Sprinkle some flour on work surface, knead and fold the dough until elastic and smooth, this should take about 10 minutes. Then brush the surface with some more olive oil and wrap the dough in plastic wrap. Let this puppy rest in the fridge for about 30 minutes to allow the gluten to relax.


    Alternatively if you don’t have an electric mixer:

    1. Combine the flour and salt on a flat work surface; shape into a mound and make a                  

     well in the center.

    2. Add the eggs and 1 tablespoon of the olive oil to the well and lightly beat with a fork.

    3. Gradually draw in the flour from the inside wall of the well in a circular motion. Use 1 hand for mixing and the other to protect the outer wall. Continue to incorporate all the flour until it forms a ball. 

    4.  Repeat Step 5 form above (yeah, I’m that lazy, you got a problem wit’ dat?)

    OK, so the pasta part was easy right?  You’re ready to do anything with this, and it’s good to have in your little black cookbook. I’m lucky and have my own little electric pasta machine.  If you have a mixer, there’s usually an attachment you can buy for rolling out pasta. If you don’t have either, you can go Old Skool and use a rolling pin like Nonna used to do.  As always, if you have questions,  just ask below.

    Happy Eating

    -The Doctor


  • Back to basics…simple tomato Sauce

    So you’re saying “Doc, whadd’ya stunad?  Why are you putting up all of this easy junk?”  Trust me, when you’re making it and not buying it a can or a jar, you’ll thank me. This basic tomato sauce is not only great on it’s own, it’s used as a base for tons of other sauces I’ll be putting up here.  Just remember I’m trying to teach the easy stuff here.  The easiest way to cook and stay creative is keep some basics on hand and branch out from there, like any mad scientist would.  This makes about 1 quart:

    Simmering that ah-sssaaawwwwce-ah

    1/2 white onion, small diced
    2 cloves garlic, sliced thin
    1/4 c. tomato paste
    1/2 c. white wine
    1 28 oz. can crushed tomatoes (preferably San Marzano, if you can get them)
    14 oz. water (yeah, fill that tomato can up half-way, who are you callin’ stunad?)
    1 tbsp fresh oregano (or marjoram), chopped (take the leaves off the stem first)
    2 tbsp fresh basil, chiffonade (this means rolled up and sliced thin, if you don’t know how to do it, just do a rough chop, we wont’ hate.)

    Anyway….

    1.  Start you onions off on low heat.  You want to sweat these guys out for about 10 minutes.  This means you don’t want them to get any color while you’re cooking them.  When they’re nice and translucent  add the garlic and the herbs.  When you start to smell the garlic (about two minutes), add the tomato paste.  Cook that for 1 minute stirring constantly.  Make sure you get all of that paste touching some heat because it  helps build the flavor of those concentrated tomatoes and take out the metallic taste associated with tomato paste.

    2.  After a minute stirring that tomato paste, add your wine.  Cook this down for 5 minutes.

    3.  Now you add you tomatoes and water.  When it comes up to a simmer, lower the heat back down to low and let it simmer for about 60-70 minutes.  You really want very little motion, if there’s any popping or bubbling, lower the heat more.  Keep stirring this every few minutes, until it’s nice and rich.

    Now this recipe I don’t season right away because I’m going to use it late in something else.  You can if you like, jut do it to taste.  I break this down into 8 oz. containers and freeze it until I need, just like every other self-respecting Italian.

    You got questions?  Bring it in the comments.

    Later

    -Ther Doctor.


  • Back to basics…chicken stock

    Many of you can imagine, I make my own soups, I don’t need no stinking cans.  Progresso and Campbells can do you know what to my naughty parts. (You will see some of their stuff in my recipes to make things easier for you though).  The basis for a good soup is a good, strong, flavorful stock.  Admittedly, sometimes I buy it, because I just don’t have enough materials to make my own stock when I need it in a pinch; but I do save bones from almost everything I eat.  I buy meats with the bone in not just for the bone and the flavor it imparts, but if you can de-bone  your own meat you can pay less per pound for your meat…sometimes dramatically.  If I get enough requests, I’ll do some basic butchery tutorials for ya…I also need to convince the guy in the basement to take pictures...that’s not easy either.  Sometime he doesn’t like the disco ball brightness in the lab.  Moving on….here what you’ll need to make about a gallon of good strong chicken stock. 

    5 lbs. chicken, turkey, duck, or whatever, poultry bones
    1 package soup greens (if your grocery has it,  if not…)
    OR

    Lazy bubbling deliciousness

    2 small onions, cut in half
    3 large carrots, cut in half
    5 ribs celery, cut in half
    THEN
    1/4 bunch parsley

    2 bay leaves

    1 tsp. black peppercorns
    4 whole cloves garlic
    1 parsnip (if you can find it)

    1.  Now here’s the easy part.  Put everything in a nice, big heavy bottom pot.  Cover everything with cold water.  Not too much , you can always add more later, but just barely enough to cover everything.  All those bones and vegetables are going to cook down so don’t worry if you’re a little over.

    2.  Turn your stove on medium high, when that pot starts to boil move it slightly off to the side and then lower the heat to medium low.  You really want just a lazy bubble. 

    3.   Let this go for 6 hours. If you want to do this during the workday when you’re not at home, you can do it in your crock pot too.  Simply set it and forgot it until you get home.  You may have to cut the recipe down a bit, it just depends on your crock pot.  Don’t forget to skim the funk off the top too. There will be some fat that comes out, you can easily recognize that, but there will also be a grey-ish foam that forms too.  Just take a spoon and scoop it out, it’s really not so tasty and we don’t’ want anything un-tasty in our tastiness.

    4.  After 6 hours, strain the stock out, and pour it into either an old Chinese food take out soup container, or any Tupperware you can find.  I like to take some and make ice cubes from it so I can have a small amount ready in  a pinch, and not have to worry about thawing a whole gallon for a little bit of meat juice love.  The sock will also last about 6 months in your freezer too. 

    Remember to make friends with your butcher,.Even the guys in the big grocery chains will hold on to bones for you if you ask nicely.  Even though you don’t  have to make your own stock from my recipes, it’s always nice to have some on hand.  It’s a good thing to do with left over turkey, or chicken bones if you have that too.  As always, if you have questions, just comment, I’ll get to you.

    Happy Eating,

    -The Doctor