• Category Archives Entrees and Such
  • Old Skool Chicken Cacciatore

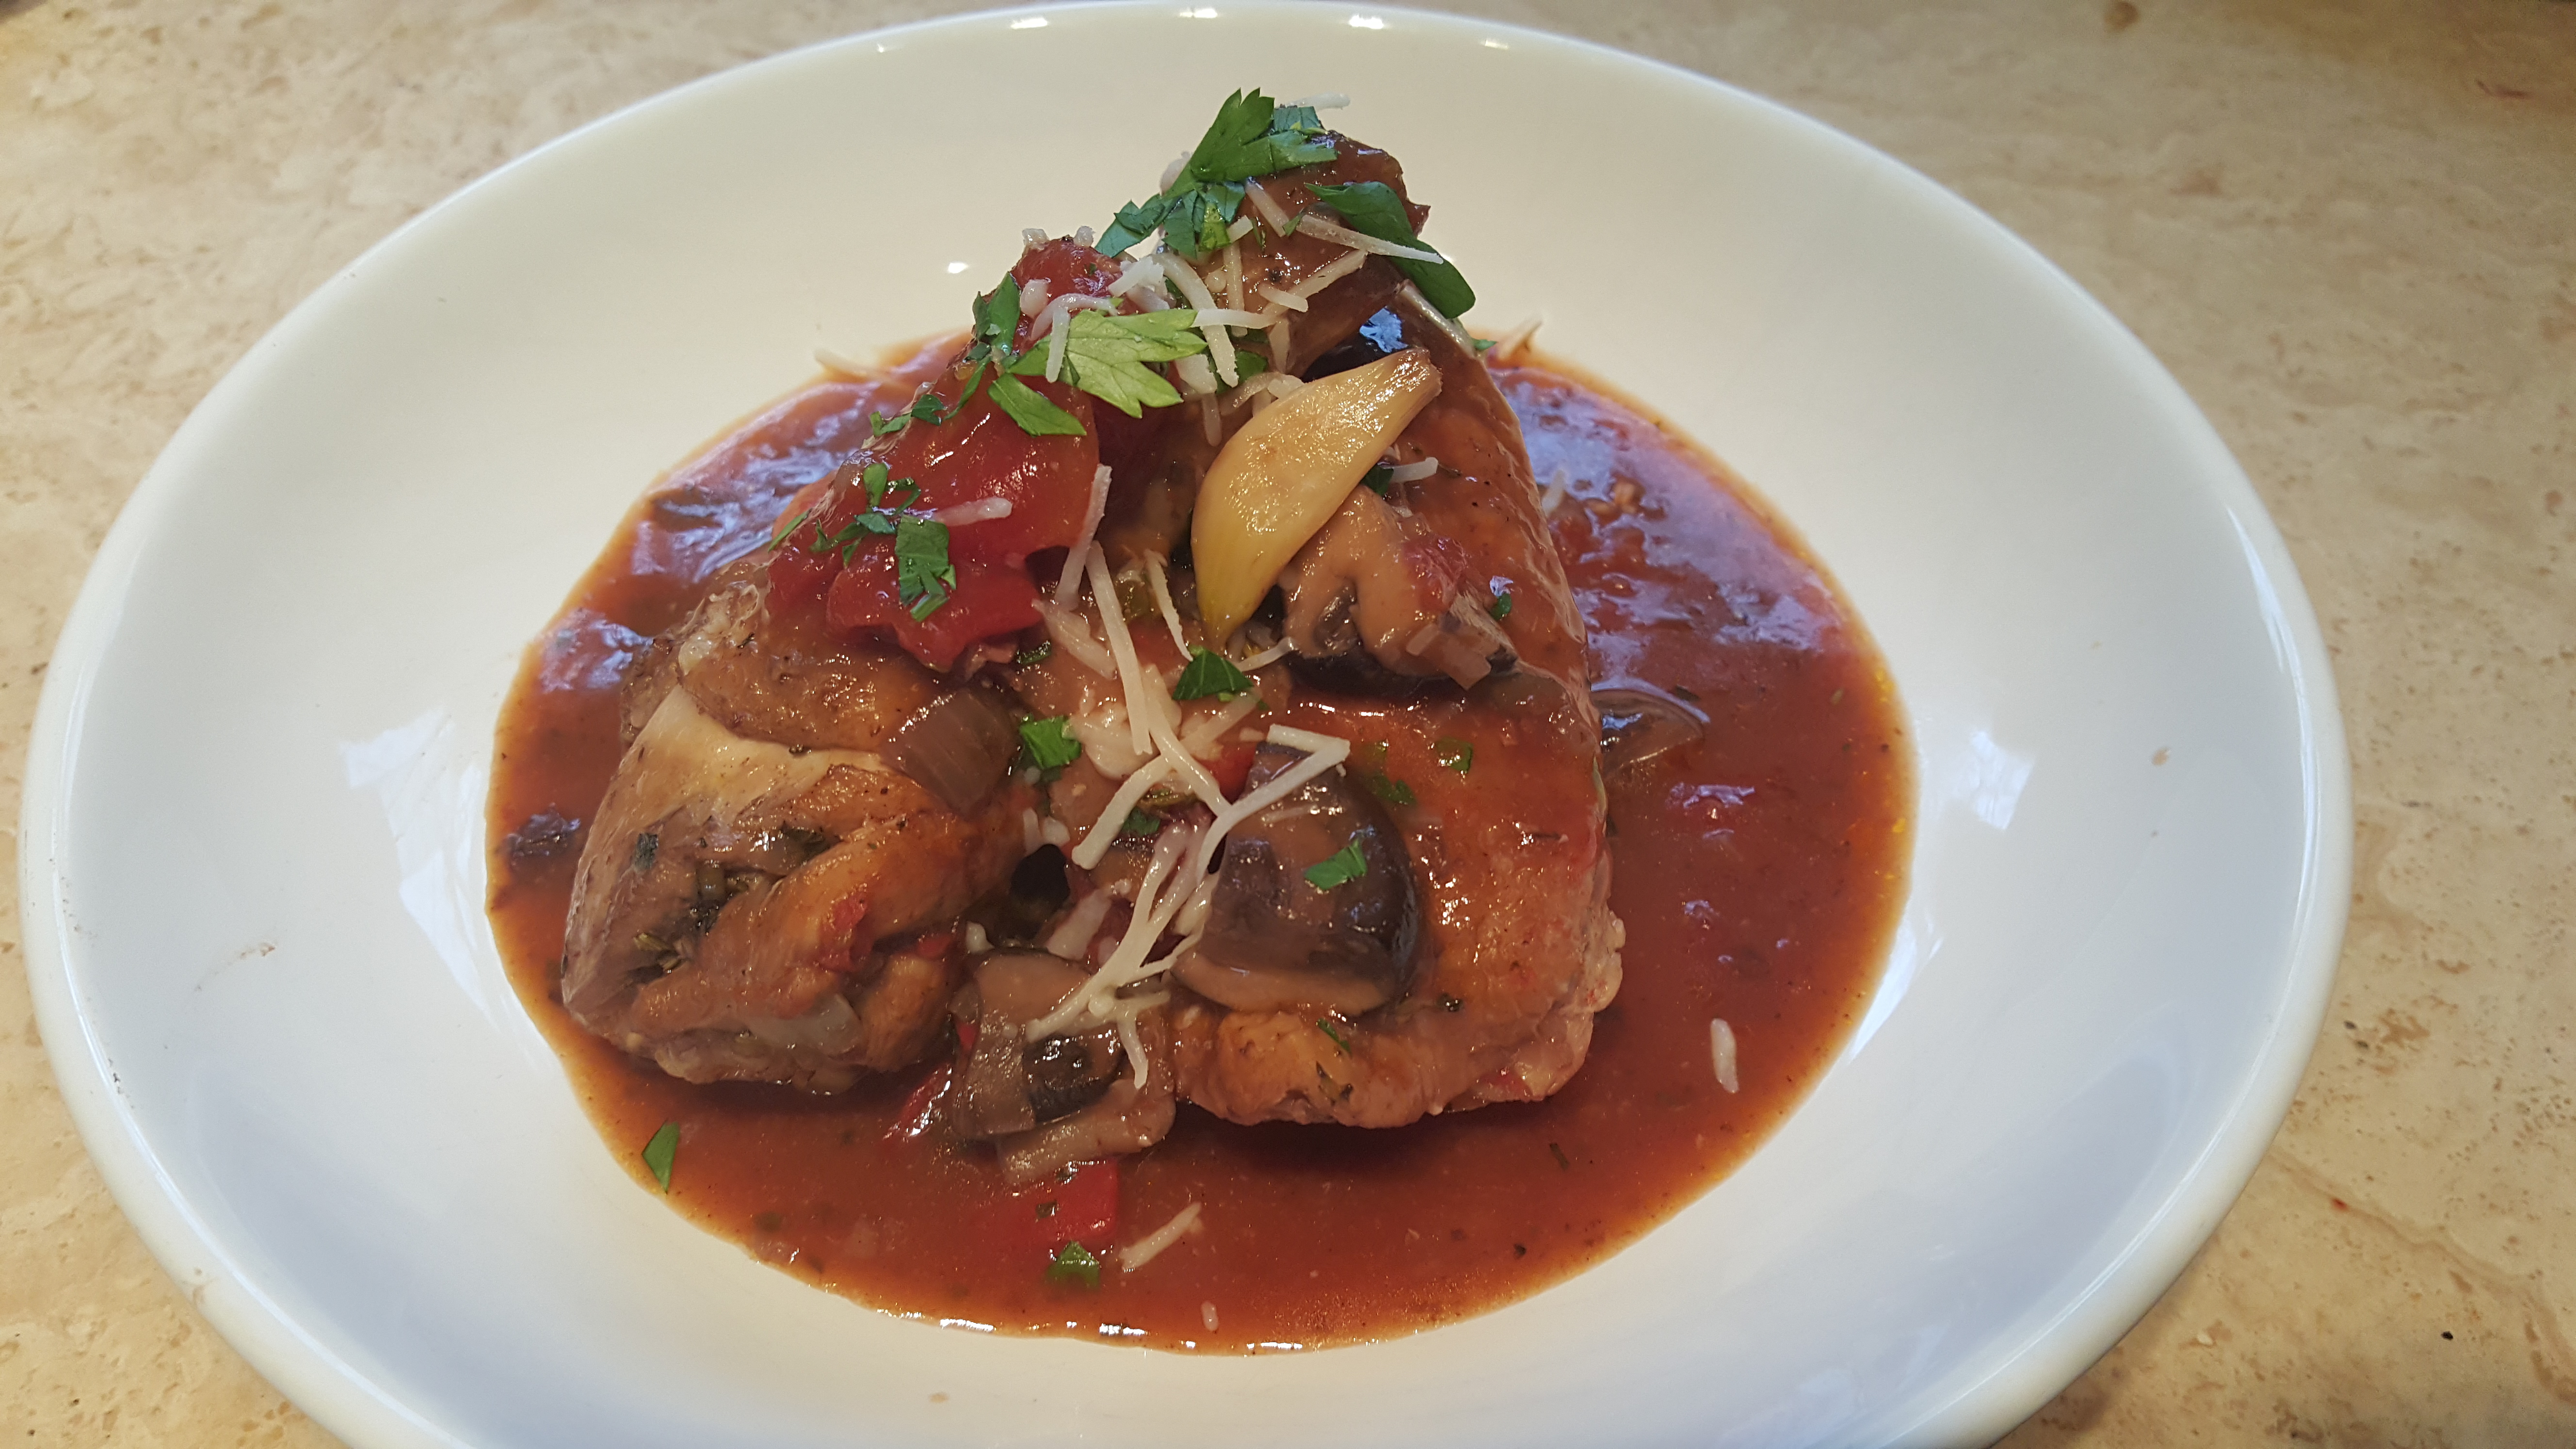
    Winter brings snow, and snow brings awesome stews from my slow cooker.  In Italian, “Cacciatore” means “Hunter”.  ChicKen Cacciatore is a traditional Italian dish made from items hunters would find in the wild, like mushrooms and herbs, and a few things they would bring with them , some dried meat, or some jarred tomatoes. (italians can’t go anywhere without tomatoes).  They would usually cook a wild bird or whatever they found in a big cast iron pot over a fire.  Chicken Cacciatore you see now couldn’t be further from the truth.  It’s some mass-produced egg-washed or breaded piece of chicken with some half-ass sauce, some canned mushrooms, and some stunads even melt cheese on it (Nay I say, I say NAY).  This recipe has a bit of modification to it, but it still follows the old school methods (I mean, you can’t have an open campfire in most kitchens) Here’s what you’ll need to feed 4-6:

    20151205_131756

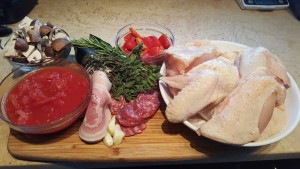
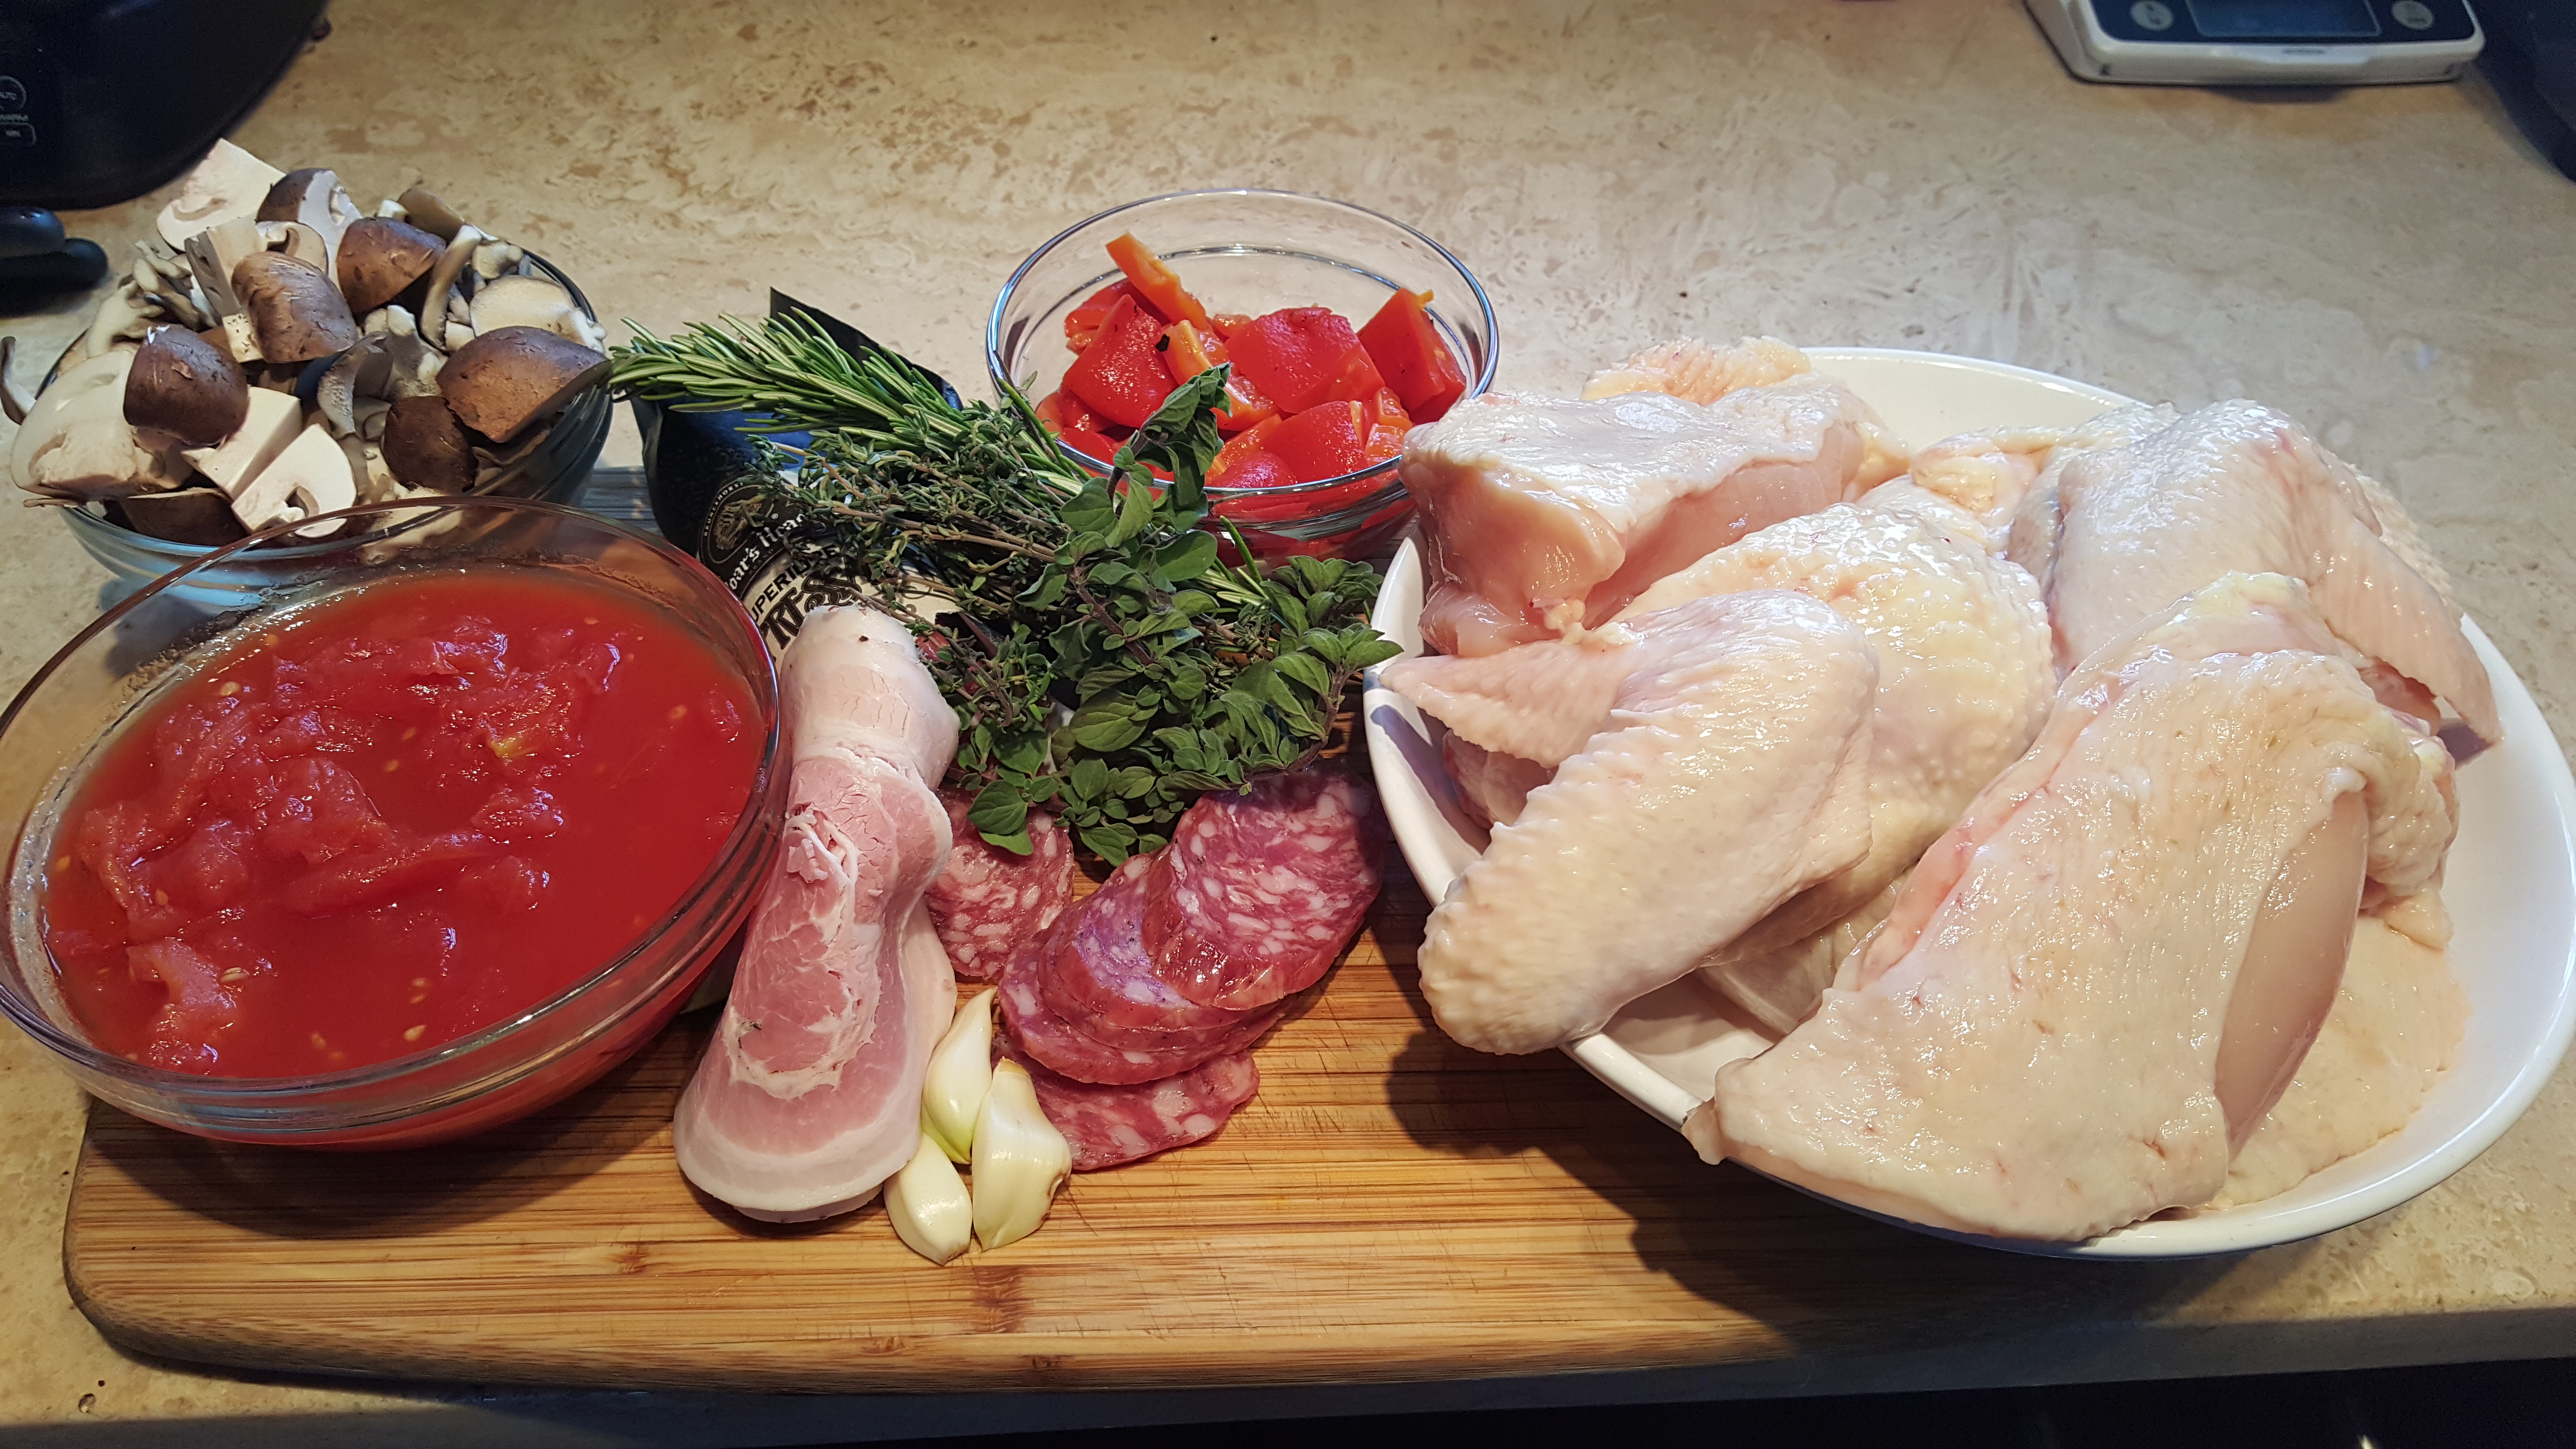
    • 1 whole roaster/fryer chicken, cut into eighths (leg, thigh, brest cut in to two piece)  Have you butcher leave the bone in.
    • 1 c. whole San Marzano tomatoes, hand crushed
    • 6 cloves of garlic, whole
    • 1/2 c. medium diced onion
    • 3/4 c. medium diced roasted peppers
    • 1 /2 c. quartered assorted mushrooms (any wild mushrooms you find in the store will work)
    • 1 tbsp each chopped rosemary, thyme, oregano, and basil
    • 2 tbsp chopped parsely
    • 1 oz. diced sopresetta
    • 1 oz. diced pancetta
    • 1/2 c. white wine.
    • 1 tbsp. olive oil20151205_095135
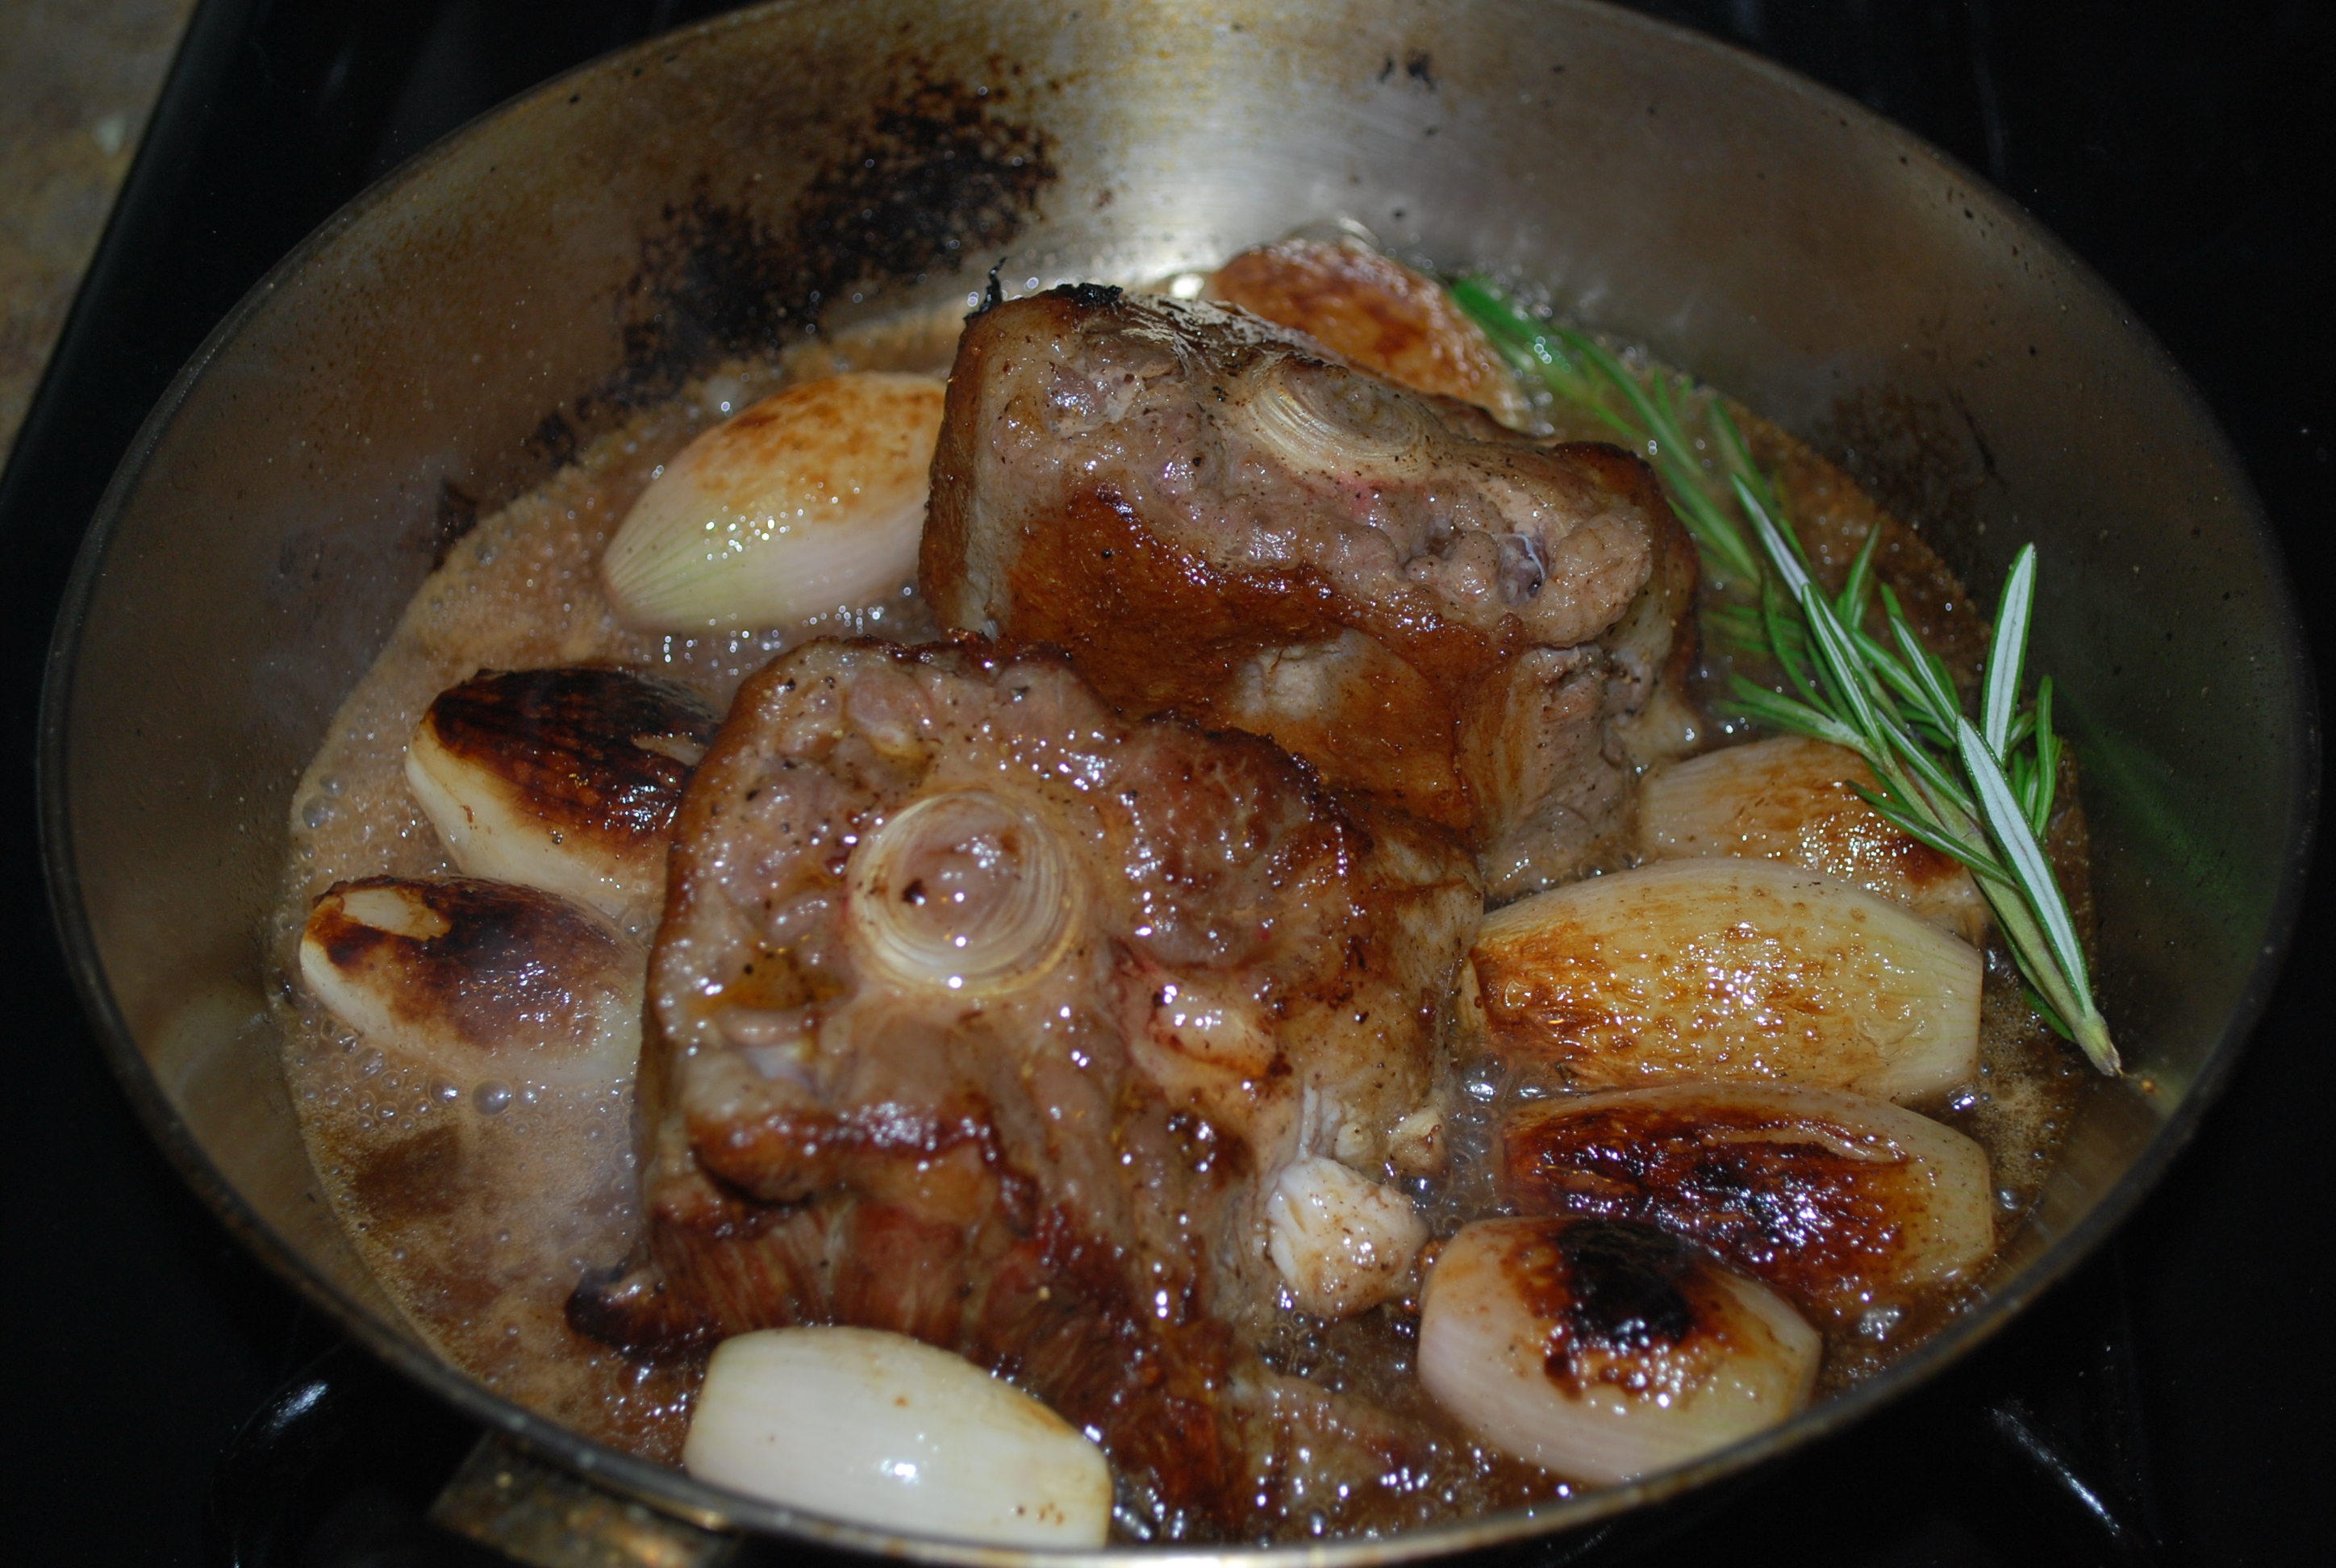
    1. In a heavy skillet (preferably cast iron), get a medium heat going and add your oil, pancetta and sopresetta.  Render these down about 10 minutes, stirring every couple of minutes.  when the meat is crispy, add it to your slow cooker, but keep the fat in the pan.
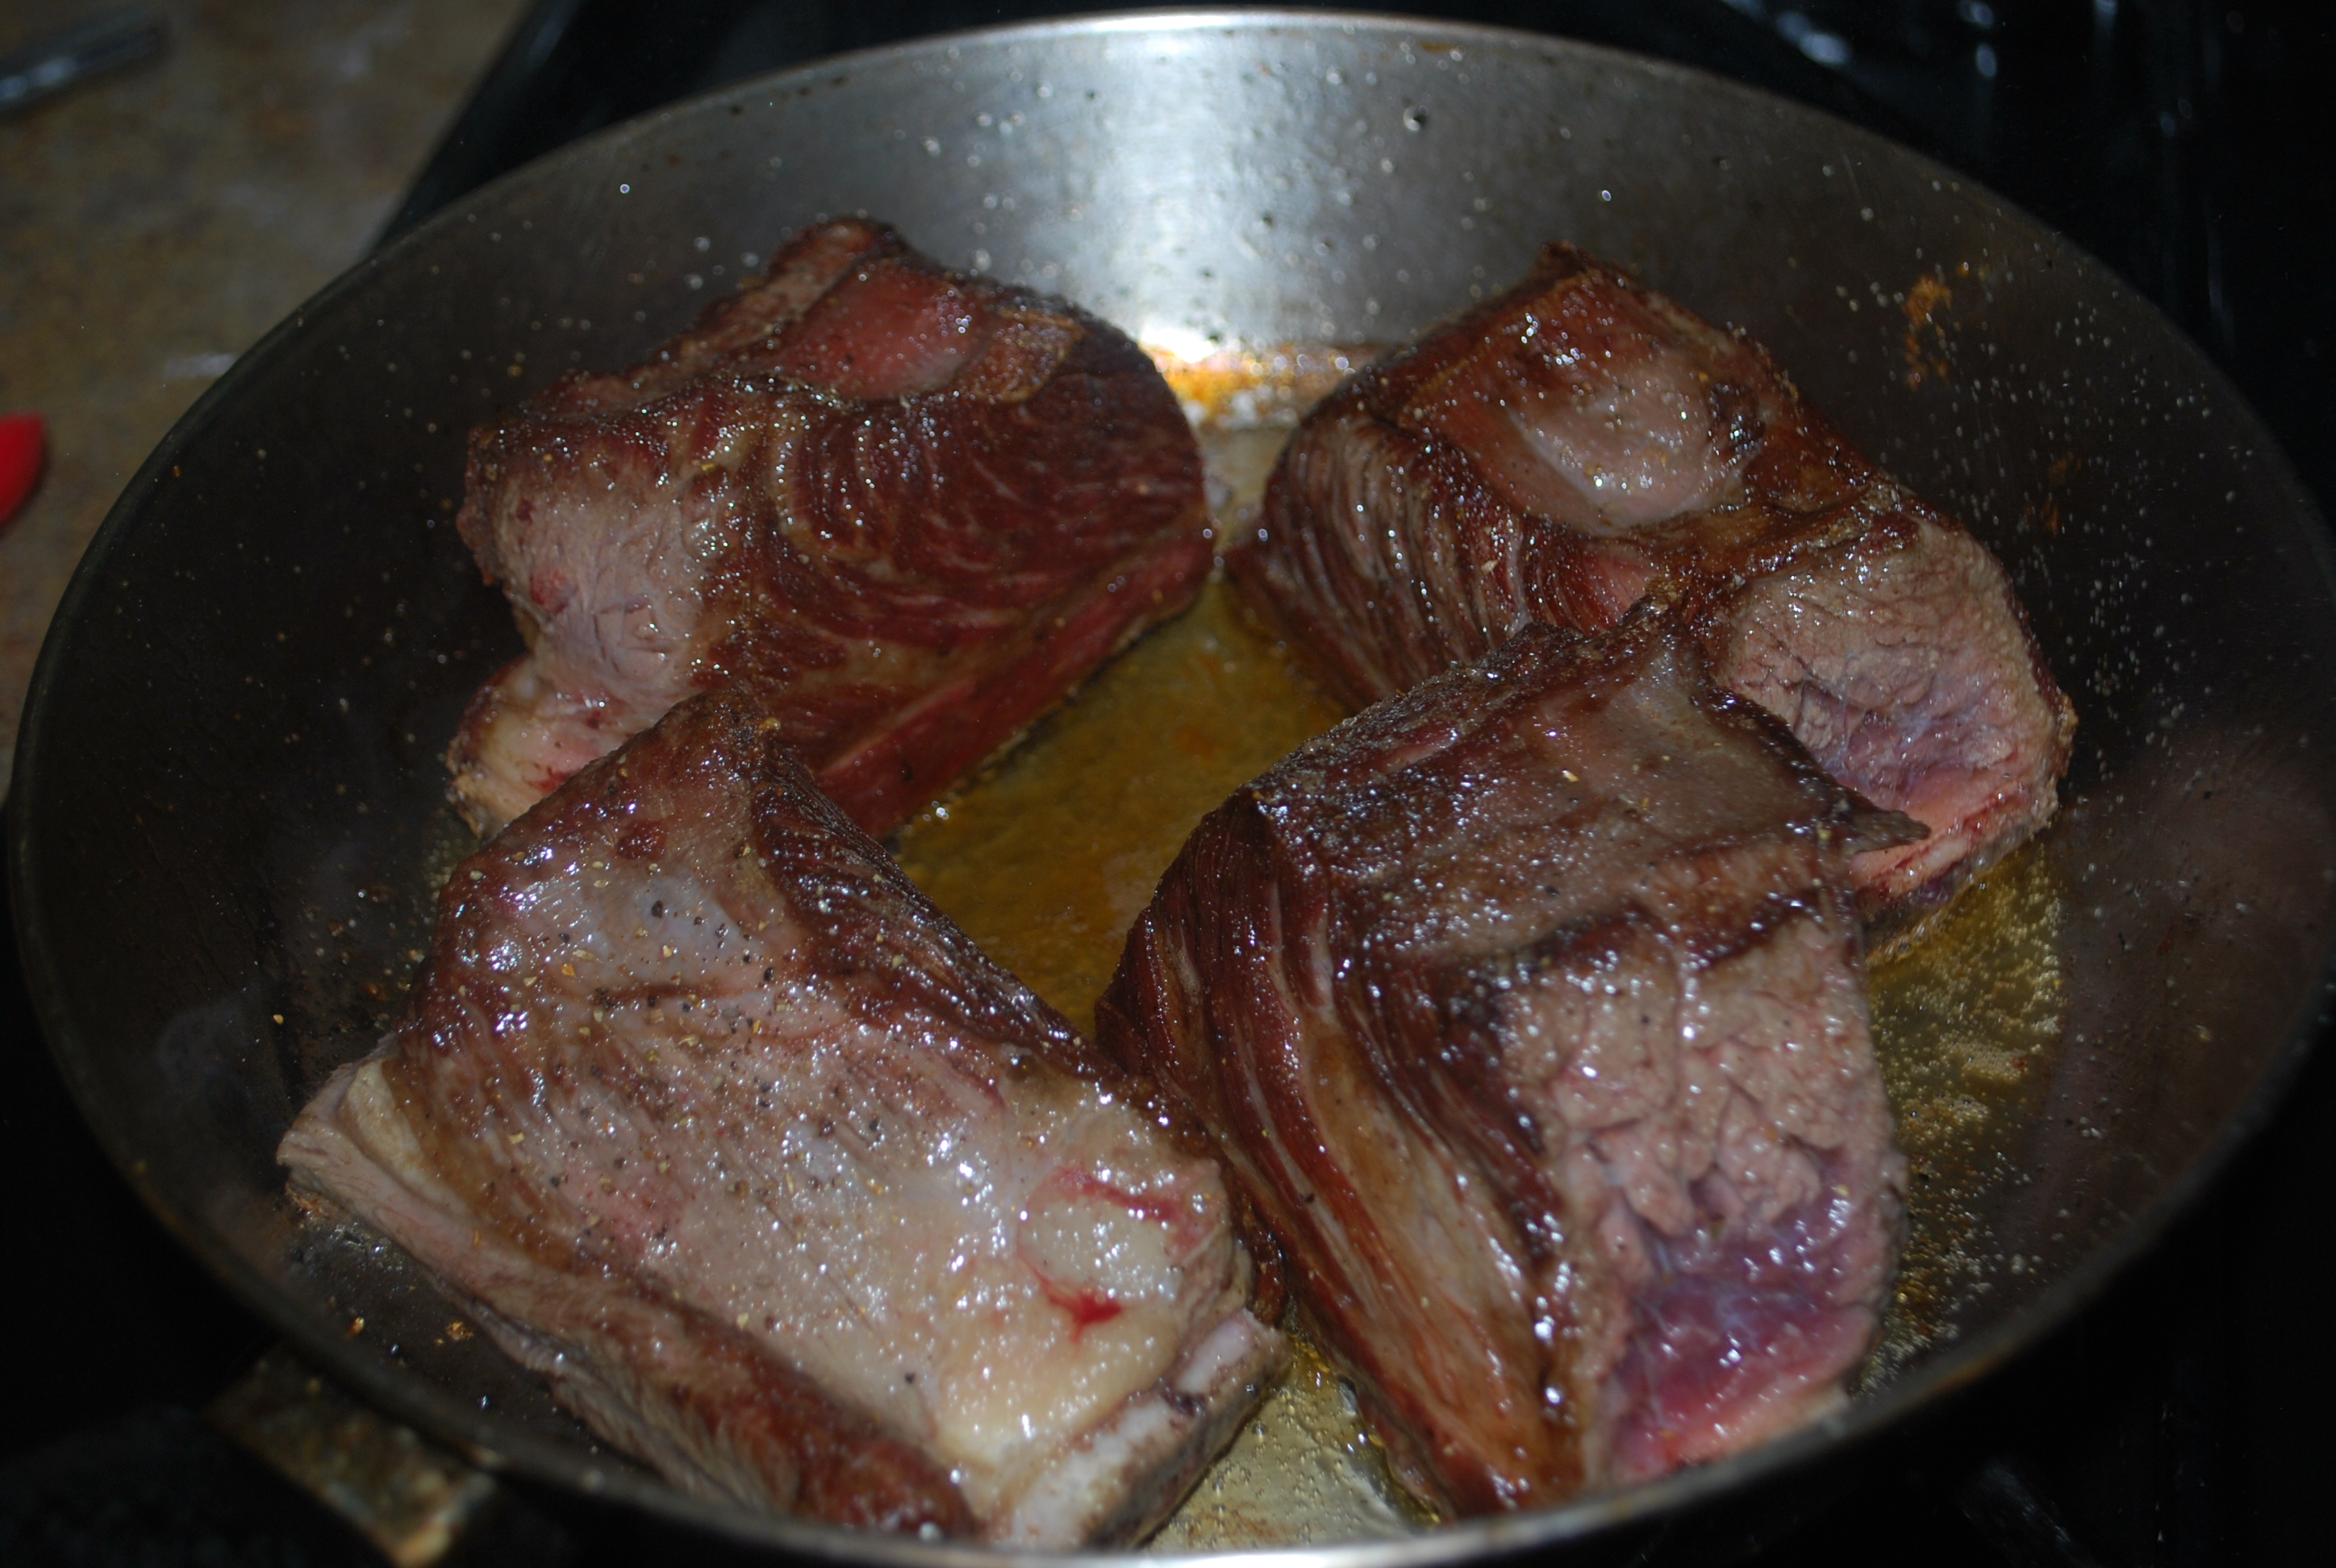
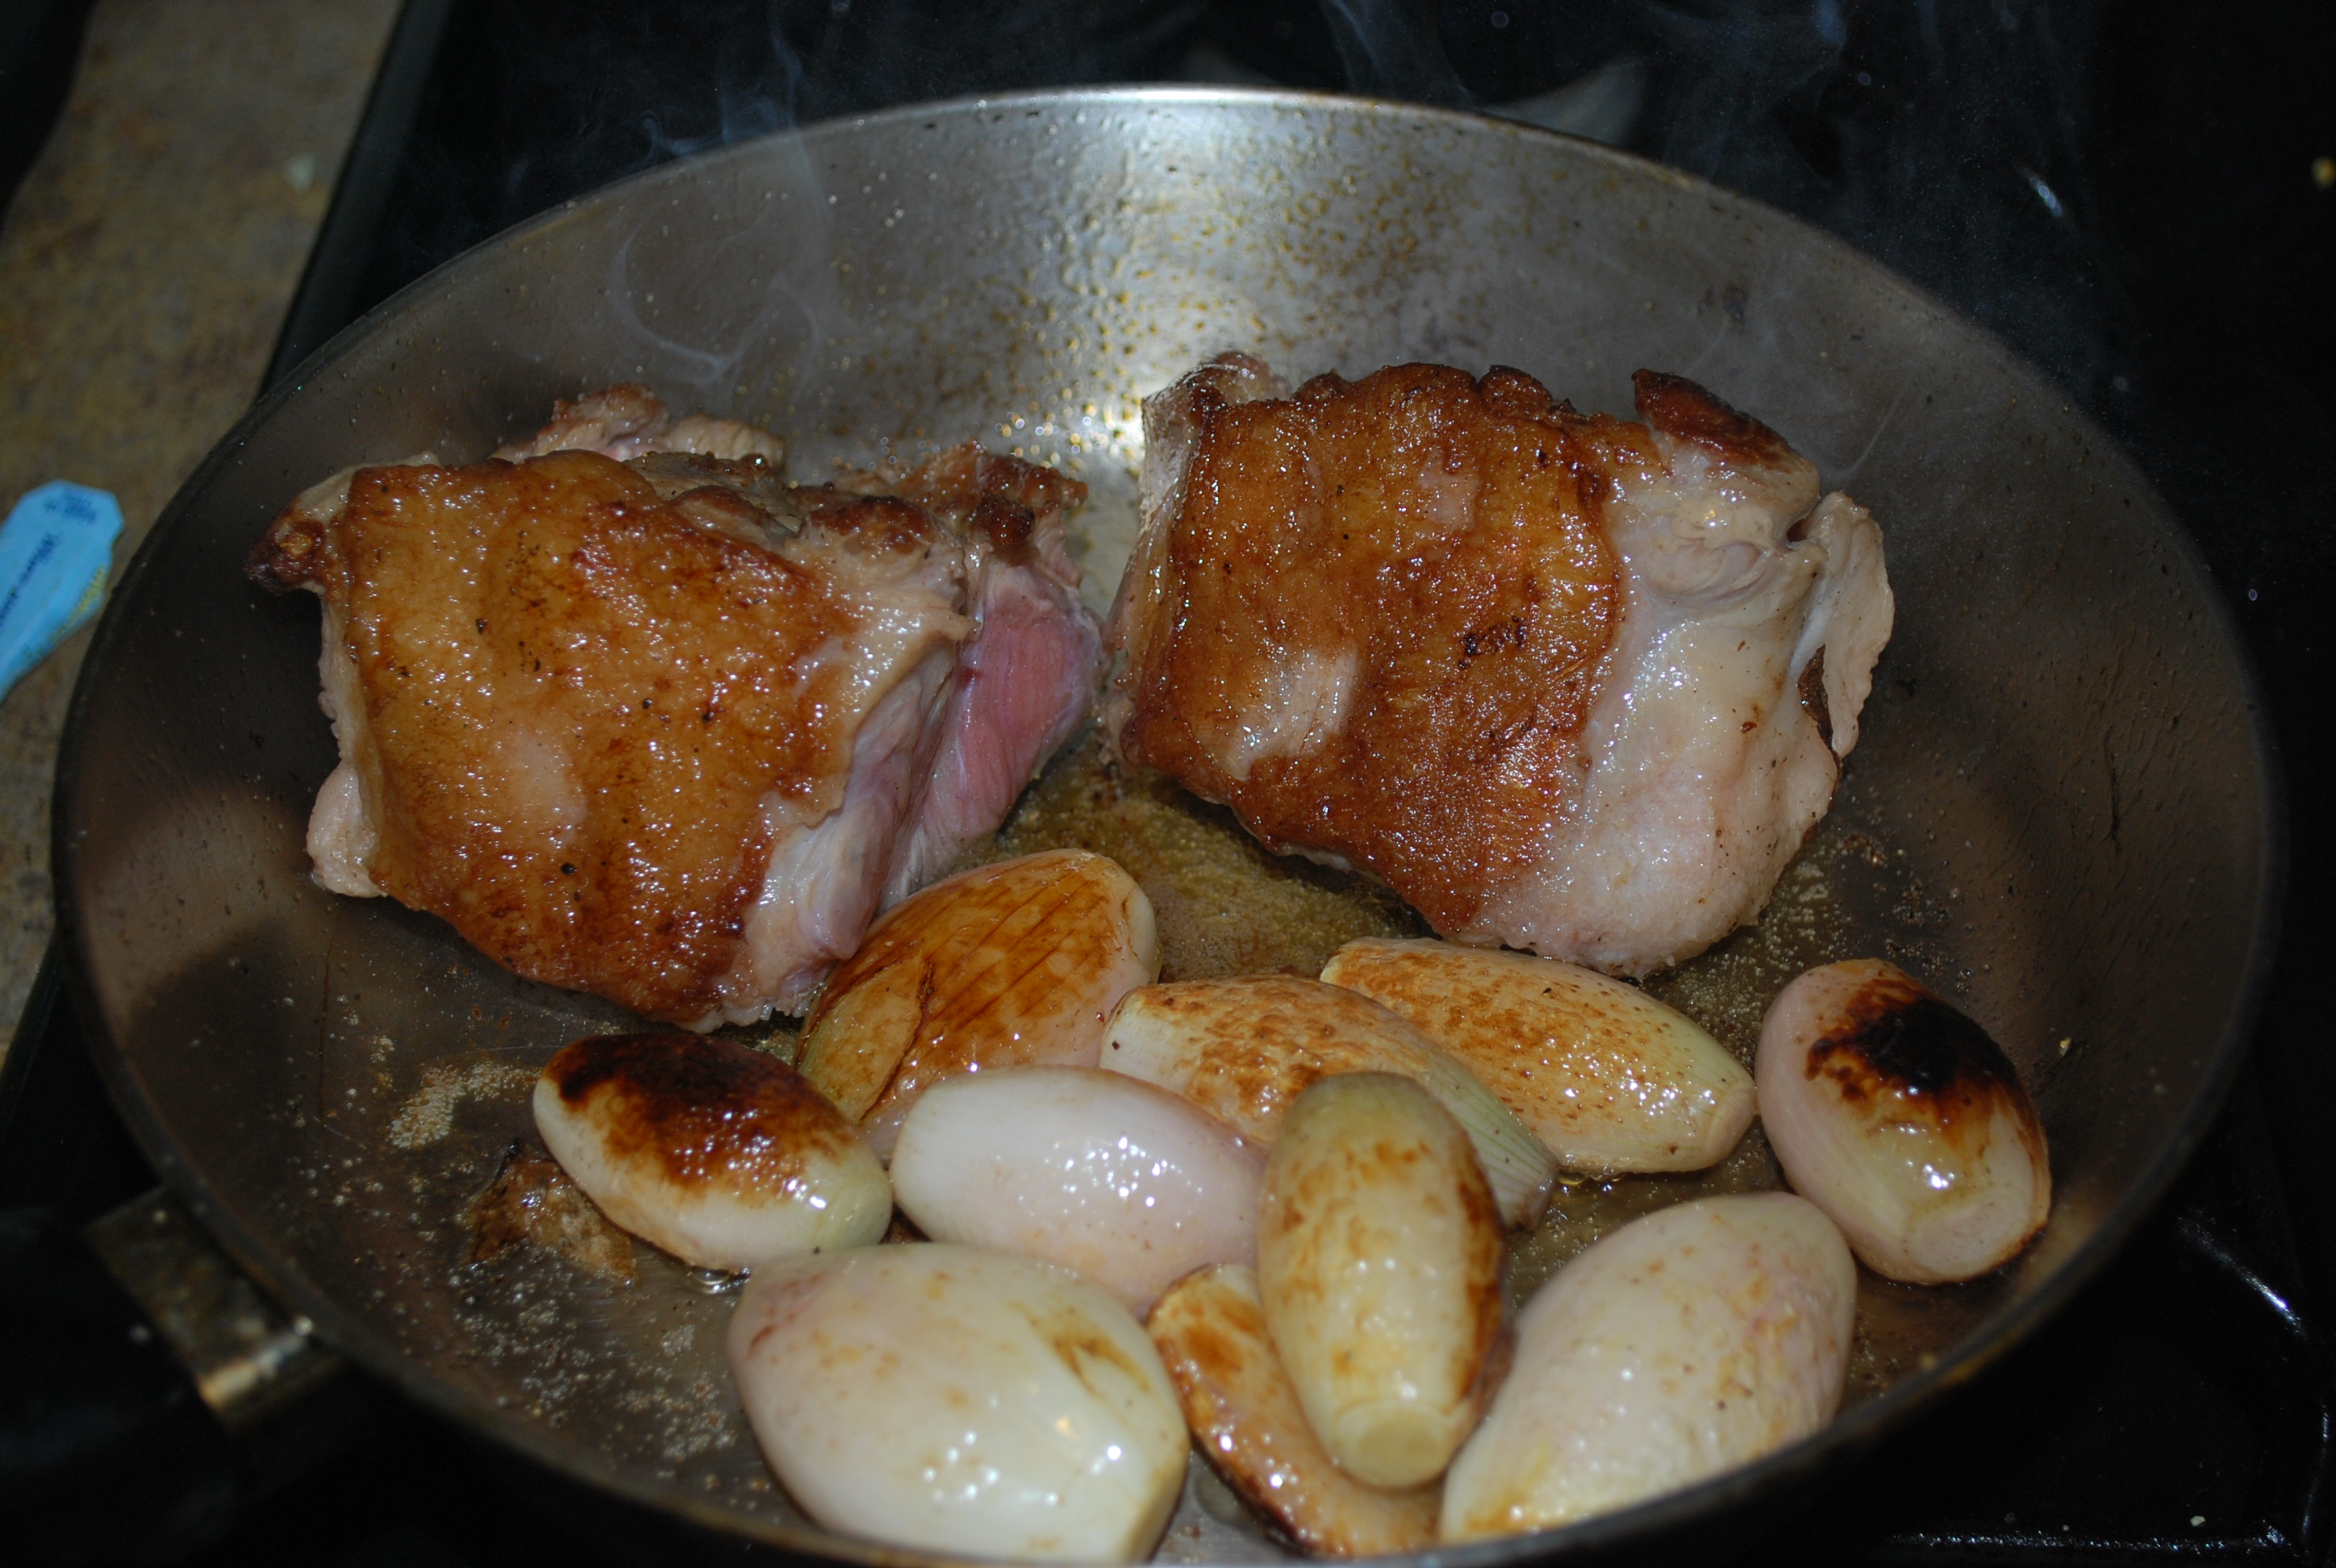
    2. Now we brown the chicken.  Turn the pan up high, until he fat is barely smoking. You’re not going to be able to get a super hard sear like you’ve seen me do before.  There is already fond (or yummy scrapin’s) in the pan from the dried meats, which is preventing full contact with the bottom of the pan.  (We’ll use those later.) When the pieces are golden brown on one side, turn them, and brown them on the other.  This could take about 5-7 minutes each side. When the chicken is done, shingle it in the slow cooker.20151205_101158
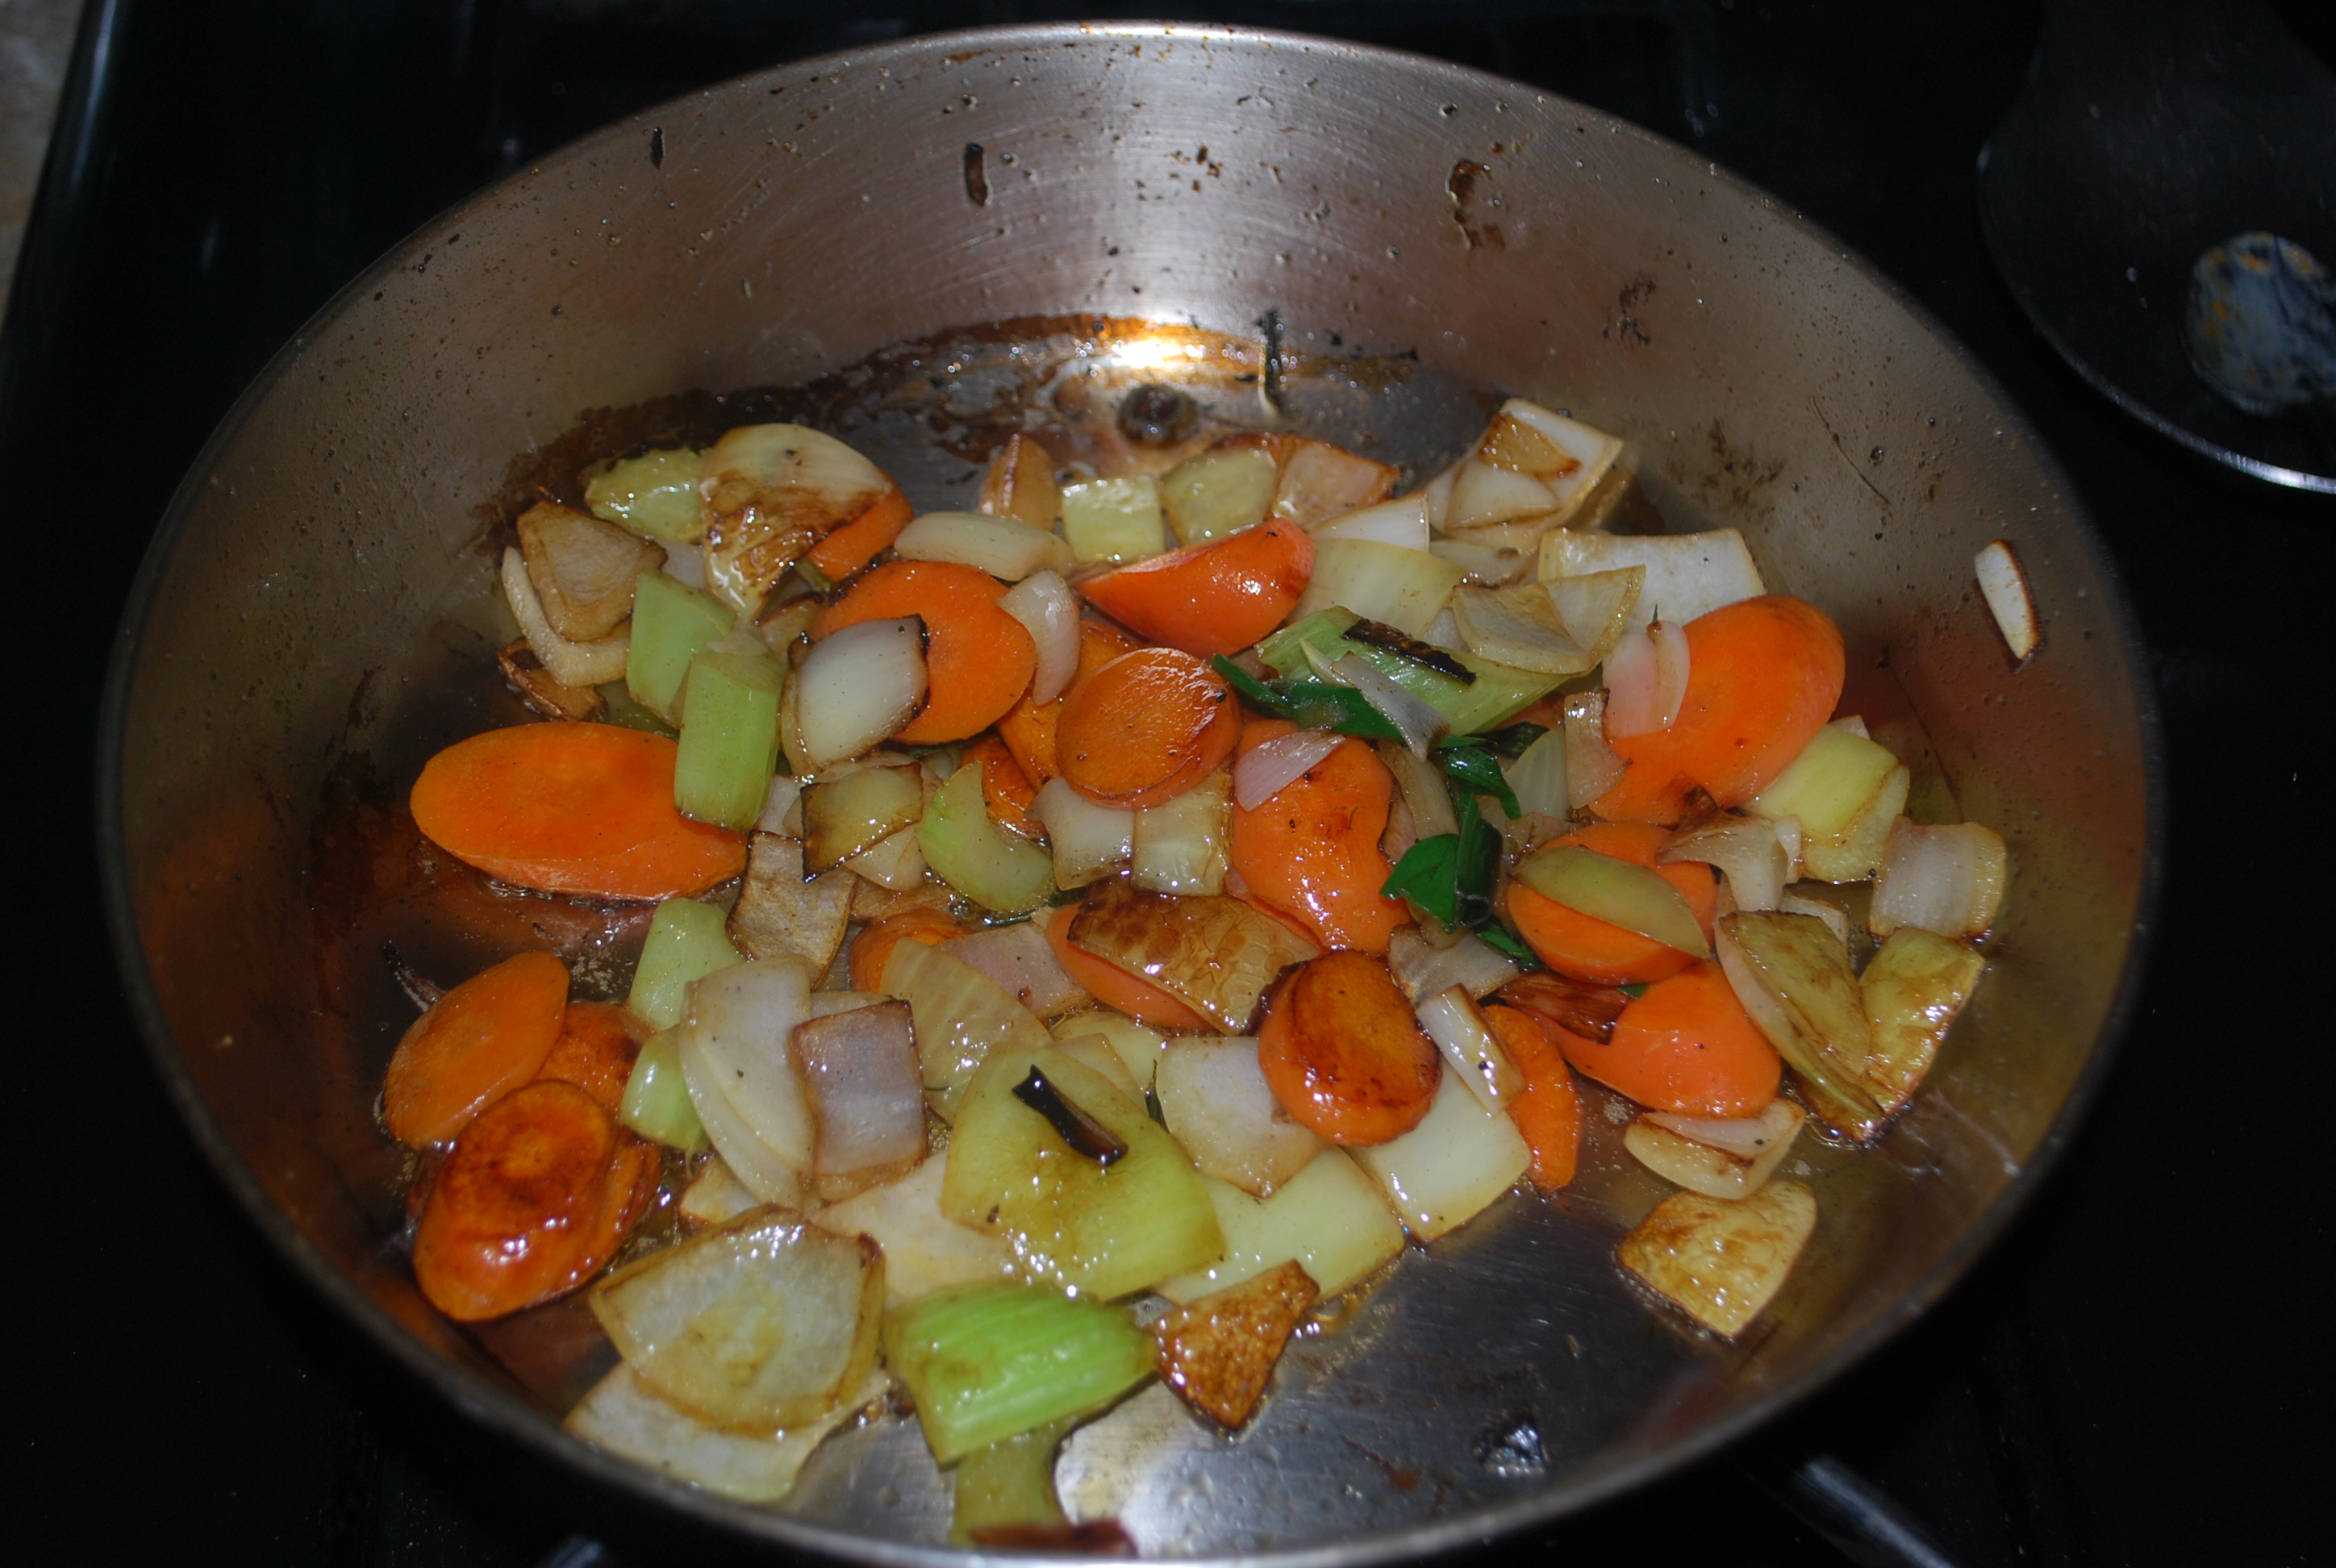
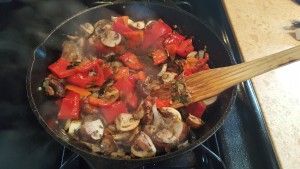
    3. Turn the heat back down, drain off 1/3 of the fat and add your mushrooms.  We don’t want to caramelize them, we want to sweat these mushrooms out and use the liquid from them to start pulling up that fond that the chicken and dried meats left.  Scrape the pan as much as you can.  If it doesn’t all come up, don’t worry, there will be another chance.
    4. Add the onions, garlic cloves, and peppers and sweat these out until the onions are translucent.  Now add your wine.  Scrape the pan again.  Let the wine reduce by half.
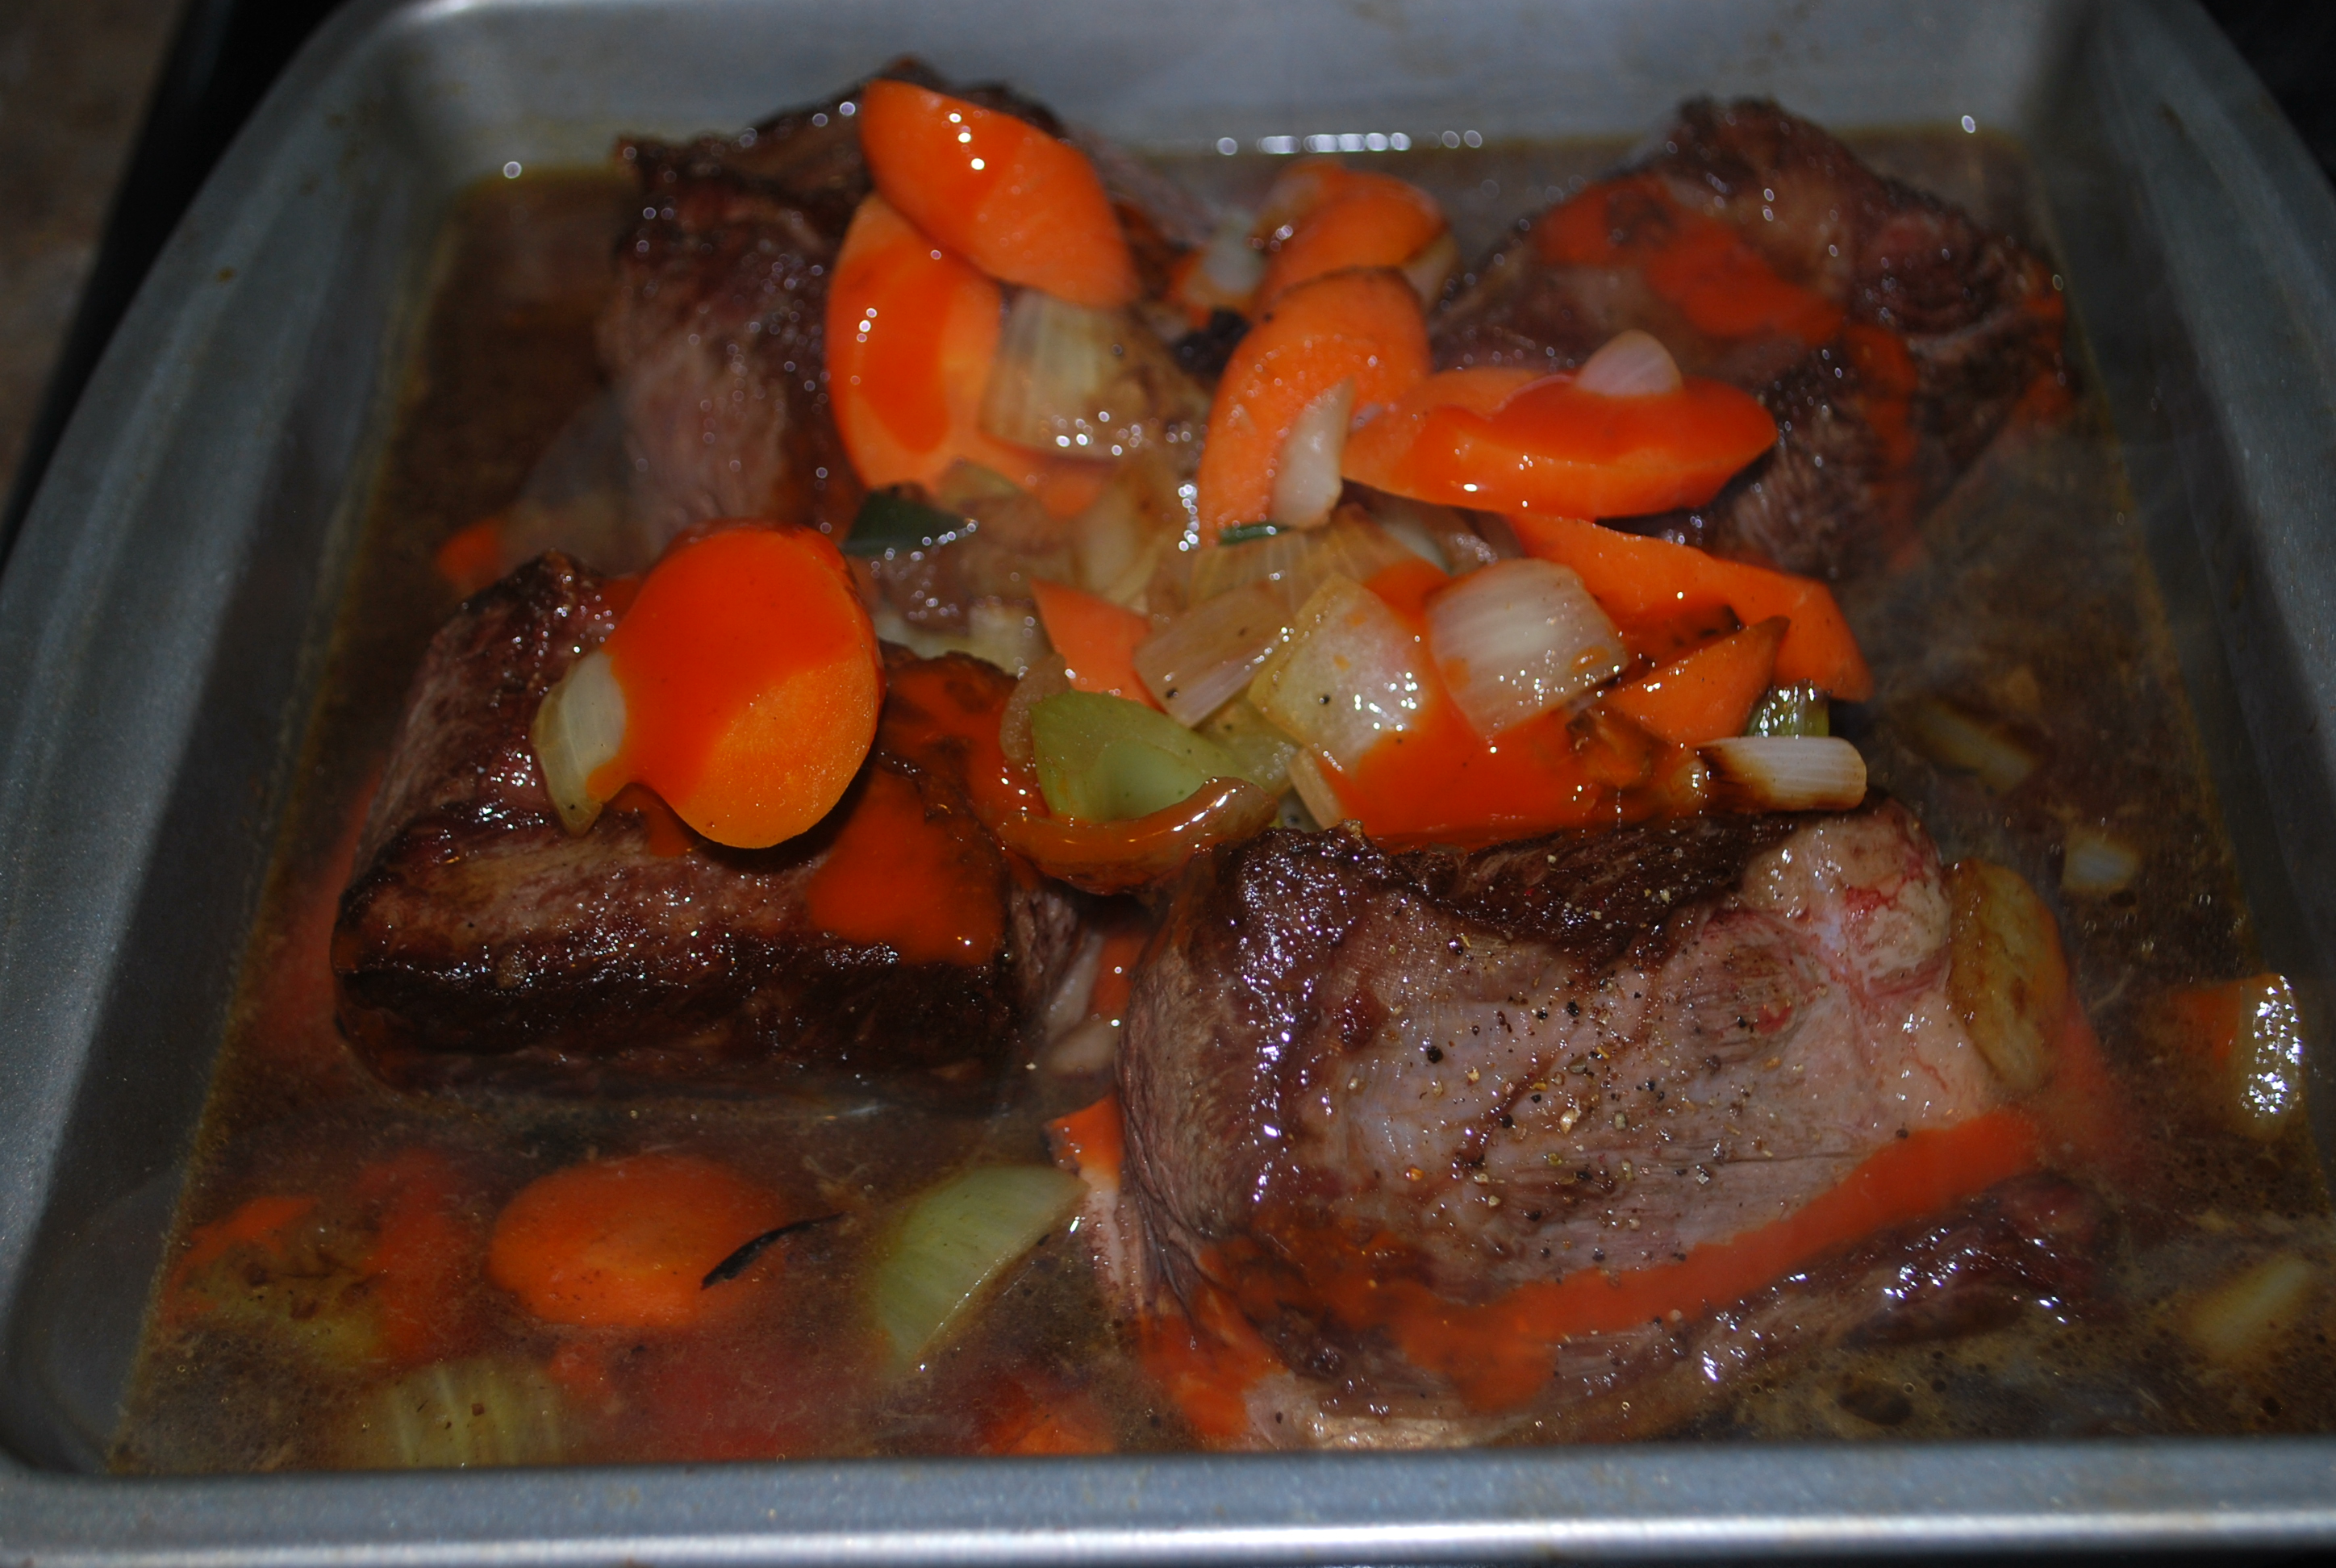
    5. When the wine is reduced, add your tomatoes.  Scrape the pan again.  This time try to get up all that you can (by the way, you should be using a wooden spoon for this).  Let this cook again for about 5 minutes.
    6. Add the liquid to you slowcooker, over the chicken and turn it on.  Cover it for the first hour.  Teh last 3 hours you want to leave it uncovered, so braising liquid reduces and starts to form a sauce.20151205_103212
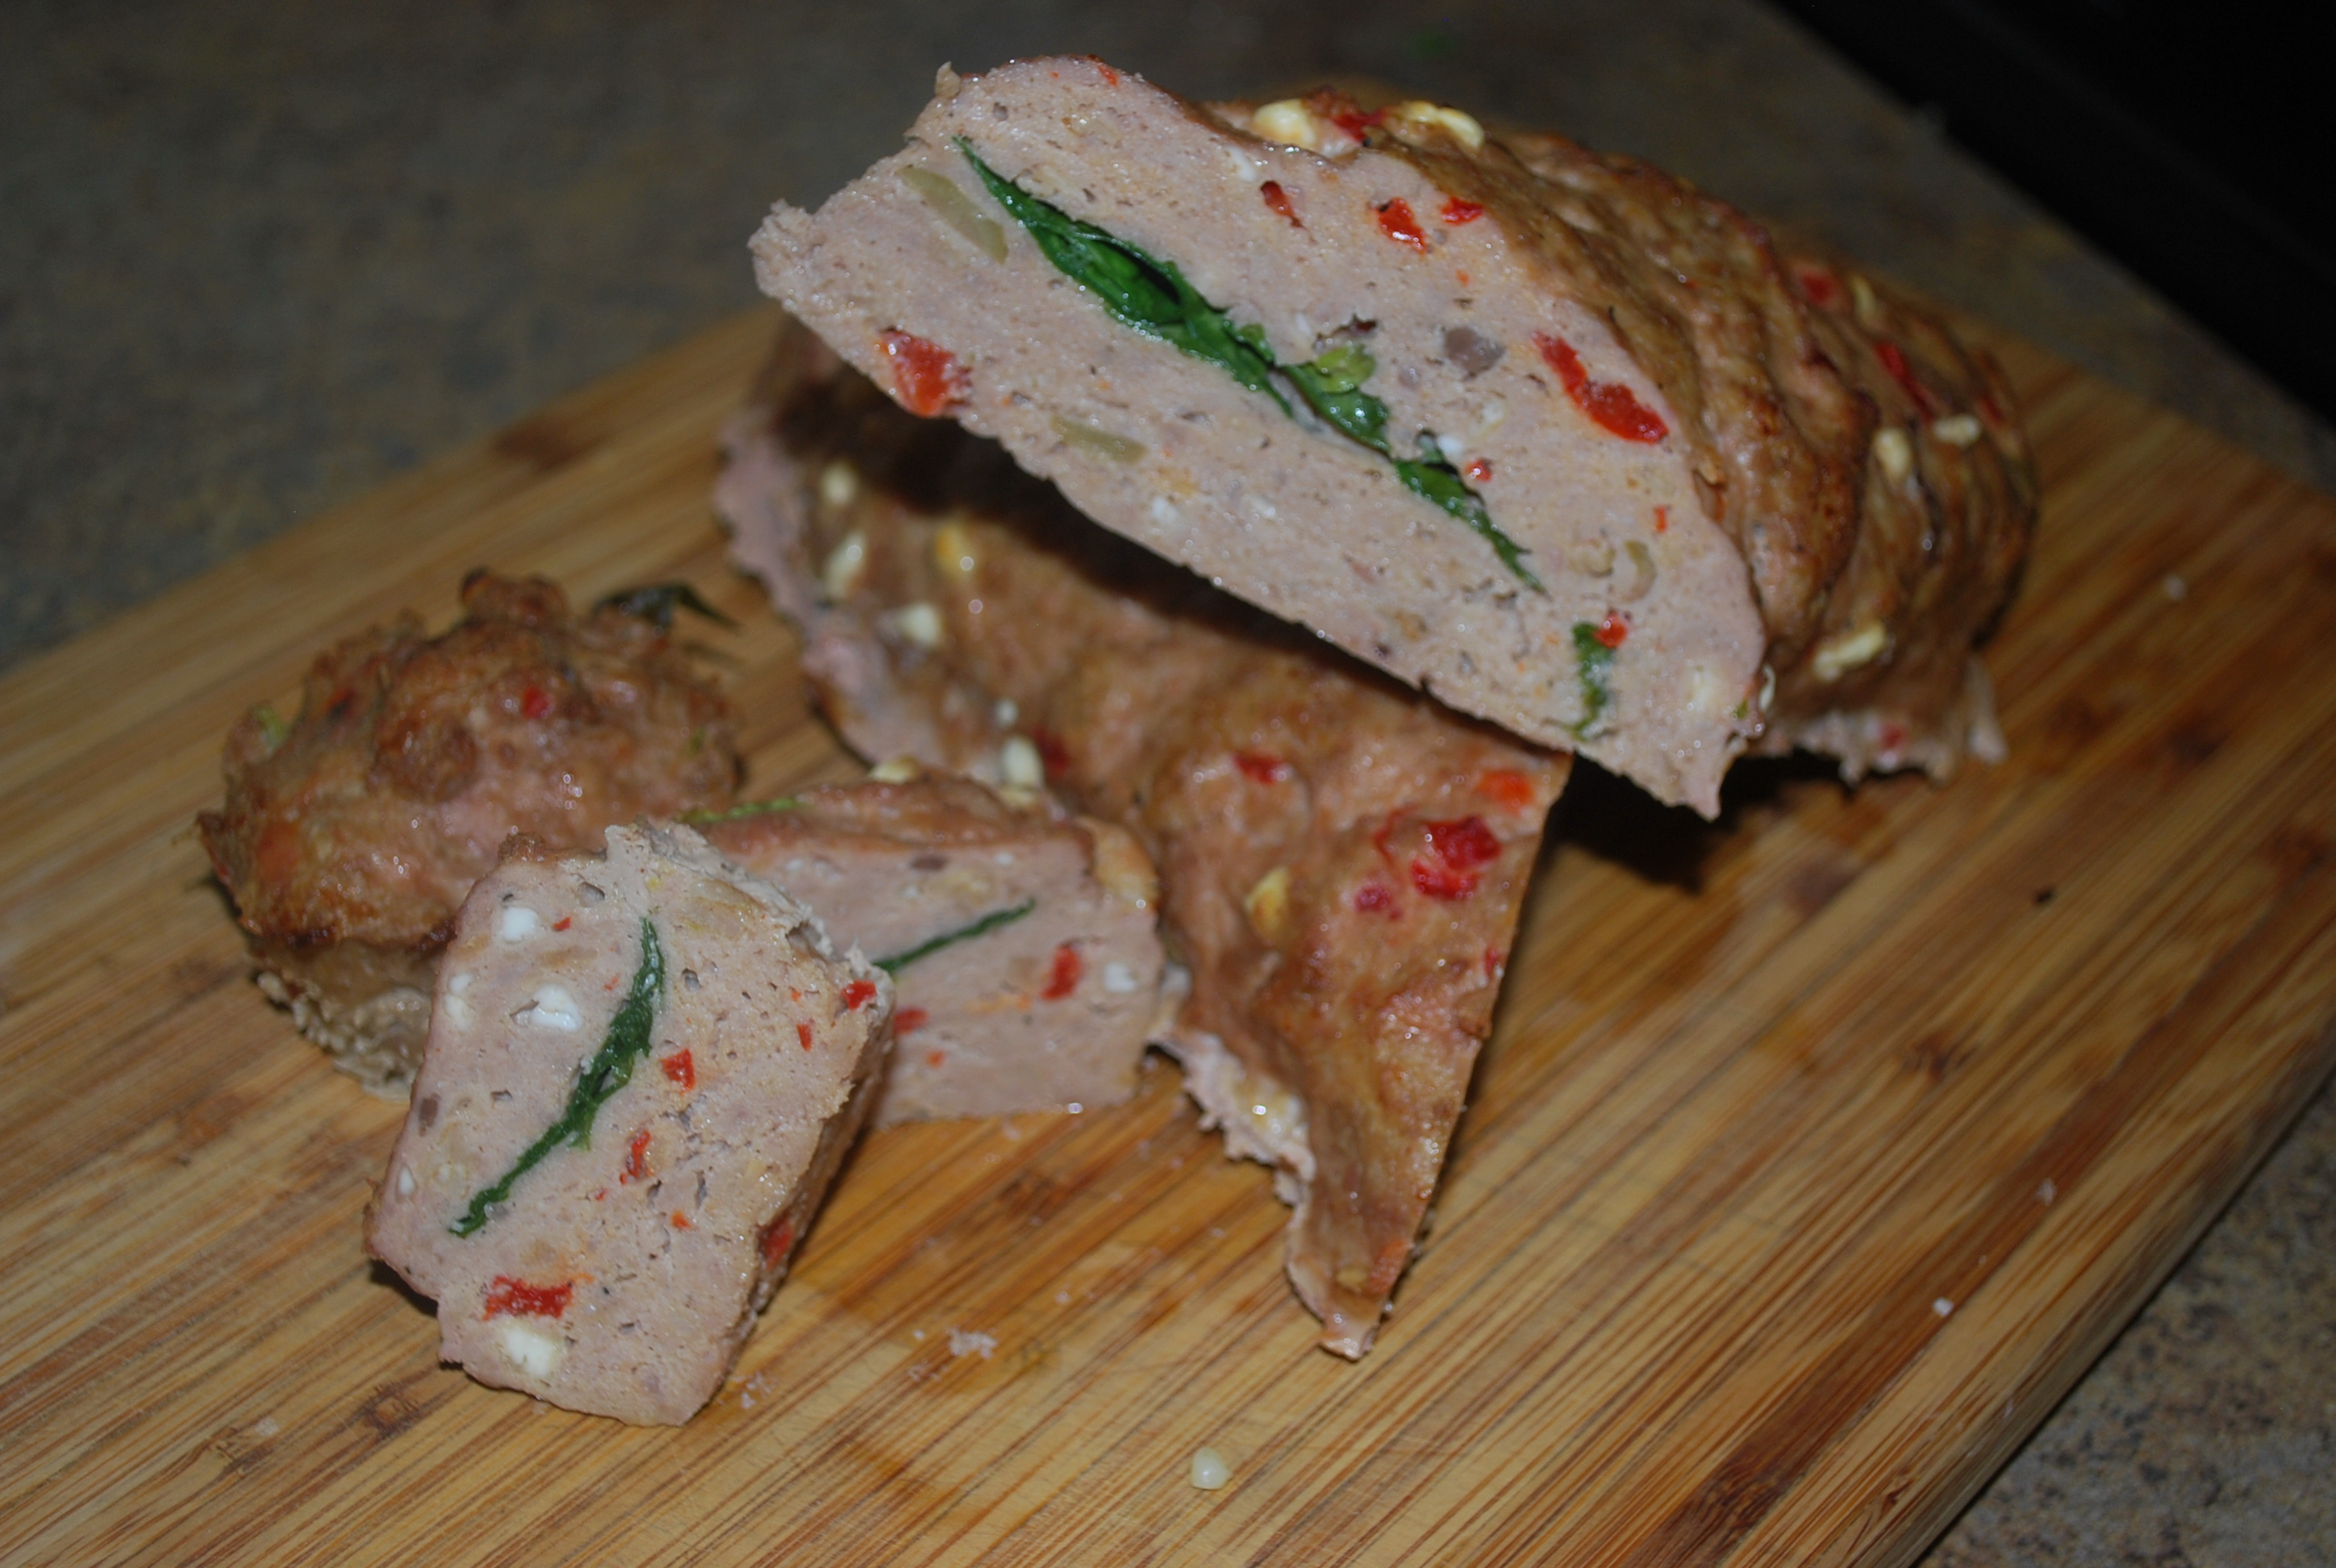
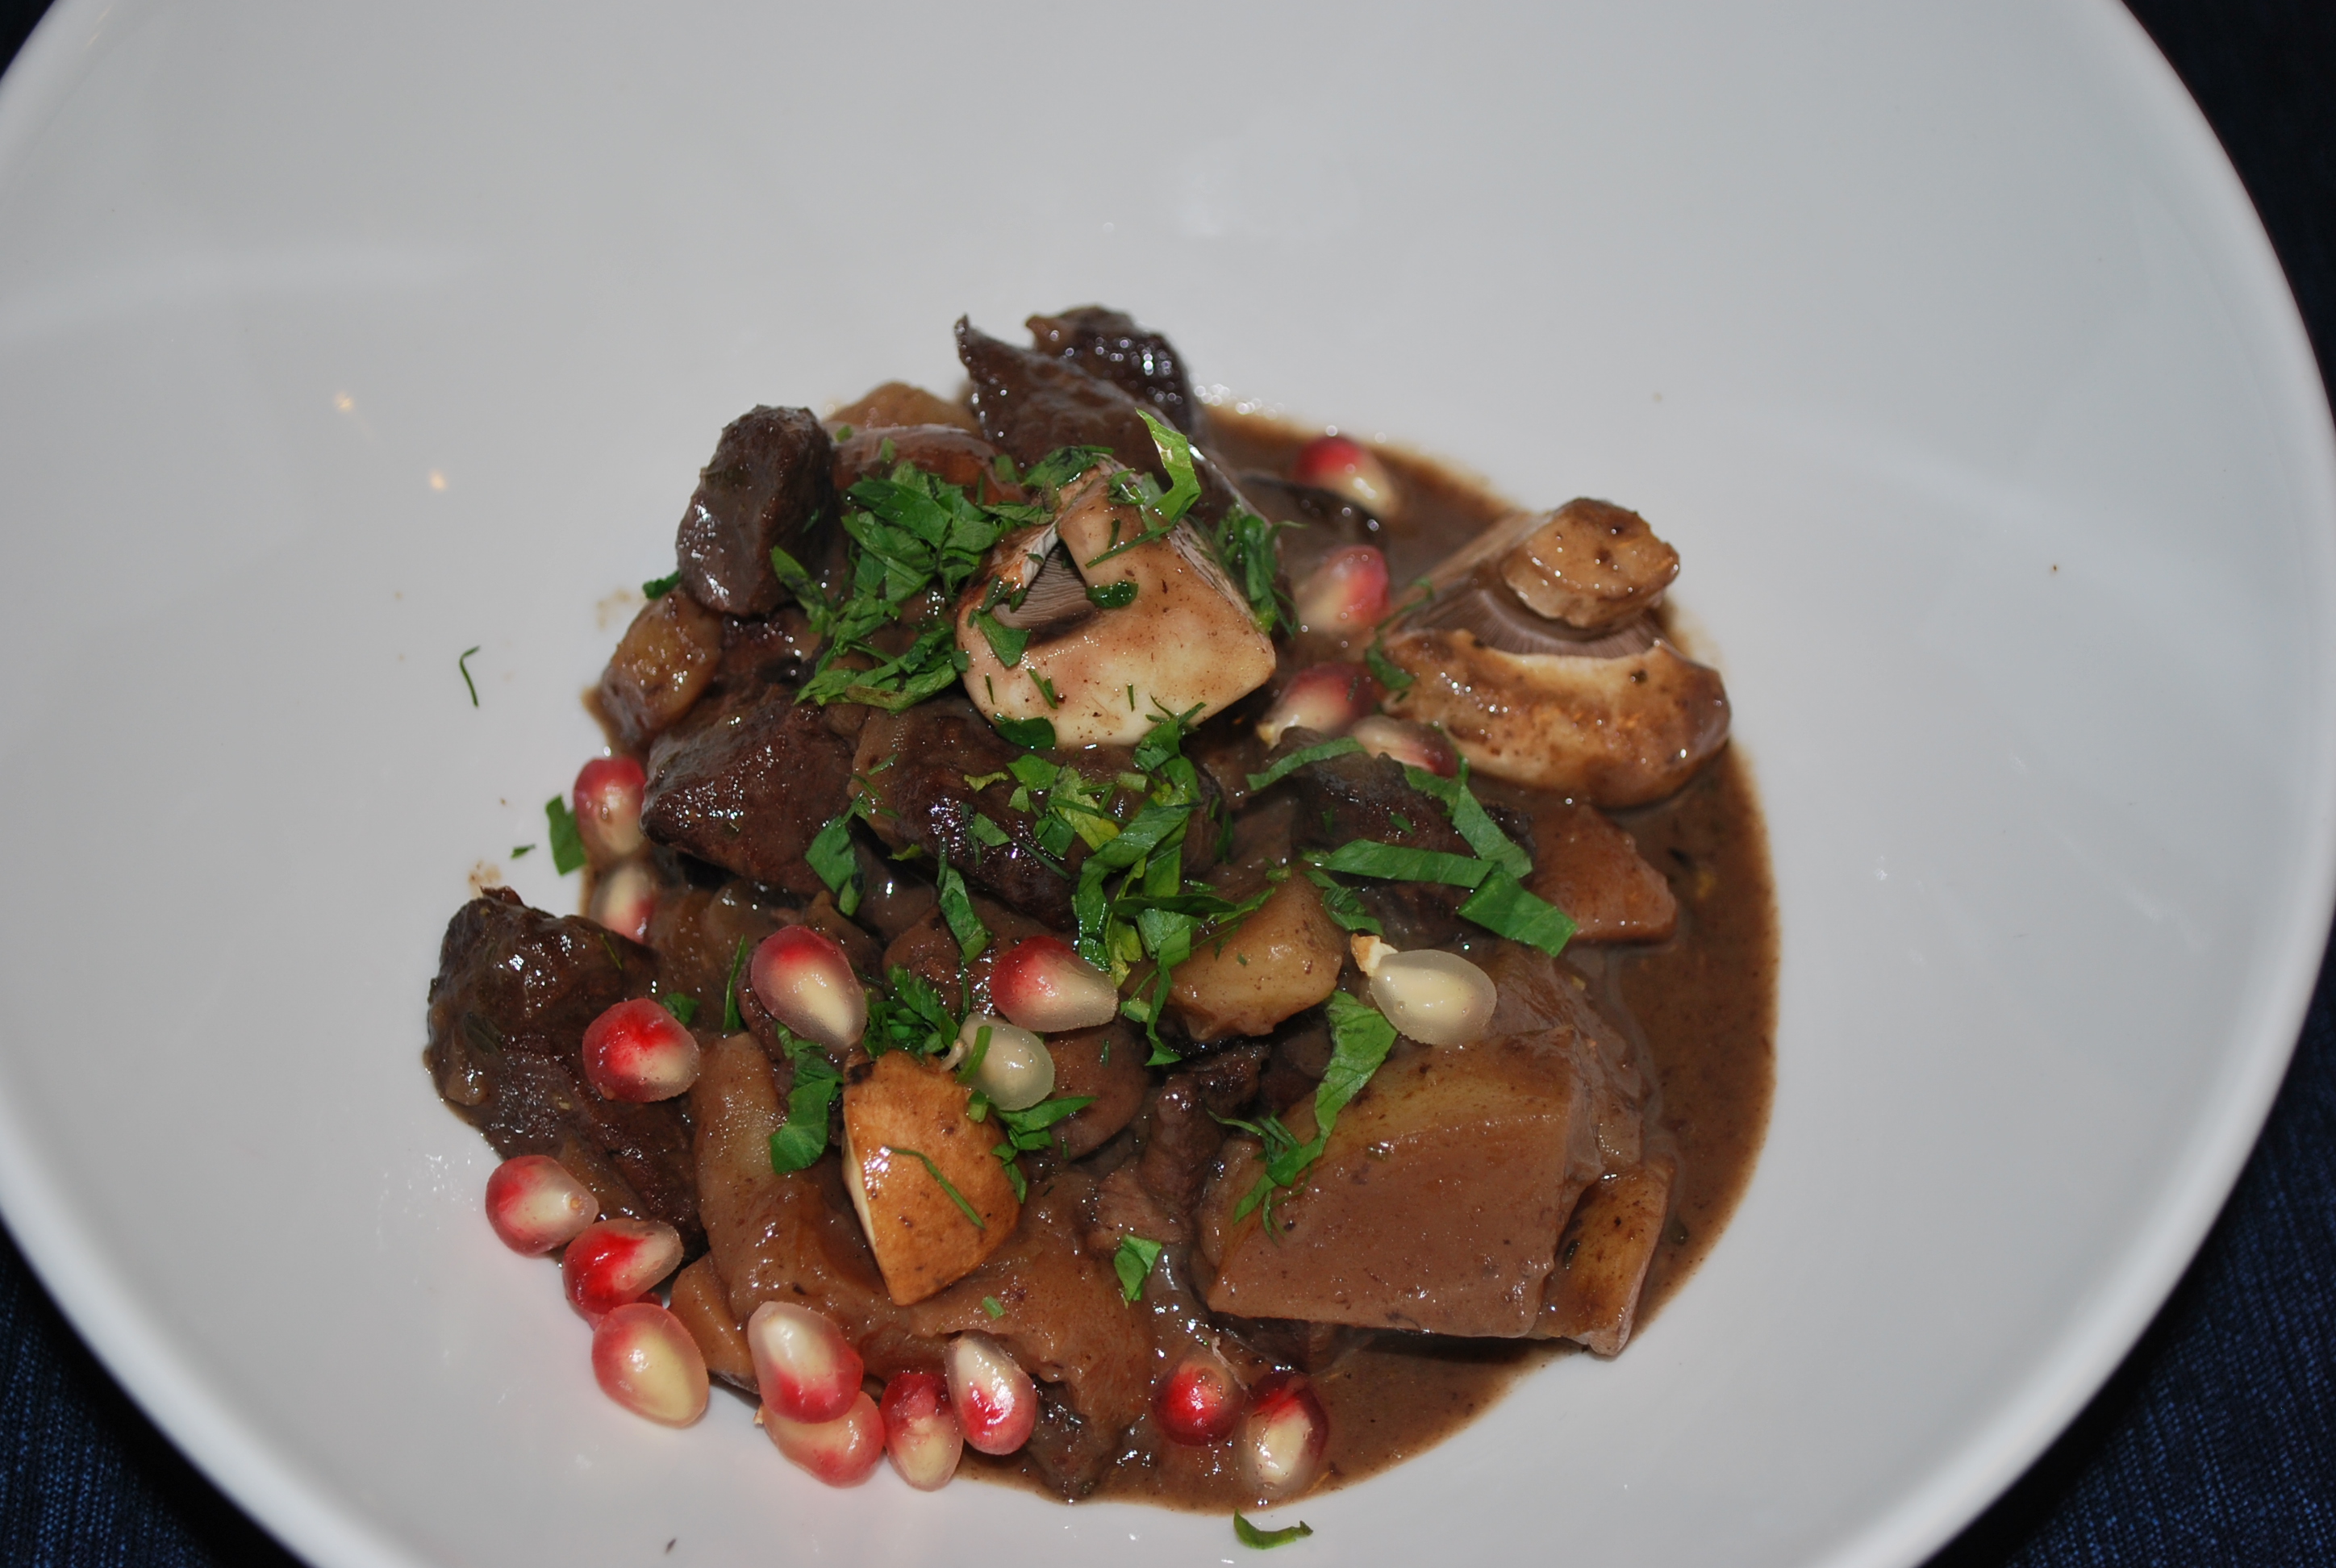
    7. After 3 hours, your chicken should be ready.  At this point add your herbs and gently stir in.  I like to take the chicken out, thicken the sauce a bit in another pot, then put it back over the chicken. This is a matter of presence, not necessity.

    This dish takes some time, but is still very simple.  The ingredients speak for themselves.  If you buy cheap tomatoes or not so great chicken, it’s not going to be great.  Make sure your ingredients are top notch for this recipe (They should always be).  I like to make this on a Sunday and eat on it all week during the cold months.  This freezes well in a Tupperware as well.


  • Red Kuri Squash and Arugula Manicotti

    Some people have told me “Doc, you cook with a lot of greens”.  Yes…yes I do.   I LOVE greens, and I LOVE gourds and guess what else….PASTA!!!   So I came up with something that knocks out all 3 cravings at once.

    ***Warning: Culinary rant ahead

    Really, there is so much more to gourds than the big 3  your see in grocery stores (Butternut, pumpkin and spaghetti squash).  Head on out to a farmer’s market and you’ll come across beauties like the Red Kuri we’re cooking.  They look funky, but I promise you’ll love them.

    ***End Rant

    You can substitute any gourd or any green you happen to find.  This will make 4 -6 portions

    20151114_095112

    • 1 half recipe pasta dough
    • 2 lb red kuri squash, medium dice
    • 2 c. ricotta cheese, well drained (like hang it in cheese cloth overnight)
    • 2 egg yolks
    • 2 tsp. cinnamon
    • 3 tbsp. parmesan cheese
    • 6 c. arugula
    • 3 cloves minced garlic
    • 3 tbsp olive oil
    • 1 tbsp melted butter
    • 2 cups lobster bisque (Do yourself a favor and get it take out forma nice restaurant)
    • 1 cup White Cheddar cheese, shredded
    1. Get an oven up to 450.  Toss your butternut squash in the butter.  Season with salt and pepper and throw it in the oven.  This is going to roast for about 25 minutes.  You’re going to want to get a big pot of salted water boiling too.
    2. While the squash is roasting, roll your pasta dough out to the thinnest setting.  Cut itinto 18″ to 24″ lengths.  Blanch the pasta dough in the boiling water.  After 1 minute, drop the pasta sheets into an ice bath and remove them after about 5 seconds.  Lay the sheets out between oiled parchment until you’re ready to use them.
    3. Add one tbsp of olive oil to a skillet and add the garlic.  Sweat out the garlic for 2 minutes.  Add the arugula to the pan and wilt the arugula.  Transfer the arugula out of the pan and chill it.

      Wiliting the Arugula
      Wiliting the Arugula
    4. Mix the cottage cheese, parm, eggs, squash, and arugula.
    5. Lay out the sheets on a non-stick surface.  Spoon or pipe the cheese mixture into the pasta.  Rolle the pasta around the mixture.  Cut the manicotti 2 1/2″ – 3″ long.

      Piping the filing.
      Piping the filing.
    6. Line a baking sheet with a thin layer of the lobster bisque (or other sauce).  Place the manicotti over the sauce and coat it again with sauce.  At this point, you can top it with any cheese you like, or leave it plain.

      Rolling the canneloni
      Rolling the canneloni
    7. 45 minutes before you’re ready to eat, heat up the oven to 400 degrees.  Cook the manicotti for 35-40 minutes, then serve.

      20151114_105229
      If you’re not drooling, check your pulse.

    This manicotti is so versatile, you can literally use any sauce and cheese you would like.   I’ve switched out the bisque for alfredo, simple cream sauces, and old school tomato.  I’d also suggest  blue cheese, cheddar and briefor cheese as well.  Go ahead and play with this, leave your combination in the comments.  Oh almost forgot,  this makes a great alternative side for Thanksgiving!!!


  • Ranch Crusted Salmon

    I have friends…friends who have kids…who wont’ eat fish outside of fishsticks…BLECCCHH!!!  this recipe put the Gordon’s Fisherman on layoff, and gives your kids (even the ones over 30) a healthier and tastier alternative.  This was a crowd favorite on the kid’s table at sunday brunches I’ve run all over the country.  This will server 4.DSC_0506

    • 4, 6 oz. Salmon filets (Or any fish really)
    • 1 c. panko breadcrumbs, ground fine (Like use a coffee grinder, works like a charm)
    • 2 tbsp. ranch dressing
    • 1 tsp. dijon mustard
    • 1 tbsp .chopped cilantro
    • 2 tbsp. melted butterDSC_0490
    1. Pre-heat your oven to 450.
    2. Season your salmon with salt and pepper.
    3. Mix the ranch dressing and dijon mustard together.  Spread the mixture over the top of each piece of salmon, about 1/4 inch thick.DSC_0491
    4. Season the breadcrumbs, and mix the cilantro into the. Dip the coated piece of salmon into the breadcrumbs and lay it, crumb side up on a sheet tray.
    5. Drizzle the salmon with the butter and bake for about 8-10 minutes.  the crumbs should be nice and brown, and the salmon should be about medium to medium well.

    This recipe isn’t limited to just salmon.  I’ve done it with Mahi Mahi, Halibut, Rockfish, and Flounder.  If you use a flatter fish, just fold the fillet once or twice until it’s about 3/4 to 1 inch thick.  This really doesn’t need a sauce, but it any butter sauce will work.  I like to eat this with Sriracha, but that’s just me.  How do you like it.

    Happy Eating,

    -The Doctor


  • Spicy Porter Braised Shortribs

    Anyone who knows me well knows one of my passions is craft beers and the other is short ribs.  There is nothing better than sitting down on a cold winter day, with a slightly chilled flavorful craft draught.  What makes it even better is this dish.  This dish was developed for a beer tasting dinner I did at a brew pub outside of Washington D.C. many years ago.  Short ribs hadn’t gained popularity yet, so they were still very inexpensive, and they held up well with the strong porter the brew pub offered to it’s guests.  They also wanted add some bar flare, so we used their wing sauce in the recipe.  This will feed four people.

    You drooling yet?
    You drooling yet?
    • 4 pieces short ribs, about 6 oz. each
    • 1 bottle Porter
    • 1/4 c. Frank’s Red Hot sauce
    • 1 medium onion, large dice
    • 1 large carrot, bias cut about 1/2 inch
    • 1 c. chicken or beef stockDSC_0478
    1. Heat up a heavy bottom skillet with some olive oil until it smokes (about 1 tbsp. or so).  You’re also going to want to turn your oven on to about 350.
    2. Sear the short ribs until they’re a deep brown, turn and repeat.  You want to let these sit on each side until they’re completely brown.DSC_0480
    3. When the short ribs are seared, remove them from the pan and add your vegetables.  Let them site for just a minute, then toss.  You want these to get just a little bit of color, not too dark.

      Barely browned veggies
      Barely browned veggies
    4. Add your beer, and let this simmer for about 2 minutes.  Then add your stock and hot sauce.
    5. Transfer this to a roasting pan with the short ribs, cover with foil and throw the in the oven for about 3-4 hours, or until they’re tender.
    6. If you’re serving these right away, let them sit for about 5 minutes so until the ribs don’t fall apart on you.  If you’re like me, you’re doing these the night before and letting them sit in the awesome sauce you just made.  If you’re doing the latter, heat everything up in a saute pan or shallow pot, and let that sauce reduce a bit as they heat up.  You don’t want it to go down too far because the hot sauce will get bitter.

      If you weren't drooling before, you are now...guaranteed
      If you weren’t drooling before, you are now…guaranteed

    So now what do you serve this with?  HAH!! BEER!!!  I like hearty sides.  Roasted potatoes or some bad-ass garlic fries work best for me.  Another favorite is mashed potatoes with rosemary and blue cheese, it hits the heat just perfectly.  Give this a try on your next cold night in.  Let me know how you like it

    Happy Eating,

    -The Doctor


  • Greek MeatLoaf

    Can meat loaf be Greek?  Isn’t it All-Ameican?  Meatloaf is whatever is say it is, when I say it is.  Think about it, almost every culture has some kind of meatloaf, whether it’s wrapped in bacon, chilled and turned into a pate, or smothered in ketchup.  This one in particual, does happen to be American, but with a Greek flare.  During a VERY late night at a Greek diner in NJ (as in I had a few…BL smoothies let’s call them) I stumbled acrosse this item on the menu.  I don’t know if it was the influence of the alcohol or the fact that this item was so good, but I tried to dupicate it for months, and finally did.  This makes enough for 4-6DSC_0481

    • 1 lb ground meat (pork, turkey, whatever)
    • 2 eggs
    • 1 red bell pepper, roasted and diced
    • 1/2 c. GOOD Greek olives, chopped or sliced (like not the crap packed in water)
    • 1/2 c. feta cheese
    • 1/2 c. instant oatmeal
    • 1/2 c. spinach leaves
    • 1 tsp fresh chopped orgeano
    • 1 tsp. dried basilDSC_0476
    1. Turn on your oven and get it up to about 450.
    2. Combine your meat eggs herbs and oatmeal in a large bowl.
    3. Add the olives and feta and just give it a slight mix.
    4. Season with Salt and pepper, then pat you red peppers dry with a paprt towel  You don’t want any excess water there.
    5. Add the peppers and just cook up a little taster piece.  When it’s seasoned how you like it, it’s time to build the loaf.
    6. If you’re doing a full size loaf, take half of the mix and lay it out flat on greased sheet pan lined with foil.  The mix should extend to about just under an inch away from each side o the pan and should be about 3-4 inches wide.
    7. Lay down your spinach.  Then lay down the rest of your meat on top of the spinach.  Make sure there are no holes.  (Seriously treat it like  a sand castle, it’s meatloaf for crying out loud).
      Building layers
      Building layers


    8. Pop this bad boy in the oven for about 30-40 minutes or interrn it hits 155 degrees internal.  The meatloaf will carry up to 165 as its’ resting.  If you cook it up to 165, it will just get dry.

    If your’e looking for soemthing different, try making this in to the mini version in a cupcake pan.  This goes very well with just about anything.  Of coruse Tzatziki and hummus are no brainers for this, but I like to eat this along side a nice salad of bitter greens and a lemon vinagrette.  How do you like to server your meatloaf?  Leave something in the comments.


  • Honey Braised Oxtails with Shallot

    Nothing beats old school peasant food, and the oxtail is exactly that.  I see it in the grocery store a lot being sold as soup bones, but believe you me, this cut is a force of flavor to be reckoned with.  This dish is a take on one from one of my favorite chefs and good friends Rich Rosendale, who just happens to have represented the U.S. in the Bocuse d’Or this year.  (for those of you who don’t know what that is, it’s THE major world hot food competition.  This inspiration for this dish was a take on dismantling one of the first he put on the Tavern Room menu when he came back to the Greenbrier and took it over… it’s always been one of my favorites.   This will make enough for two.DSC_0477

    • 2 x 6 oz oxtails (or 12 oz. of oxtail)
    • 8 large shallots, peeled
    • 2 c. chicken stock
    • 1 c. rose wine (yup, the pink stuff)
    • 2 tbsp honey
    • 1 spring rosemary

    DSC_0471

    1. Set up a have bottom skillet on high heat add add abotu 1-2 tbsp. of Olive Oil.  to the pan.  When it starts to smoke, add the oxtails.
    2. Sear the oxtails until they ae nice and dark brown.  When you turn then, add your shallots and just toss them around lightly with a pair of tongs or some other implemnt of food movement.  Keep moving the shalltos every few minutes of so.DSC_0474
    3. When the shallots are seared.  Drizzle the honey in to the shallots and stir.
    4. Turn down the heat and Deglaze the pan with the red wine.  Scrape down the pan and let the wine cook down half way.DSC_0476
    5. Add the stock, and and the rosemary, then cover the pan.  Turn the heat to low and let this simmer for 2-3 hours, or until the oxtails are tender.
    6. Take the oxtails out and reduce the cooking liquid down by half.  Now your ready to serve them or cool them down and server them the next day (this is what I like to do).

    So now the questions is “what do I serve with this?  I love servign this with any kind of off the wall polenta, or old school maased potatoes.  Mashed sweet potatoes also go well with this.  There’s a lot of flavor here, so you really need a vegetable or starch that’s heavy and can stand up to the oxtail.  Go questions?  Lemme knowin the comments.


  • Polenta with Venison Sausage Ragout

    So, remember that friend of mine that brought over that deer meat?  Well he brought over some sausage yesterday that he made from some of his venison… It was good on it’s own, but I had some leftover, and needed to stretch it out a bit so I could feed the rest of the crew coming over (yeah I ate a bit too much of it…whoops…).  So what did I do?  Took a page out of Grandma Prosciutto’s cookbook and hooked up some polenta.  This easy recipe can be done with any sausage (or left over meat for that matter) and is heartier than…well…it’s just hearty.  This hooks up enough to feed 4-6:DSC_0490

    • 1  lb. Venison sausage (or hot Italian sausage)
    • 1/2 c. julienne roasted peppers
    • 1/4 c. GOOD olives, quartered
    • 1/4 c. white wine
    • 1 tbsp. oregano, chopped
    • 1/4 c. tomato sauce
    • 2 c. chicken stock
    • 1 c. Polenta
    • 2 cloves garlic, chopped
    • 1/4 c. Parmesan cheese
    • 1/4 c. heavy creamDSC_0482
    1. Cook the vension sausage about 3/4 of the way, you still want it to be a bit pink inside so it doesn’t dry out later (especially with the Venison, it’s very low in fat compared to other meats).  How do you cook it?  Well, however you want.  The grill is nice, under the broiler is efficient, and the oven is easy and a saute pan is…another good method.  Let the sausage cool.  While it’s chilling out, let’s start the polenta.
    2. Put the chicken stock and half the garlic into the pot and bring to a boil.  Turn it down to a simmer after it’s heated up.  Add the herbs and slowly whisk in the polenta.  You don’t half to stir this constantly, but I would give it a stir every minute or so (or when you hear a sizzle type sound).
    3. Depending on the polenta, it could cook for 5 (instant) to 15 (course grind) minutes.  Just follow the instructions for the time on the package. When the prescribed time has past,add your oregano, parmesan, and cream.  Stir these until smooth.  The polenta should be a bit loose right now.  That’s fine it will tighten up a bit as it gets to a more edible temperature.
    4. Now for the easy stuff,  slice your sausage on the bias. And hold it off to the side for now.
    5. Start up some olive oil in a saute pan, at medium heat.  Add the rest of the garlic and sweat it for just a minute.  When you can smell the garlic, add the peppers and olives.  Toss these through and just warm them up.
    6. Now add your wine and let it reduce.
    7. Add your tomato sauce and sausage.  Heat the sausage through and season the sauce up.
    8. Your polenta should be cool enough to eat now and should have stiffened up a bit.  Take the polenta and lay if down in a big bowl or a platter, or whatever.  Make a little well with back of your spoon or ladle, then gently spoon or ladle the  sausage and the sauce over the polenta.

    Now how’s about that for rich, delicious, and just plain damn good.  So can you add other herbs too it?  DUH!!!!!  C’mon you know me by now.  If you’re feeling really adventurous, try it with some cheddar, grits and pulled pork, just replace ingredients as you see fit.  This is a really easy recipe to play with and get creative.  You want some more ideas?  Just comment below.


    Happy Eating,

    -The Doctor


  • Pumpkin Shrimp and Grits

    WHOA DOC!!!!  What’s up with the squash thing you got goin’ on ?!?!?!?  It’s fall stunad.  They’re everywhere, and they go with just about everything, so get used to it.  Besides, they’re CHEAP!!!!!!  So you’ve got a great inexpensive side or entree.  Now…on with the recipe.  Shrimp and Grits is an American classic, and so is pumpkin, so I thought, why not put them both together?  Well I did.  This will serve four.DSC_0476

    • 1 lb, peeled and de-veined shrimp
    • 1 tbsp. Old Bay
    • 1 clove garlic, chopped
    • 3 tbsp. butter
    • 1 lb pumpkin (or another squash, whatever.  I used a little Sugarloaf pumpkin)
    • 1/2 c. Cheddar Cheese
    • 1/4 c. heavy cream
    • 1 1/2 tsp. cinnamon
    • 3/4 c. grits
    • 2 c. Chicken StockDSC_0472
    1. This is another crazy one for you…NO OVEN PRE-HEATING!!!!!!  What I like to do to soften up the pumpkins a little bit and make then easy to peel is split them and pop them in the microwave for 3-4 minutes, depending on the size.  Let them cool for a minute, them either cut the skin off with a knife, or scoop it out with a spoon.  Now dice the pumpkin into 1/4  inch pieces.
    2. Take just a bit of the butter and melt it in a saute pan.  Add your squash and let it caramelize.  Toss or stir after a minute  Season with salt and pepper and add the cinnamon.  Keep cooking it for a few more minutes until it’s  nice and brown.  Set this aside for now.DSC_0474
    3. Now for the grits.  Take some of the butter and your garlic and start it on low heat.  Sweat the garlic for just a minute, then add your grits and stock and let them cook on low heat.  Stir them with a whisk every minute or so until they’re soft.  This can take about 15-20 minutes (there’s usually instructions on the bag…just sayin’)
    4. Add most of the pumpkin you caramelized, save just a bit for garnish.  Then add 1 tbsp of butter, and the cream.  Season with salt and pepper. Set this aside to set up for just a minute.
    5. SHRIMP TIME!!!!  Heat up the last of your butter in a saute pan, on a medium flame, and wait until it starts to sizzle.  Toss your shrimp in the Old Bay and cook it slowly in the butter.  This is one of the very few times you don’t want a good hard sear.  Why not?!?!  Easy, it wouldn’t be shrimp and grits.  Add the last bit of pumpkin after a couple of minutes and heat it through.  If you like, you can add some of the last bit of cream and make a quick sauce.
    6. Now just put it together.  Lay the grits down in a bowl and pour the shrimp over top.

    If you want to do your grits ahead of time, you can certainly stop the cooking process right before you add your cream and pumpkin.  When you’re ready to heat them up, just add some water or chicken stock and loosen them up a bit.  Not a pumpkin fan or a squash fan?  Tough.  Try it, trust me you’ll like it. Happy Eating -The Doctor.


  • Venison and Pomegranate Stew

    I had a fan stop by the other day that gave me challenge. He wanted me to come up with an easy recipe
    for Venison, that he could use for just himself or for a huge community meal on his next hunting trip. I
    had this recipe made up and ready a couple of hours later for him and a few of his hunter friends. Done
    right in a Dutch oven, over a fire. The dish was a HUGE hit, so it ended up on the blog. C’mon Dude, you
    gotta make it harder than that!!!! I made enough to feed 4-6 people from just this:DSC_0484

    • 1 1/2 Lb’s Venison Stew meat
    • 1 small onion, sliced thin
    • 2 small Yukon gold potatoes (or Red Bliss, no big deal), quartered then sliced 1/4 inch
    • 1 cup quartered Crimini Mushroom (really any mushroom will do)
    • 1 cup parsnips, roll cut ( I’ll show you in a second, don’t freak out over here)
    • 1 tbsp. chopped Thyme
    • 1 tbsp. chopped rosemary
    • 1/2 c. red wine
    • 1 c. Pomegranate juice
    • 1 c. Chicken Stock
    • 1/2 . Pomegranate seeds
    • Roux as needed (y’know equal parts flour and butter)DSC_0477
    1. Get a pot (or a dutch oven) nice and hot.  Add some oil and start searing you venison meat.  While your meat is browning, cut up any of the vegetables you have left to cut.  Like those roll cut parsnips.  How do you do them?  Easy  place your knife at a 45 degree angle on the parsnip, then roll 1/4 turn, then cut, now repeat until the entire parsnip is cut.DSC_0479
    2. When you meat is brown, add your onions, parsnips and mushrooms.  Let these cook on high heat and caramelize.  Stir these every 2-3 minutes or so, then add your wine when the onions are soft and cooked down.
    3. let the wine reduce by half, then add you herbs, stock potatoes and pomegranate juice.  Turn this down to a simmer and let it cook for about 60-90 minutes, depending on how big your venison chunks are.  I was taking the oven lid on and off about every 15 minutes or so.  Just so it would reduce, but not too quickly.
    4. At the very end, pull everything out of the pot and hold it for just a minute.  Taste your sauce.  If it’s think but has a lot of flavor, add some roux to thicken it.  Really 1-2 tbsp should be good.  if your sauce is think and has no flavor, let it reduce.
    5. When your sauce is to your liking, add the meat and vegetables back to the pot, season and serve.  OH, and uh…don’t forget the pomegranate seeds.

    Happy Eating

    -The Doctor


  • Mexican Lasagna

    Well, you shouldn’t be surprised about this one, I told you it was coming.  No lies, this was a very popular dish of mine, but it was never served in a restaurant or at a party.  It was something I created for a very well known hippy grocery chain, while doing a consulting job for them (we’ll leave them nameless for now) and their hot bar/chef’s case.  We would feed about 1,000 people a day and we’d have to make at least 60 trays of this just to keep up.  (For reference each tray is SUPPOSED to feed 25 people.)  It was a great way to use up the leftover rotisserie chickens, and a way to use up onions and peppers that didn’t make it to the displays (nothing wrong with them they just didn’t look pretty).  This should make enough for 4-6 people:

    DSC_0490

    18-20 corn tortillas
    1 qt Enchilada sauce
    3 oz. queso fresco
    1/2 lb pablano peppers cut into 1/3  inch strips
    2 cups julienne onions
    1/2 lb shredded chicken (you know leftover)
    1 bunch cilantro, rough chopped
    Crema (Not cream, not a typo, this is sour cream’s older badass brother) or sour cream, as needed.

    Tasty looking makings of this dish.
    Tasty looking makings of this dish.
    1. Yup.  Oven, 350.  Preheat it now.
    2. Next up,  get a skillet on to medium heat and start up some olive oil.  Add the onions and peppers and let them sweat down real slow for about twenty minutes, or until they look like this:DSC_0483
    3. Add 3/4 of the cilantro and cut the heat. Now add your shredded chicken, season it up, and get those two mixed well.  Set this aside for now.
    4. Now grab your favorite lasagna pan, and lay down a bit of the enchilada sauce.  Start layering your tortillas, then you peppers and chicken, then your cheese.  Got it?  Good now repeat, and repeat again.  You want another layer?  Sure  go again if you have enough ingredients.
    5. Pop this in the oven for about 10-15 mintues, just enough to get a bit of color and let everything come together.
    6. Top this with the crema , some very thin sliced onions and the rest of the cilantro and go to town.

      Fresh out of oven awesome
      Fresh out of oven awesome

    So what can you use with this besides chicken?   Well obviously pork BBQ, or if you have some leftover ropa vieja, you can use that too.  Don’t like queso fresco?  Ok. Use some other cheese, PepperJack or Oxacan cheese works nicely.  Don’t like the bitter enchilada sauce?  Well, use some BBQ sauce (you can make your own here) which goes great with blue cheese by the way.  Let me know what you do with this in the comments.


    Happy Eating,

    -The Doctor